Silicon, in the form of a digital camera image sensor, is sensitive to near-infrared light. However, digital cameras use a cut-off filter to block these wavelengths. Removing this filter makes the camera sensitive to near-infrared, and replacing it with a filter that blocks visible light but is transparent to near-infrared light allows for infrared photography.
All of the following photos can be enlarged if clicked. Sample images from the modified camera are at the end of the post.
Disassembly:
To get started, one needs a #000 Phillips screwdriver; in addition, pointed tweezers are quite helpful. The camera is a delicate piece of electronics and optics that is easily damaged and also contains, while shielded, a dangerous high voltage flash system. Proceed at your own risk.
Before beginning, remove the battery and let the camera sit so that the flash capacitor discharges.
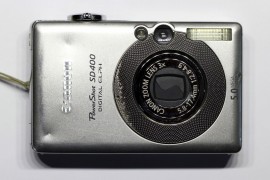
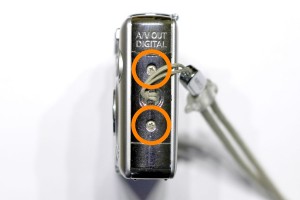
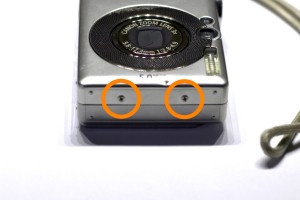
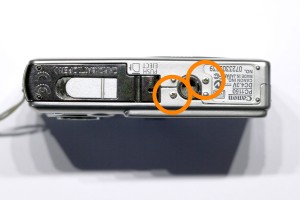
First, remove the six outside screws.
Next, open the case while being careful not to bend the metal.
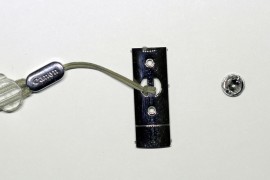
The buttons, the strap connector, and the seal around the lens will fall off.
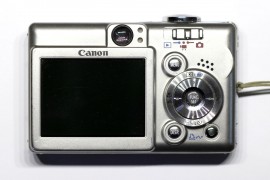
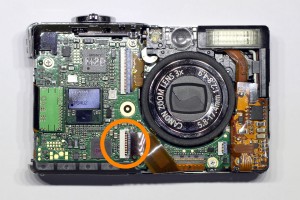
Then, disconnect the screen’s ribbon cable on the front of the camera by lifting the latch on the socket and gently pulling on the cable.
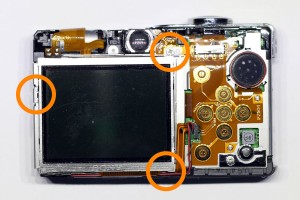
Now, remove the screw at the upper-right corner of the screen (it’s a different size). Next, pop the clip to the left of the screen, move the screen slightly toward the viewfinder to free the tab on bottom-right corner, and lift the left of the screen, folding it toward the right like a book page while feeding the ribbon cable through from the front of the camera. Be mindful of the remaining cable connected to the right side of the screen.
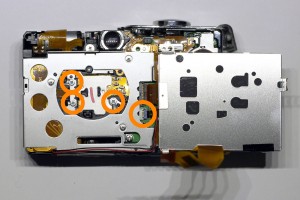
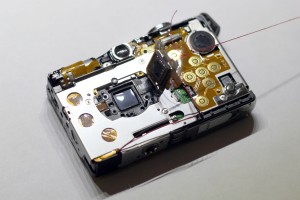
Next, disconnect the back-light to free the screen and then unscrew the image sensor. There are three springs behind the image sensor to watch for and then remove.
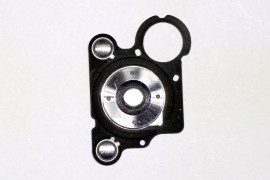
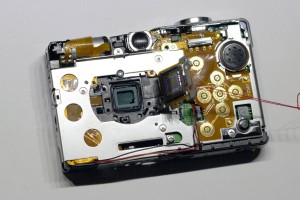
Then, fasten sensor out of the way, thread works well, and remove the square rubber gasket below it. Avoid touching the sensor.
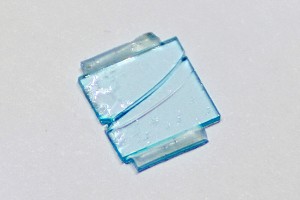
The piece of glass that is below where the sensor was is the infrared cut-off filter. It is glued down. Carefully pry it off (it will likely break, but we don’t want it anyway). Be sure all fragments and debris are removed.
Visible Light Cut-off Filter:
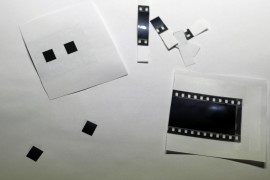
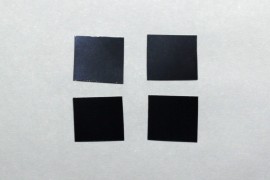
One now has the option of replacing the infrared cut-off filter with a visible light cut-off filter. For this, fully exposed and then developed film negative works well. Take a roll of film, pull the film out of the roll in a lit area, re-roll it, and take it to be developed. Be sure to ask for no prints, only the negatives, and make it clear that you know the film is fully exposed but want it developed anyway. Four layers of developed film worked well for me to block most visible light. Cut the negative into rectangles the same size as the infrared cut-off filter was, 9.0mm wide by 8.0mm tall. If the film is curling, briefly iron it between sheets of paper on low heat to flatten it. When cutting out the rectangles, it helps to print the correct sized rectangles on a piece of paper without scaling, tape the negative to the paper, and precisely cut out the printed rectangles with the film behind it.
Next, carefully place the pieces of negative where the infrared cut-off filter was and glue them in place; I used white glue on a toothpick. Wait for the glue to dry.
Reassembly:
To reassemble the camera, first replace the square rubber gasket above the former location of the infrared cut-off filter. Next, replace the three springs and screw the image sensor back in place. One might have to go back and adjust the height of the image sensor to fix focus issues that may result from modifying the optical path. Replace the screen by first reconnecting the back-light cable and feeding the larger ribbon cable back to the front of the camera. It helps to feed a thread through the camera, tie it to the end of the ribbon cable, and pull the cable through that way. Note that the ribbon cable should be over, not under, the red and black wires on the back of the camera. Insert the tab on the lower-right corner of the screen into the appropriate slot, click the tab on the left side back into place, and replace the screw at the top-right corner of the screen. Turn the camera over and reconnect the ribbon cable. Then, replace the buttons, the gasket around the lens, and the strap connector, and replace the case and its six screws. Enjoy your infrared sensitive camera!
Sample Images:
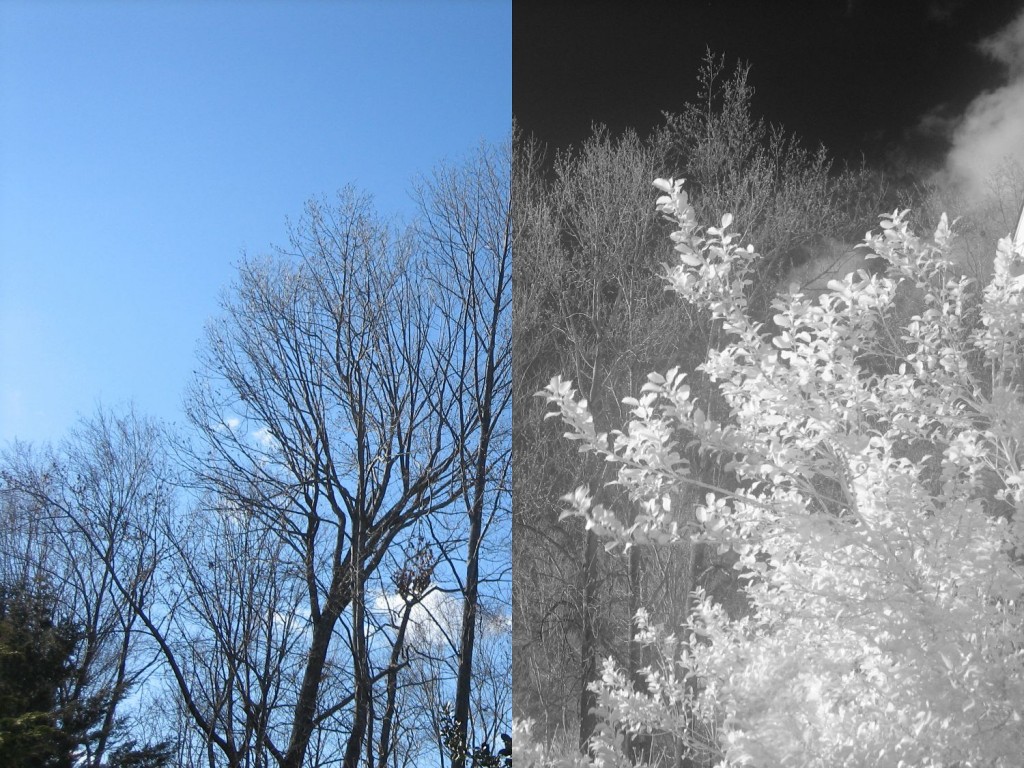
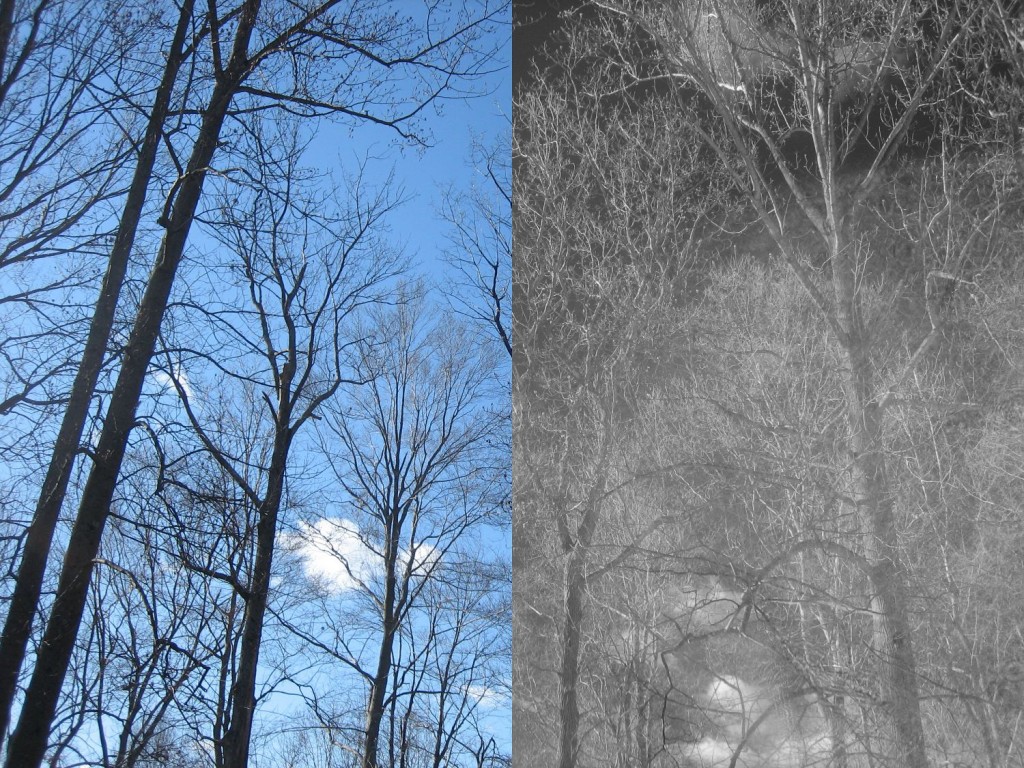
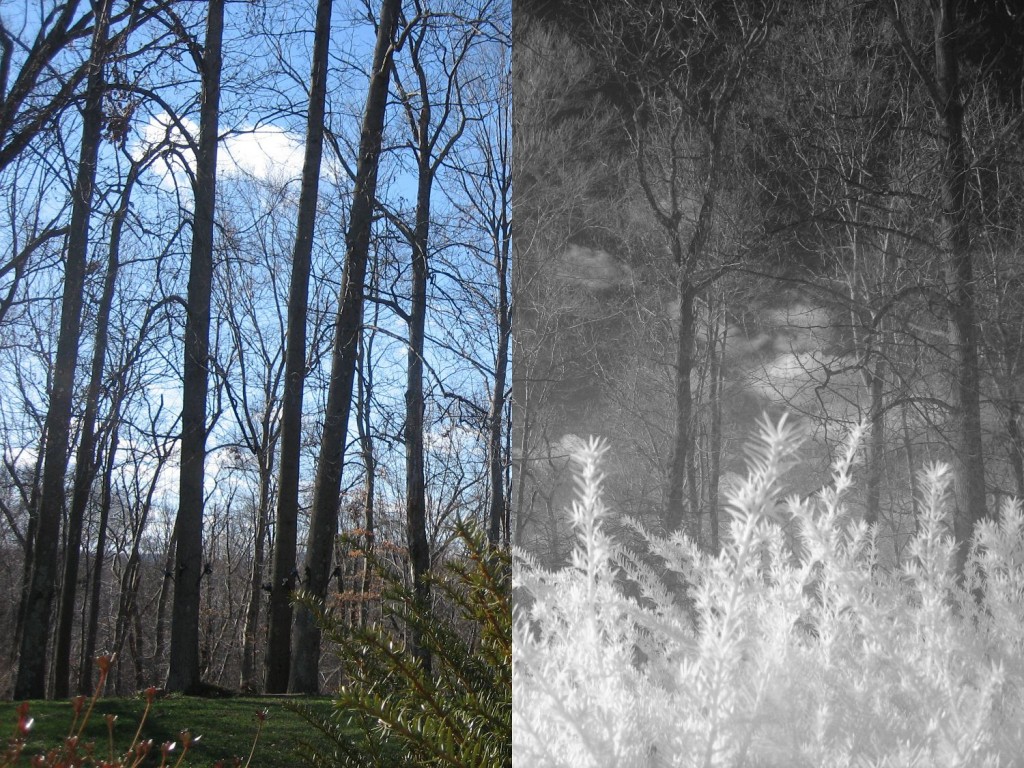
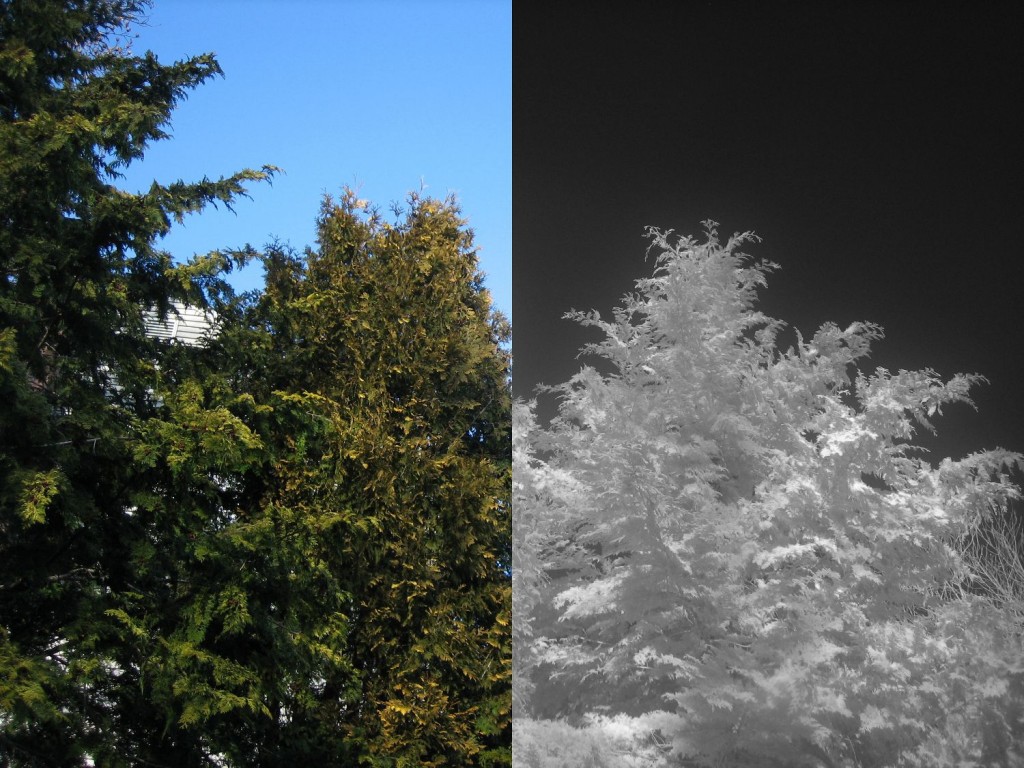
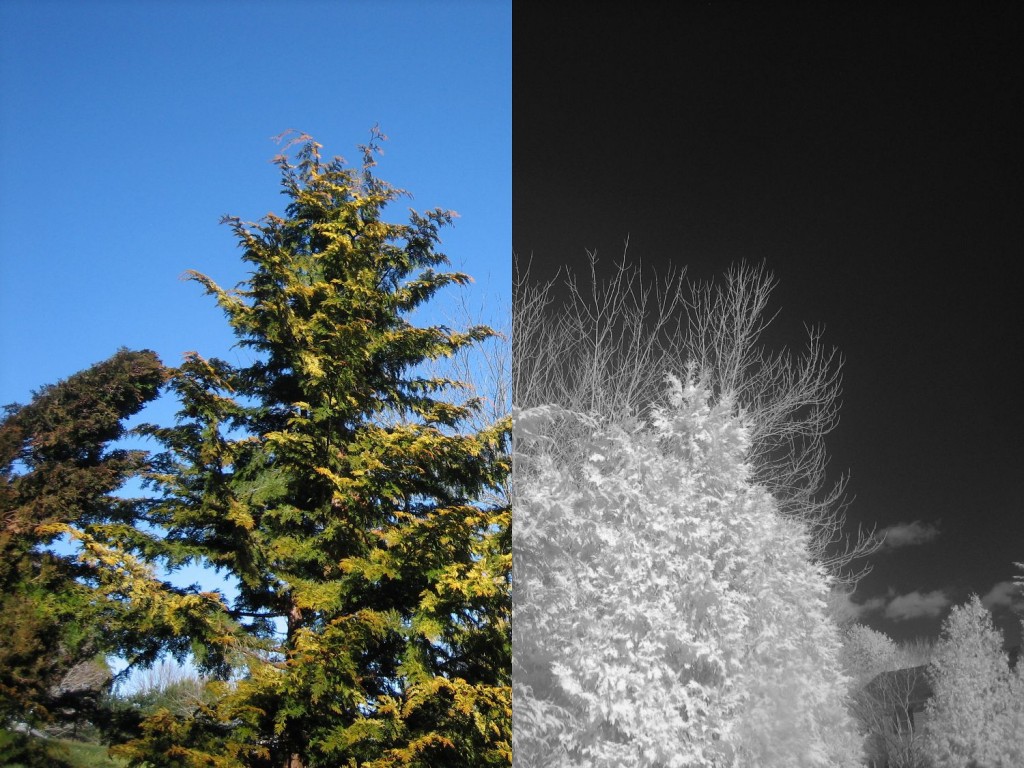
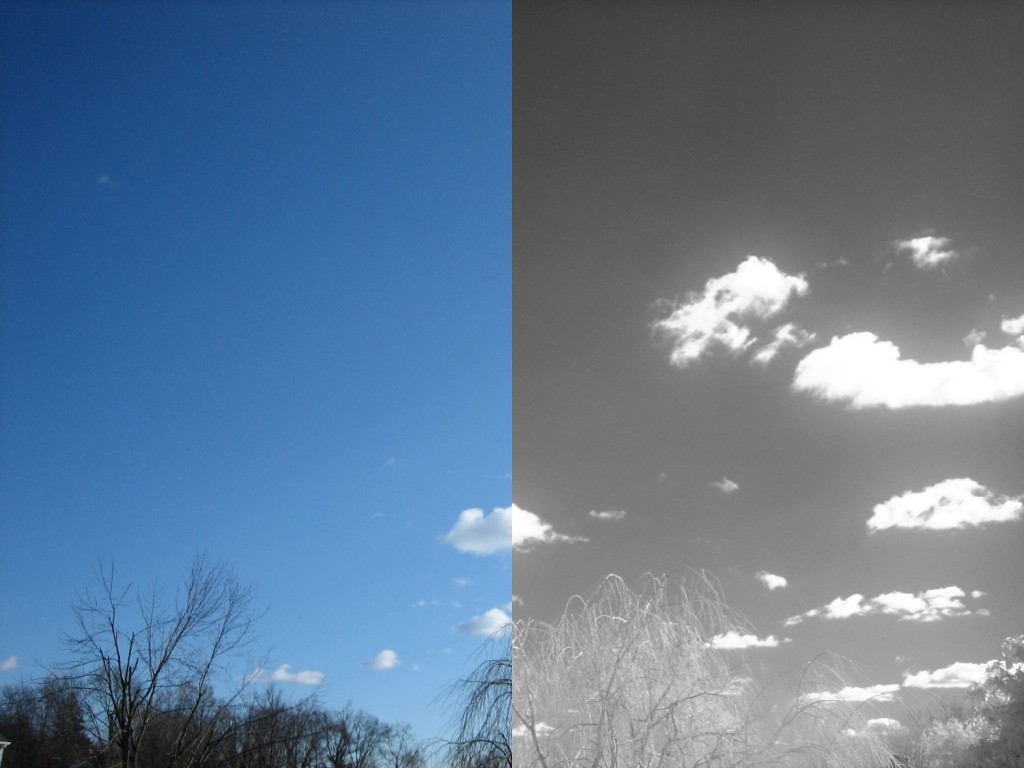
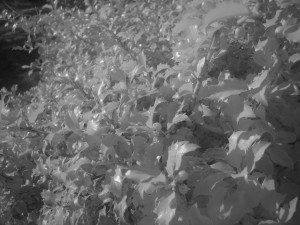
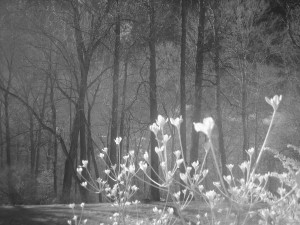
Two photos were taken at the same location. The left half is visible light from an unmodified camera; the right half is infrared from the modified camera (with visible light cut-off filter).
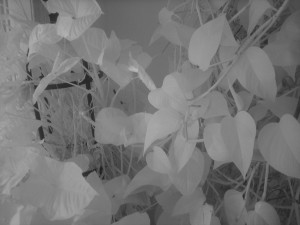
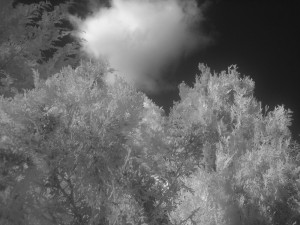
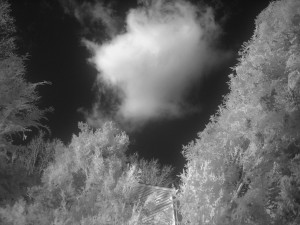
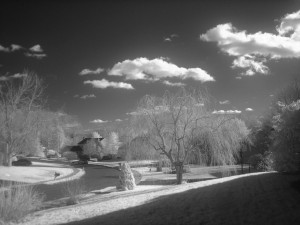
great stuff
I wonder if it will work on my old powershot S70
very very interesting project.
I have been investigating ways of doing energy auditing for buildings and discover heat leaks and bridges using IR photography without having to buy multiple thousand dollars equipment.
your hack seems very promising, could you please take pictures of a building from outside at night?, just to see what the result would look like.
Thermal imaging is far-infrared, not near-infrared, so unfortunately, this wouldn’t work for that. The modified camera is sensitive to wavelengths slightly longer than visible light, approximately 700nm to 900nm. Thermal imaging uses wavelengths from about 9,000nm to 14,000nm.
Hi, does the autofocus still work after this mod?
Yes, it does.
FYI
I tried to mod a Nikon Coolpix 4100 but it wouldn’t focus properly afterwards. With the filter out, the only things in focus would be two inches in front of the lens with the zoom all the way out. Zooming in all the way made the distant objects in focus.
Great article. It’s coincidental that I have come across this, but as I just finished fixing an SD400 and and SD300 that had dark spots blocking the CCD inside the lens case. I did a fair bit of poking around and was able to align the aperture curtain and put the camera back together. The individual curtain blades came out of place when I dropped the cameras.
I found that the screws were very tight and prone to rounding-off if one is not careful in removing them. The key is to get a screwdriver with a good grip and to turn *very* slowly when starting off, (and actually rotating the camera and not the screwdriver) with a lot of torque and downforce on the screw, until the screw is loose enough to spin with the screwdriver-hand only. The particular screws would be the small ones that enclose the image sensor, the other ones are fine. A slotted screwdriver worked better for me, perhaps because my screwdrivers are poor quality and my phillips PH000 and PH0000 are now ruined because of Canon’s superior manufacture. Using a slotted scredriver will allow one to get a second chance on the perpendicular if one does mess up on the first try.
Your instructions are very helpful and would have come in handy had I read this prior to my repairs. Alas, if one has the same problem as I, the image sensor and lens case must come apart from another opening requiring the sensor-lens case to be removed from the rest of the camera, which is tiring but not impossible.
Sorry to digress. The reason for commenting was to find out how your modified camera works for low-light photography? How is it at night time and indoors?
Since the camera is operating in a different spectrum than visible light, low-light is a relative term. Indoors, how well it works depends on the type of light source. The camera works well with candles and incandescent bulbs, but works very poorly with fluorescent bulbs.
I am planning on doing this same modification to the same camera, but instead of using exposed negatives to block visible light, I was going to use a piece of a glass 720IR pass filter which I plan to cut. How thick was the IR cut-off filter that was removed from the camera? What was done to ensure the sensor was at the proper distance to maintain infinity focus? Your help is much appreciated.
The IR cut-off filter was approximately 1mm thick. As for maintaining focus, it was mostly luck. After reassembling the camera, the focus still worked. If it hadn’t, I would have probably slowly loosened the screws around the image sensor (the springs would push the sensor further back) and tried to fix the focus using trial and error. Once the focus worked, I would have glued the sensor in place.
Hi Matthew,
Did you have to perform any white balance/post processing to stop your IR images coming out pink/red colour? I am attempting something similar with a Canon 400D camera.
Jake
I convert all of my infrared images to grayscale to avoid the issue.
Hi,
Rather than use the developed film as an IR pass filter try to find some Ilford SFX gel filters, they are not made any longer (I got the last batch from Ilford) but might still be on the shelf in a camera shop somewhere, conversly Lee Camera Filters do a gel type 87 that should be suitable, I have one but haven’t installed it yet. You might get a bit more contrast with this type of filter. For SLRs I am looking at cutting an IR glass filter down to size for either the Eos 300d or 350d that are waiting on my desk, resin IR filters could also be used but might be too thick for compact cameras. I am currently getting great results with a Samsung NV3 with SFX filter and a replacement glass made from a GEPE slim slide cover glass. Very easy conversion.
Good luck with the IR
Nigel
you can get glass much easier and cheaper than gels. Plenty of flashlight stores online have glass filters for near IR in all kinds of sizes for flashlights. They’re for flashlights used in “active” nightvision (like what nature programmes use) and made for cutting visible reds emitted by emitters from highpressure incans to IR LEDs like cree make so would do equally well for this.
If you wanna put the filter back in you can get cheap antiIR filter (pale blue glass looking ones) out of most webcams and the like since they have cheap CCD sensors they’re prone to IR sensitivity so often have them in. Seen them whipped out a lot to use in IR diode pump green lazers to make them safe (the IR doesn’t collumate and no blink reflex to protect human eyes so best to filter it out before use).
Great article. Forgive me if I missed something, but why 4 pieces of exposed negative? Do you stack them on top of each other and install?
Thanks
Mark
Yes, I stacked them. As for why four, I came up with the number empirically to block most visible light.
Thanks for this – two questions:
– What’s it good for, if it’s not useful for detecting heat, can it help identifying stressed vegetation?
– In stead of adding a visible light filter, can one remove that spectrum by capturing RAW and using Photoshop etc?
many thanks
It mostly only has artistic value. Also, it has some value in agriculture, but one would normally use remote sensing data instead. One cannot remove the visible spectrum using a computer. The camera’s sensor has red pixels, green pixels, and blue pixels, all of which are also sensitive to near-infrared light to varying degrees. With the infrared cutoff filter removed, each pixel’s intensity value would be the amount of visible light it detects plus the amount of near-infrared light it detects, with no way to separate the two. Normally, a filter is used to block the infrared light so just the visible light is detected; this modification does the opposite, blocking the visible light so just the infrared light is detected.
Now that I have done this to my camera, how to I take the pictures? I tried it with four pieces of negative and even now I only have two, but I only get black pictures.
You might have damaged your image sensor in the process of modifying your camera. The modified camera, if undamaged, should have no problems taking images outside, during the day.
hmmm, it will still take pictures when I take the pieces out
In that case, the sensor isn’t damaged. The other possibility is that the type of film you used isn’t transmissive in the near-infrared. You can try pointing the camera at an IR source, such as a flame or the sun, and see if you see anything. I would try a different kind of film.
Yes! That was the problem. Thanks. I saw on another website that they used 6 pieces of congo blue gel. That worked perfectly. Also, the camera I used is a Sony Cybershot dsc-w180. It was the easiest camera that I have played with. The lens and sensor unit is easily removed. To access the sensor all you need to do is remove a panel on the back of the unit. The IR cutoff filter isn’t glued in and comes right out.
I have used NIR in microscopy – one method of blocking visible light is to use cheap crossed polarisers. The cheap ones when crossed block visible light effectively but pass NIR (you have to pay a lot to get effective NIR polarising filters, so most affordable polarisers only work in visible light).