Solar Filter Holder

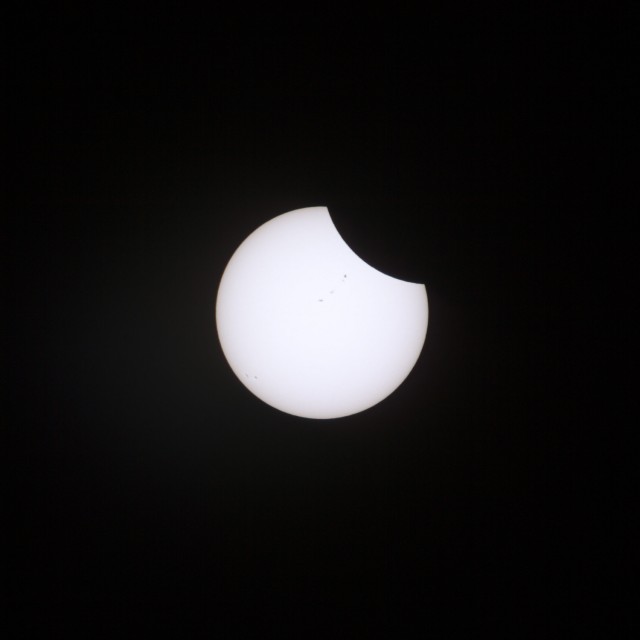
With a total solar eclipse in the continental United States coming up next month, I purchased a solar filter for my telephoto lens. Unfortunately, this OD 5.0 solar filter, which is required for safe optical viewing is much too dark for optimal photography. This led me to purchase a sheet of OD 3.8 photographic solar filter film (from Europe, since no one seems to sell it in the United States). This film requires a holder, and while I could have made a paper holder, I opted to 3D print one instead. By making the inside diameter slightly larger than the lens’ outside diameter, it fits in place snuggly, and is much sturdier than a paper holder. The film is cut to size and sandwiched between the two 3D printed segments using double-sided tape. The screws I used in the first holder proved unnecessary, so I left them out on the second holder I made.
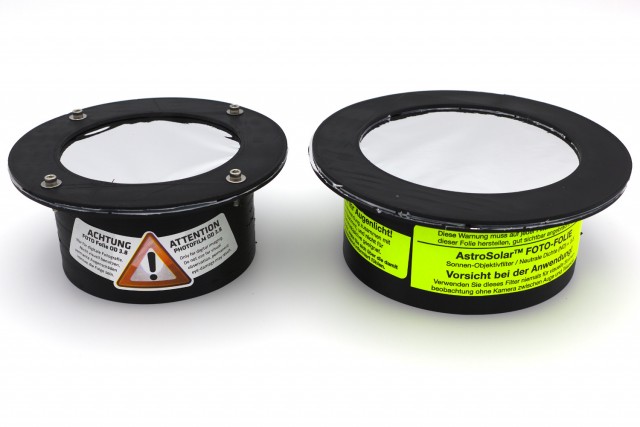
Solar Filter Holders Continue reading

Posted in | Tagged , , | Leave a comment

Updated Camp Workcoeman Maps

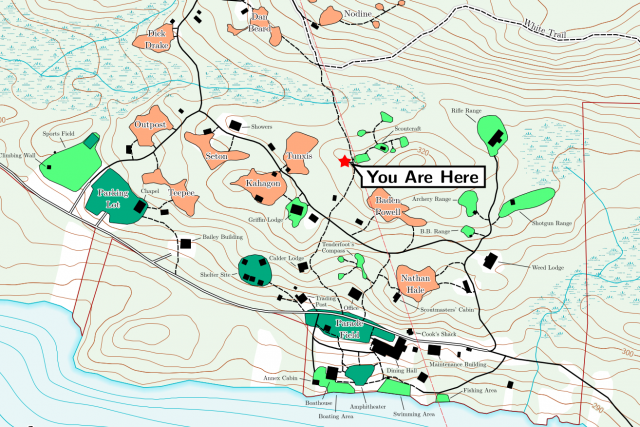
Due to extensive trail work over the past two years, new maps of Camp Workcoeman were needed. Furthermore, the Connecticut statewide spring 2016 orthoimagery was recently released, provide a new data source for updating buildings and land cover. As with my previous mapping, I walked the rerouted trails using a SkyTraq-based receiver that records raw carrier-phase and pseudorange data and post-processed the data using RTKLIB and CORS data from the nearby CTWI site in Winchester. In revising the trail center map, I took the oppertunity to improve it with additional hand-placed labels1 and various minor tweaks.

Trail Center Map

Updated maps are on the campworkcoeman.org maps page. The data is bundled in the Camp Workcoeman Map App. The web app has been updated, and an update to the Android version, which is fully-offline, is forthcoming.


  1. Auto-label placement still has a long way to go… 

Posted in | Tagged , , | Leave a comment

Pi-Tag Fiducial Marker Detector

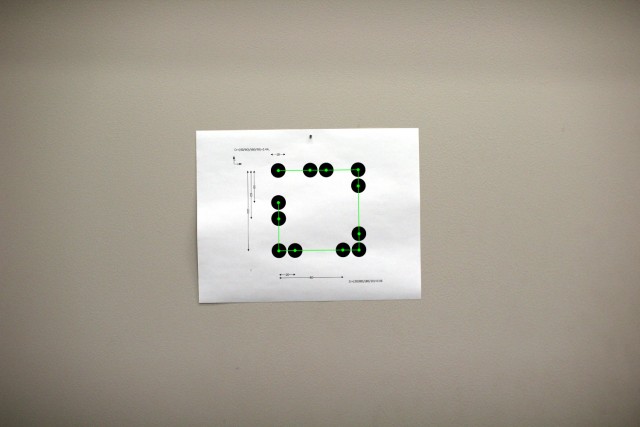
Recently, I’ve been looking at various fiducial markers for computer vision applications. While some of these markers, such as AprilTags, have readily available reference implementations, others have no published code. While one of the markers I was looking at, Pi-Tags, does not have a reference implementation, it does have a third party implementation in the form of a Robot Operating System (ROS) module, cob_fiducials; this is great for robotics applications using ROS, but problematic otherwise. Since I wasn’t interested in using the detector with ROS, I separated it out into a standalone library. Additionally, I modified the detector to add a function that just returns the image pixel coordinates of the detected markers instead of calculating their poses, and added the ellipse refinement step1 that was mentioned in the Pi-Tag paper.2

Detected Pi-Tag


  1. Ouellet, Jean-Nicolas, and Patrick Hébert. “Precise ellipse estimation without contour point extraction.” Machine Vision and Applications 21, no. 1 (2009): 59.  

  2. Bergamasco, Filippo, Andrea Albarelli, and Andrea Torsello. “Pi-tag: a fast image-space marker design based on projective invariants.” Machine vision and applications 24, no. 6 (2013): 1295-1310.  

Posted in | Tagged , , , | 6 Comments

Soldering OSD3358 System-in-Package

Although the OSD3358 system-in-package, the so-called BeagleBone on a Chip, is a BGA package, it turns out that it’s surprisingly easy to solder. Using a stencil, solder paste, and a hot plate, it ended up being easier to solder than some QFN and fine pitch leaded packages I’ve soldered via the same method, since the OSD3358’s ball pitch is wider and the PCB pads have solder resist between them.

OSD3358
OSD3358

Unfortunately, I didn’t take any photos while soldering them.

Posted in | Tagged , , , , | Leave a comment

Another Method of Digitizing Large Documents

A few years ago, I wrote about a method of using a modified scanner to scan large documents in segments. While this led to high quality results, it is a very slow and tedious process. More recently, I’ve had a decently large number of maps and documents to digitize but didn’t care so much about the quality and had neither the time nor the patience to scan them using my previous method. Instead, I turned a small conference room into a very large makeshift camera stand. After removing a tile from the drop ceiling, a small wooden beam was placed on the ceiling grid, straddling the hole where the tile was removed. A DSLR camera was then attached to this beam, pointing straight down, with the camera tethered to a computer via USB. A table was placed under the camera. The document to be digitized was placed on the table, and a sheet of glass was placed on top of the document to keep it flat.1 The fluorescent tubes were removed from the closest ceiling light fixtures to remove glare from the glass; the same number of bulbs were removed from each side of the camera and table to keep the lighting consistent. Once everything was set up, documents were quickly photographed, with captures triggered using the computer. Once finished, lens distortion was removed from the images, and the images were cropped and level corrected. While the results weren’t nearly as nice as the scanner-based method, they were good enough for what I needed them for, and it was much, much faster. An example result is below.

Example Result

Unfortunately, I neglected to photograph the camera set up.


  1. The documents to be digitized had been stored either rolled or folded. 

Posted in | Tagged , , , , | 1 Comment