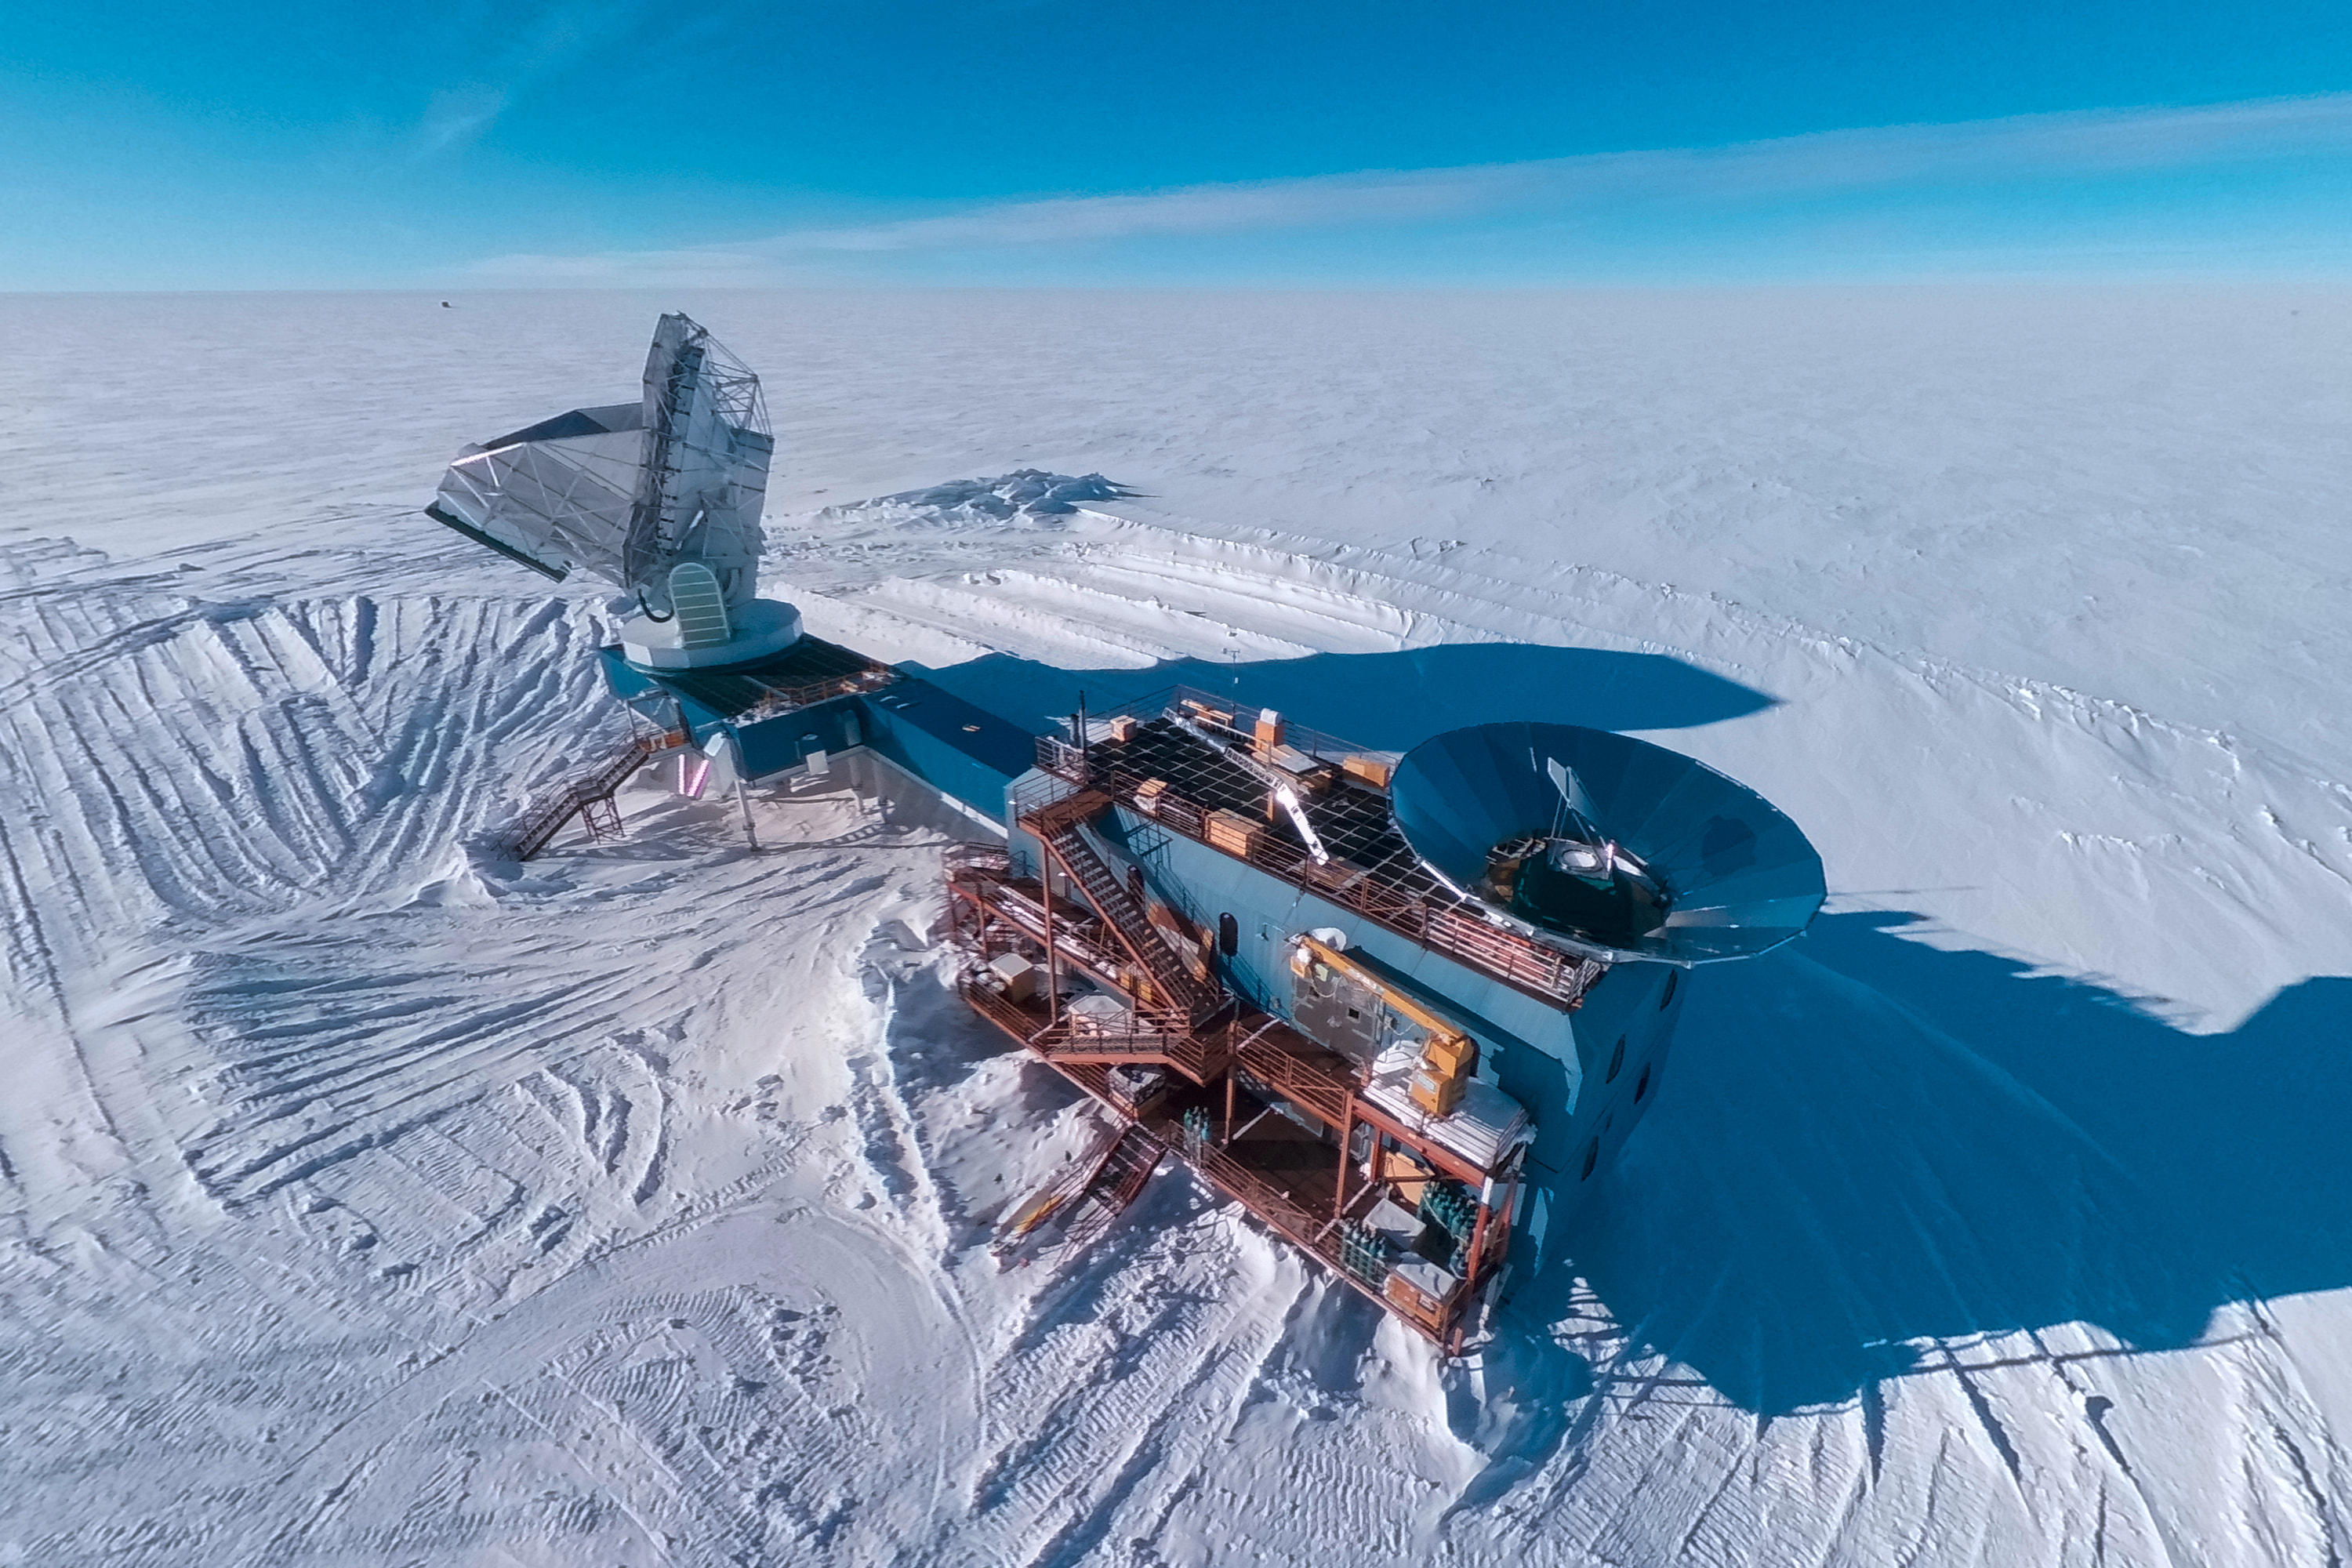
With the kite described in my previous blog post, I set out to take aerial photos at the South Pole, particularly in the Dark Sector. My original goal was to primarily take a large number of photos for a photogrammetry reconstruction, using a custom-built pan–tilt camera rig built around a Raspberry Pi Zero 2 W and a Raspberry Pi High Quality camera; while I just barely completed the hardware before I left for Antarctica, I did not finish the software in time, and I never ended up flying the camera.1
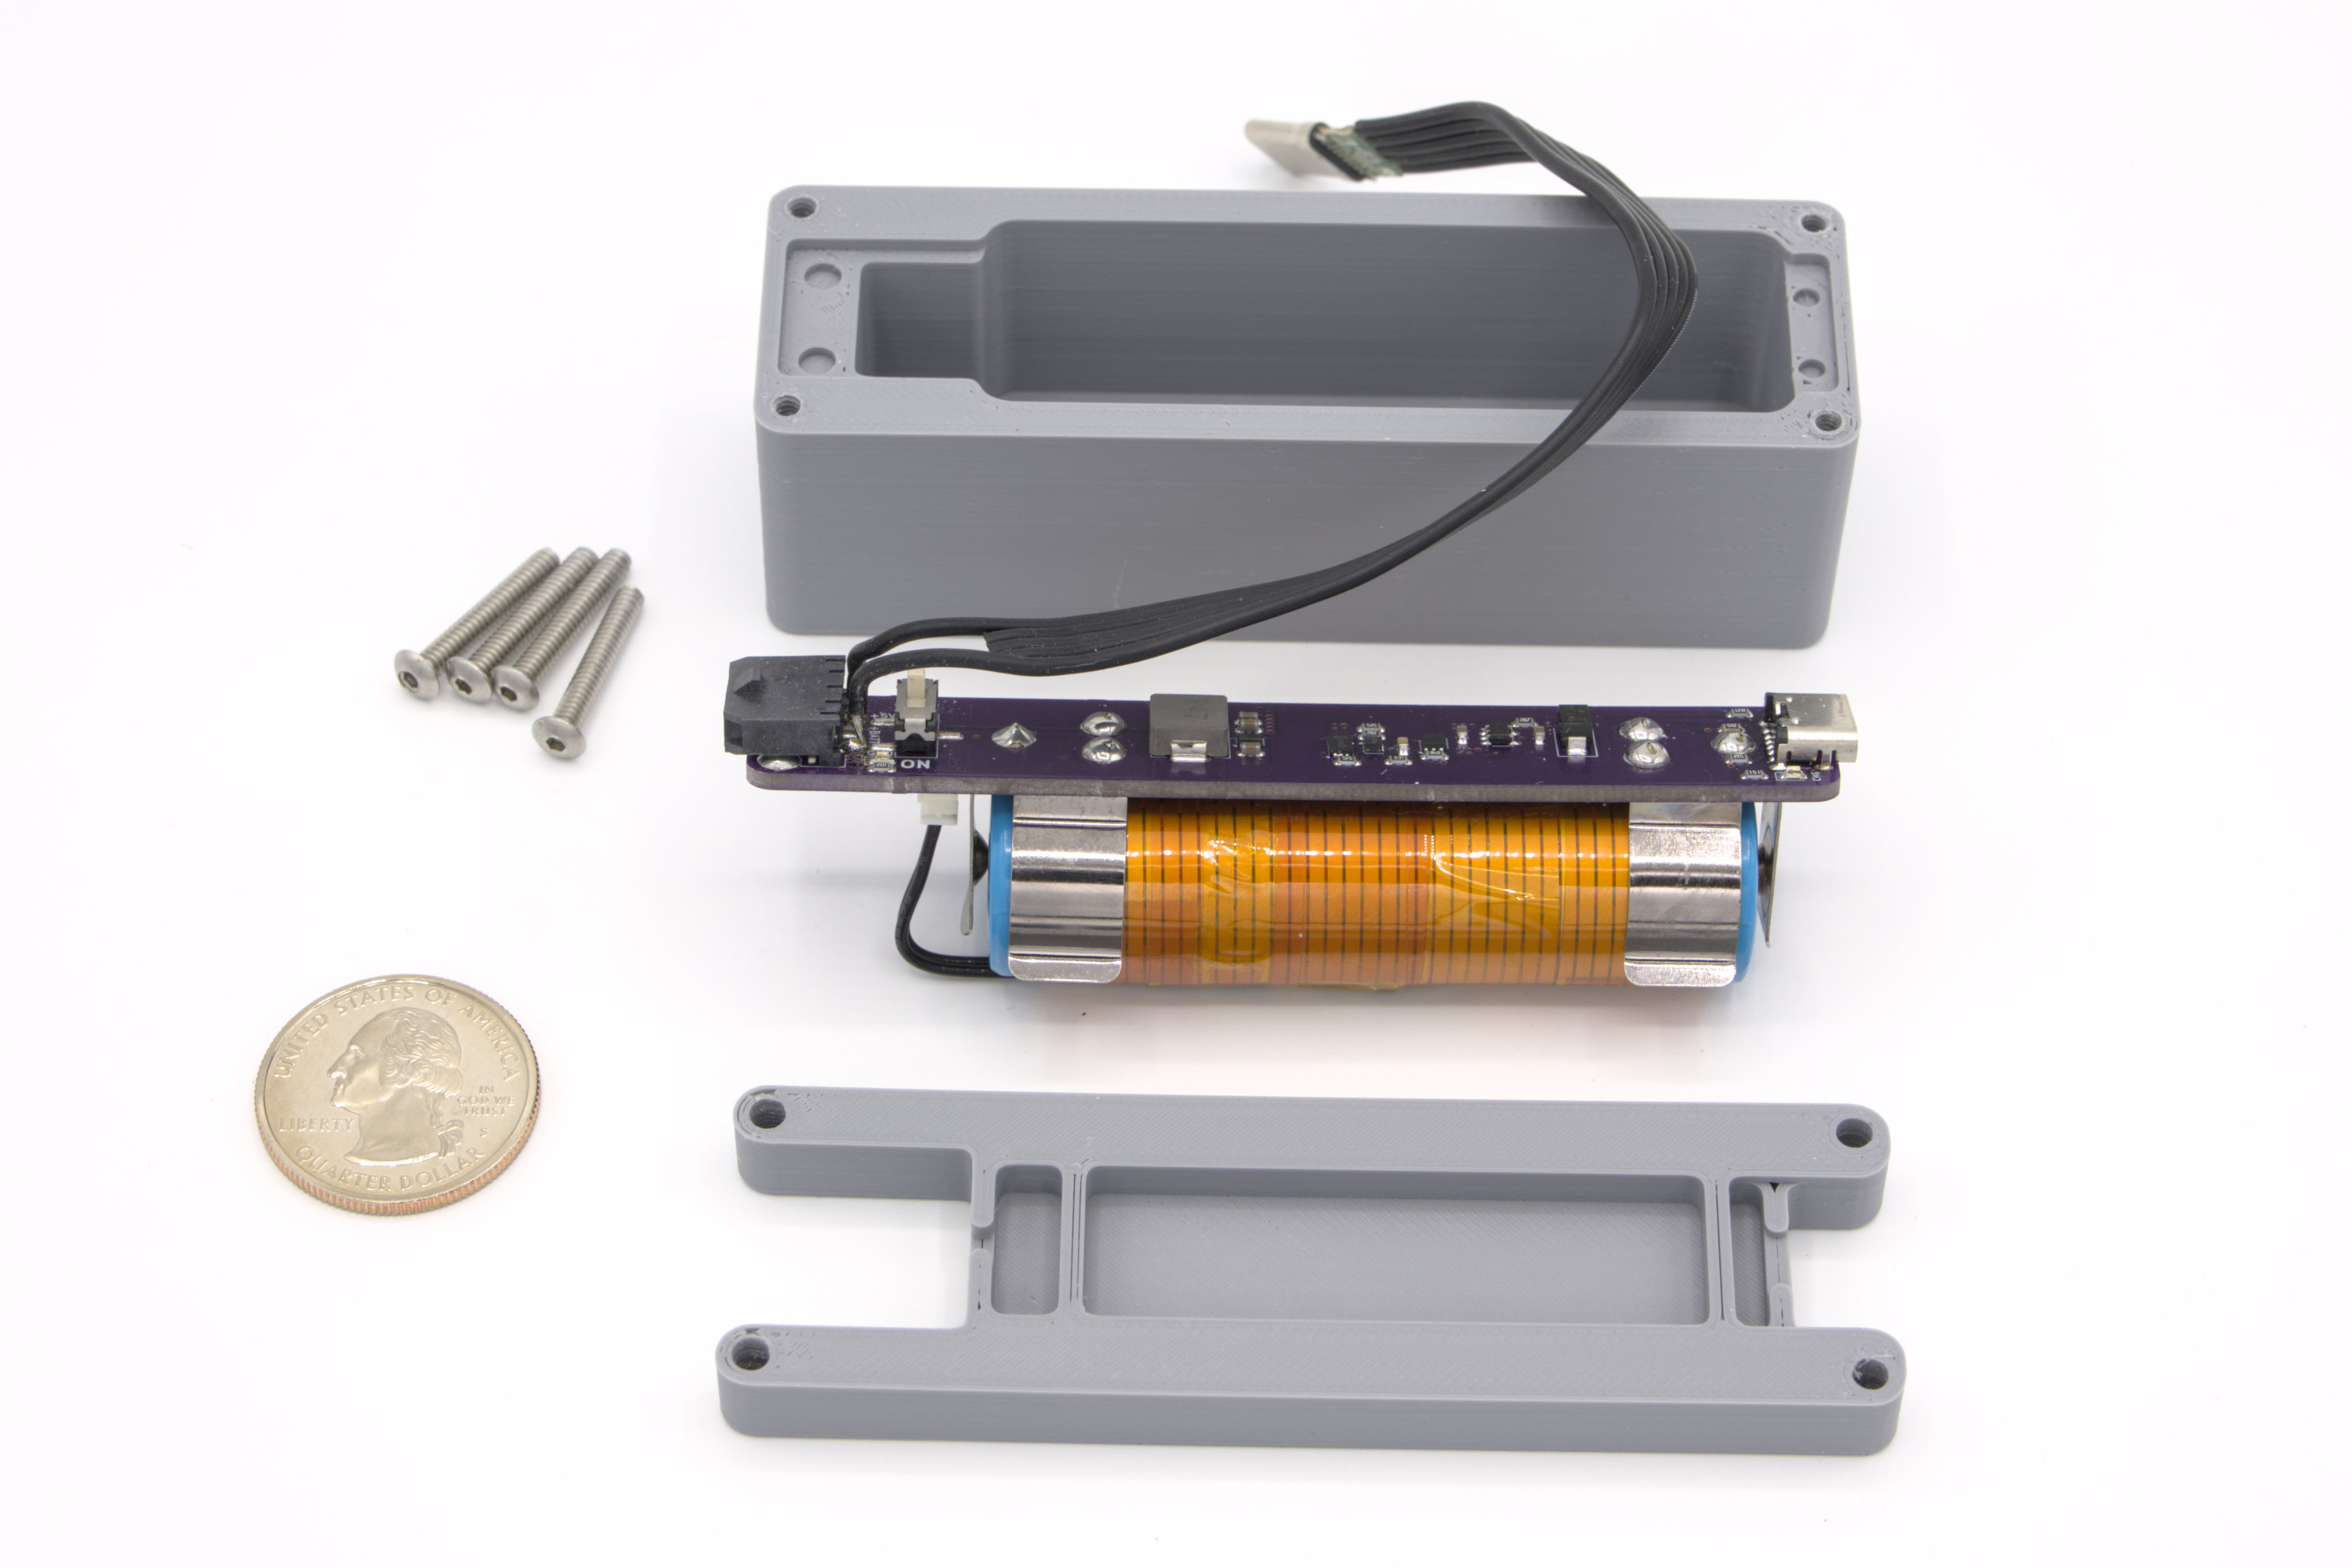
As a contingency, I had designed and 3D printed a Picavet suspension for lofting my Ricoh Theta Z1 panoramic camera with the kite. From prior experience, I knew that this camera did not handle the extreme cold very well, particularly if it was using its internal battery. To this end, I designed a custom external battery pack around a Molicel INR-18650-M35A battery, which is rated for operation down to −40°C. This pack includes a battery cell protection circuit, a 5 V output for powering the camera, a direct battery voltage output for powering an external heater, and a flex PCB heater with control circuit wrapped around the battery cell with polyimide tape to heat it to around −10°C; the pack was also specifically designed to mount to the above mentioned Picavet suspension. Using a very similar design to the battery cell heater, I also designed a flex PCB heater for the Theta Z1 camera, which was intended to slip in between the camera body and the silicone sleeve I purchased to help insulate it.2 Unfortunately, I forgot to pack the camera heater, along with an adapter to power it and the camera from a wall outlet for extended timelapse shooting; since I wanted to power the heater in addition to the camera, I did not included a USB port on the battery pack and instead included a USB Type C connector as part of the wiring loom for the heater, further complicating this oversight. Fortunately, a colleague on station had a USB cable I could cut apart and solder to the output connector pins on the battery pack,3 and the camera ended up working fine with just the insulating sleeve and external power from the battery pack.
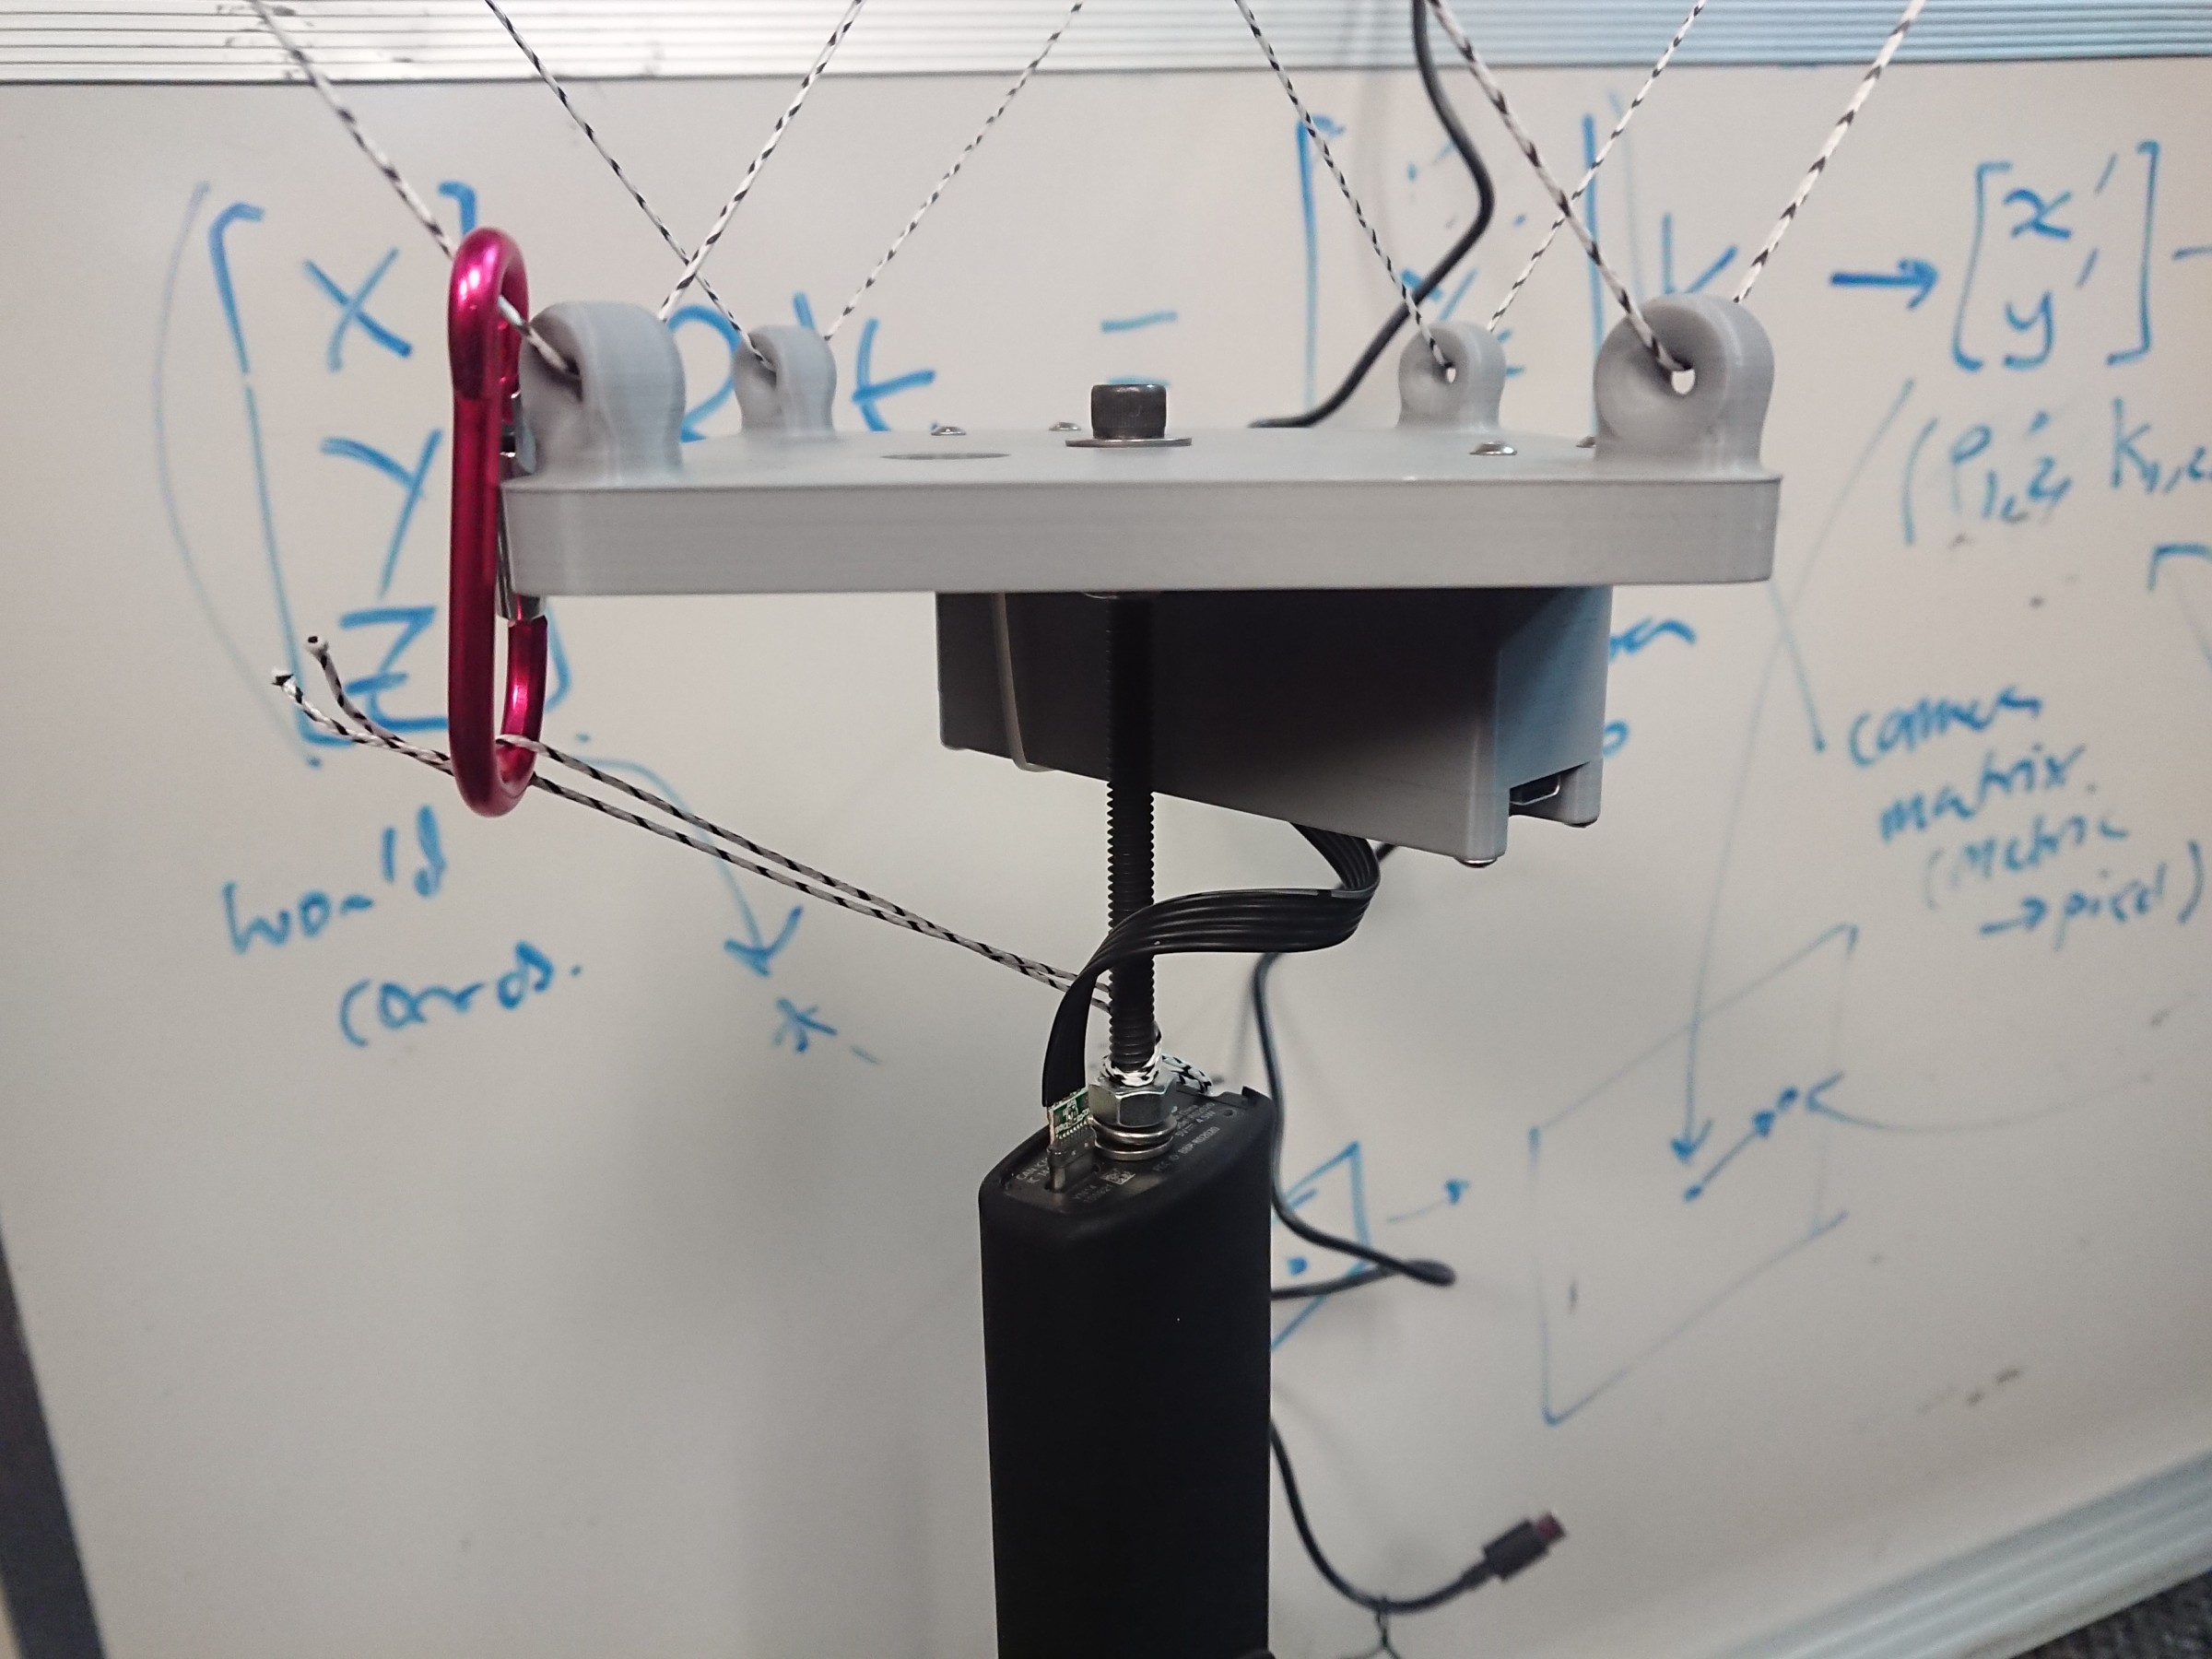
The first time I had an opportunity to fly the camera, I thought I had misplaced the carabiner I had to attach the camera’s safety lanyard to the Picavet suspension and ended up lofting the camera without it.4 After flying the camera a bit—and just as I was beginning to reel the kite in because I thought I was pushing my luck without the safety lanyard—the camera wiggled itself loose from the Picavet suspension’s tripod mount screw and fell, but it managed to survive the fall without damage to the optics, suffering just cosmetic damage.5 After this, I added lock washers and always used the safety lanyard, wrapping it around the mounting screw such that the lanyard would tighten if the camera started to come loose. While the camera survived, it turns out that it had turned off before I even got it into the air, which was particularly unfortunate as there were clear skies and near-perfect weather; for future flights, I turned on the camera’s Wi-Fi6 to allow me to externally monitor the camera while flying it to make sure it was still on.7
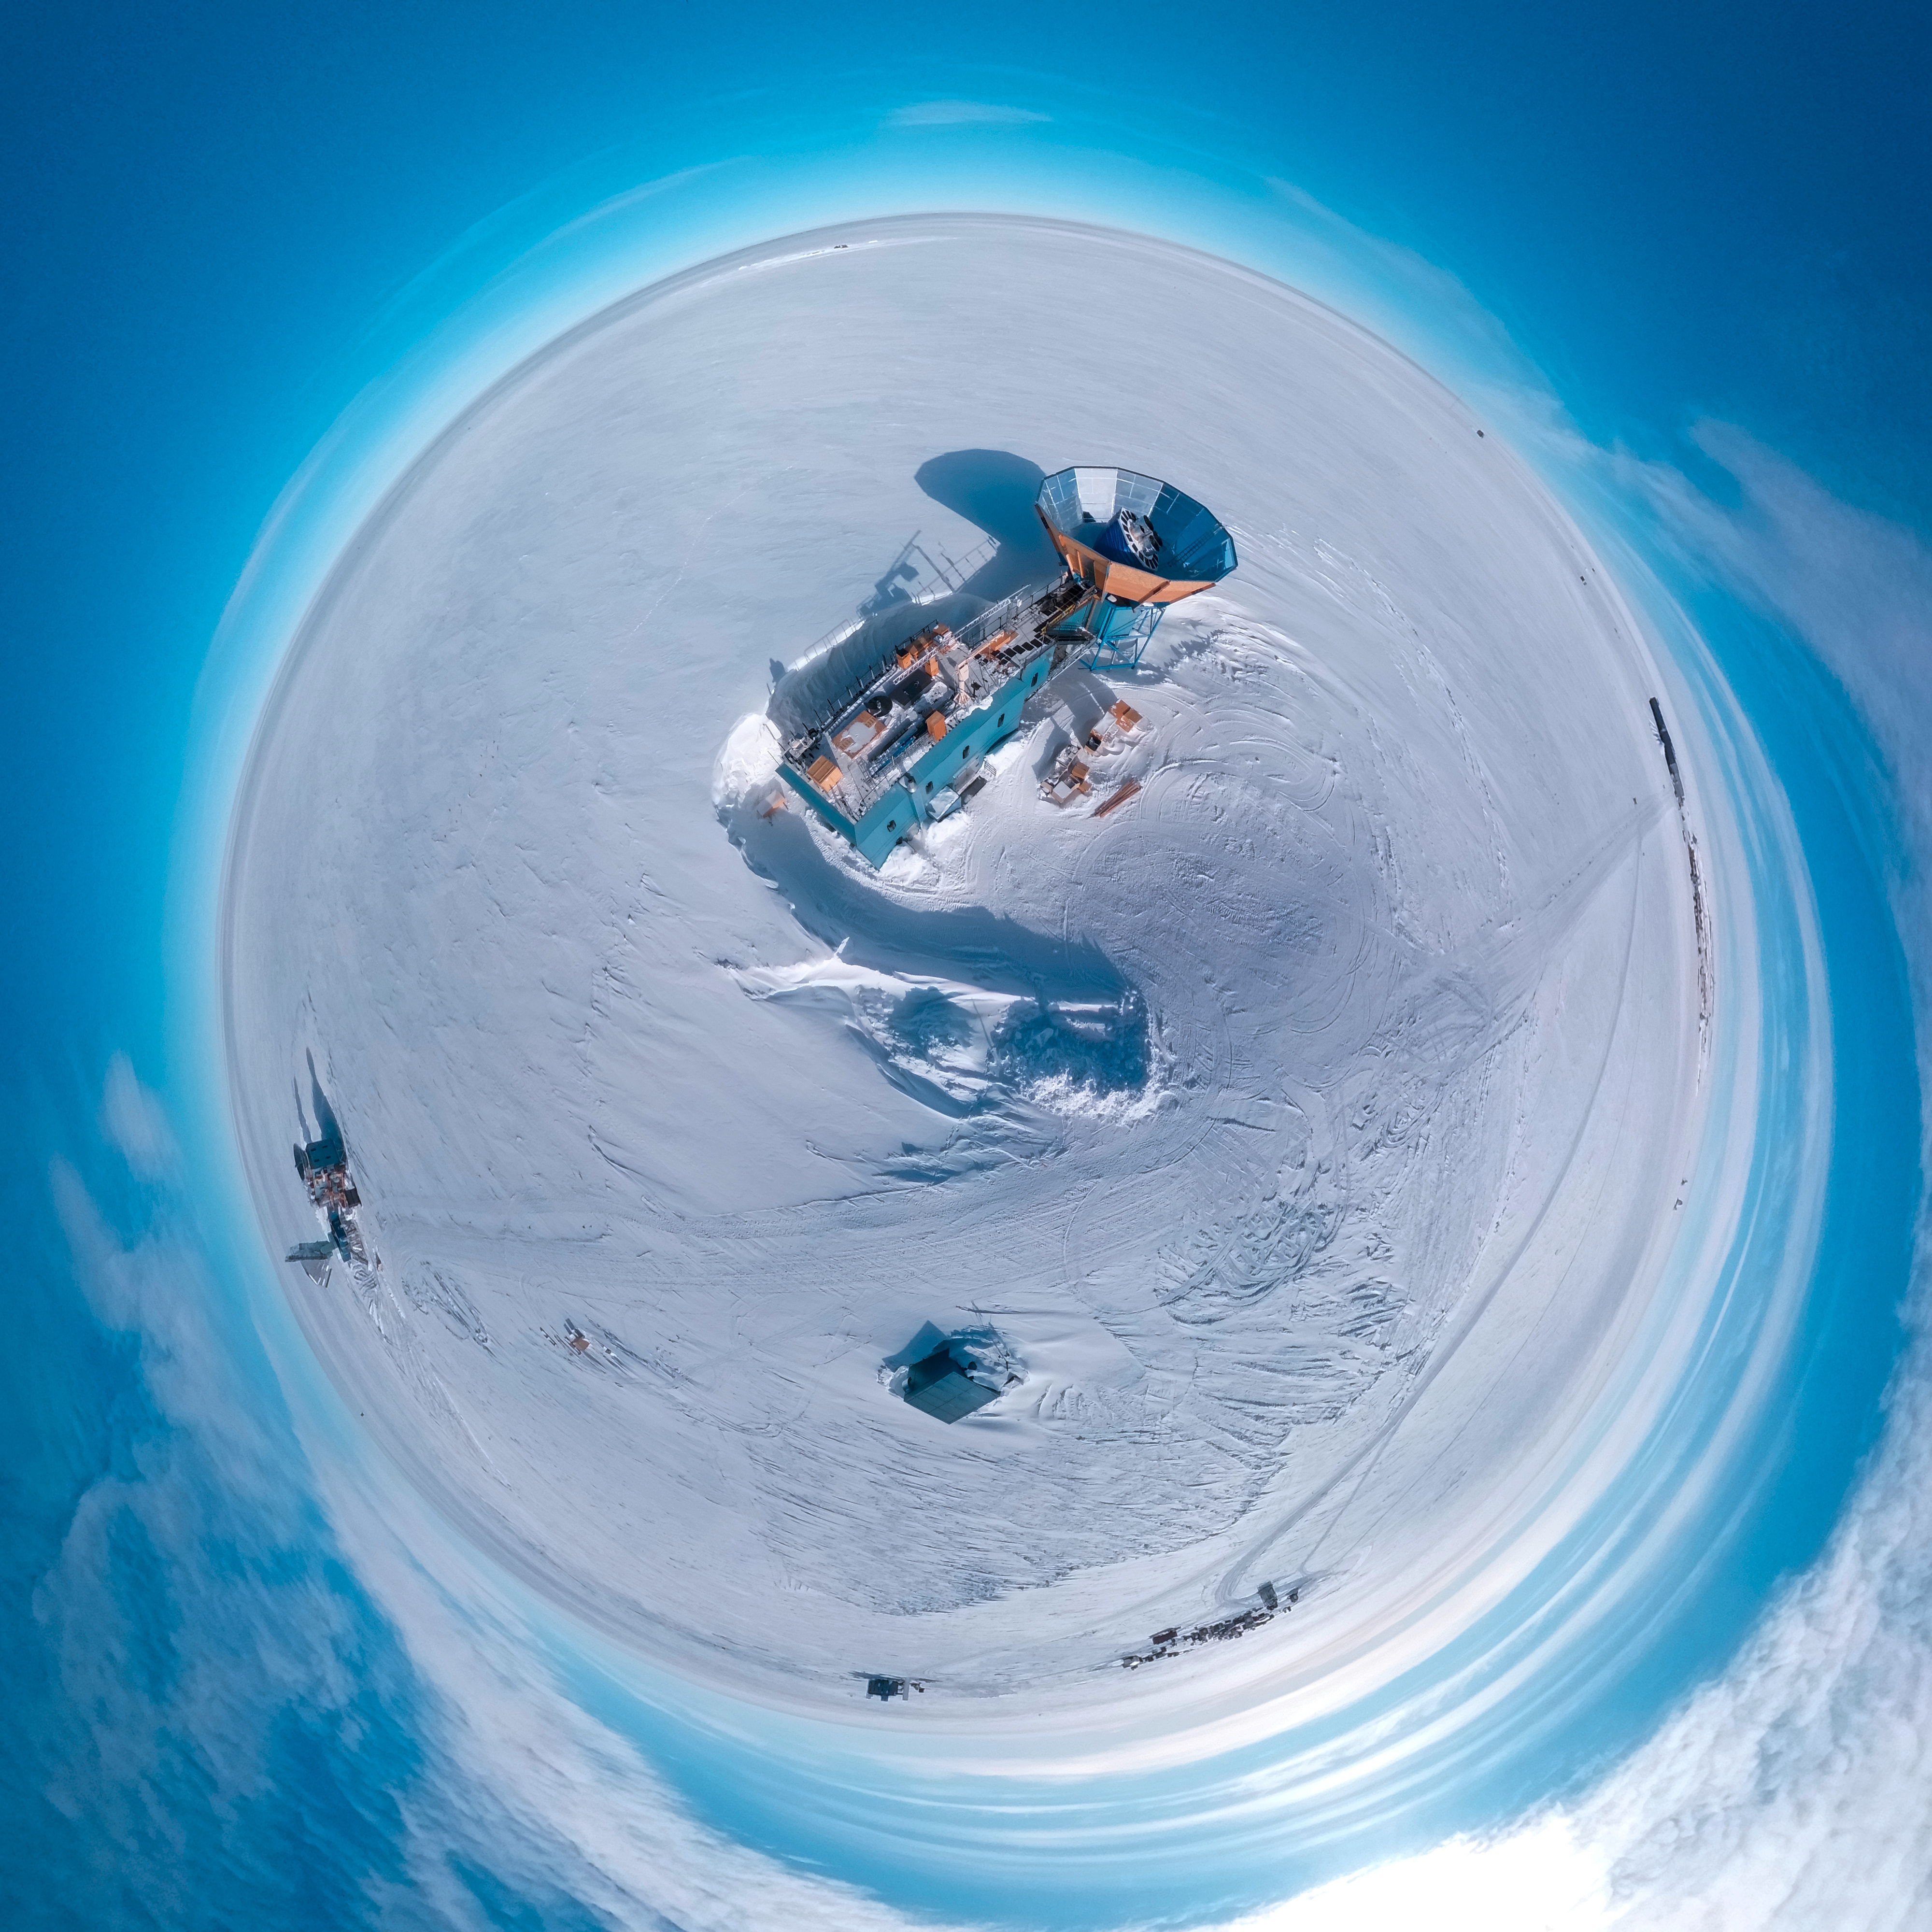
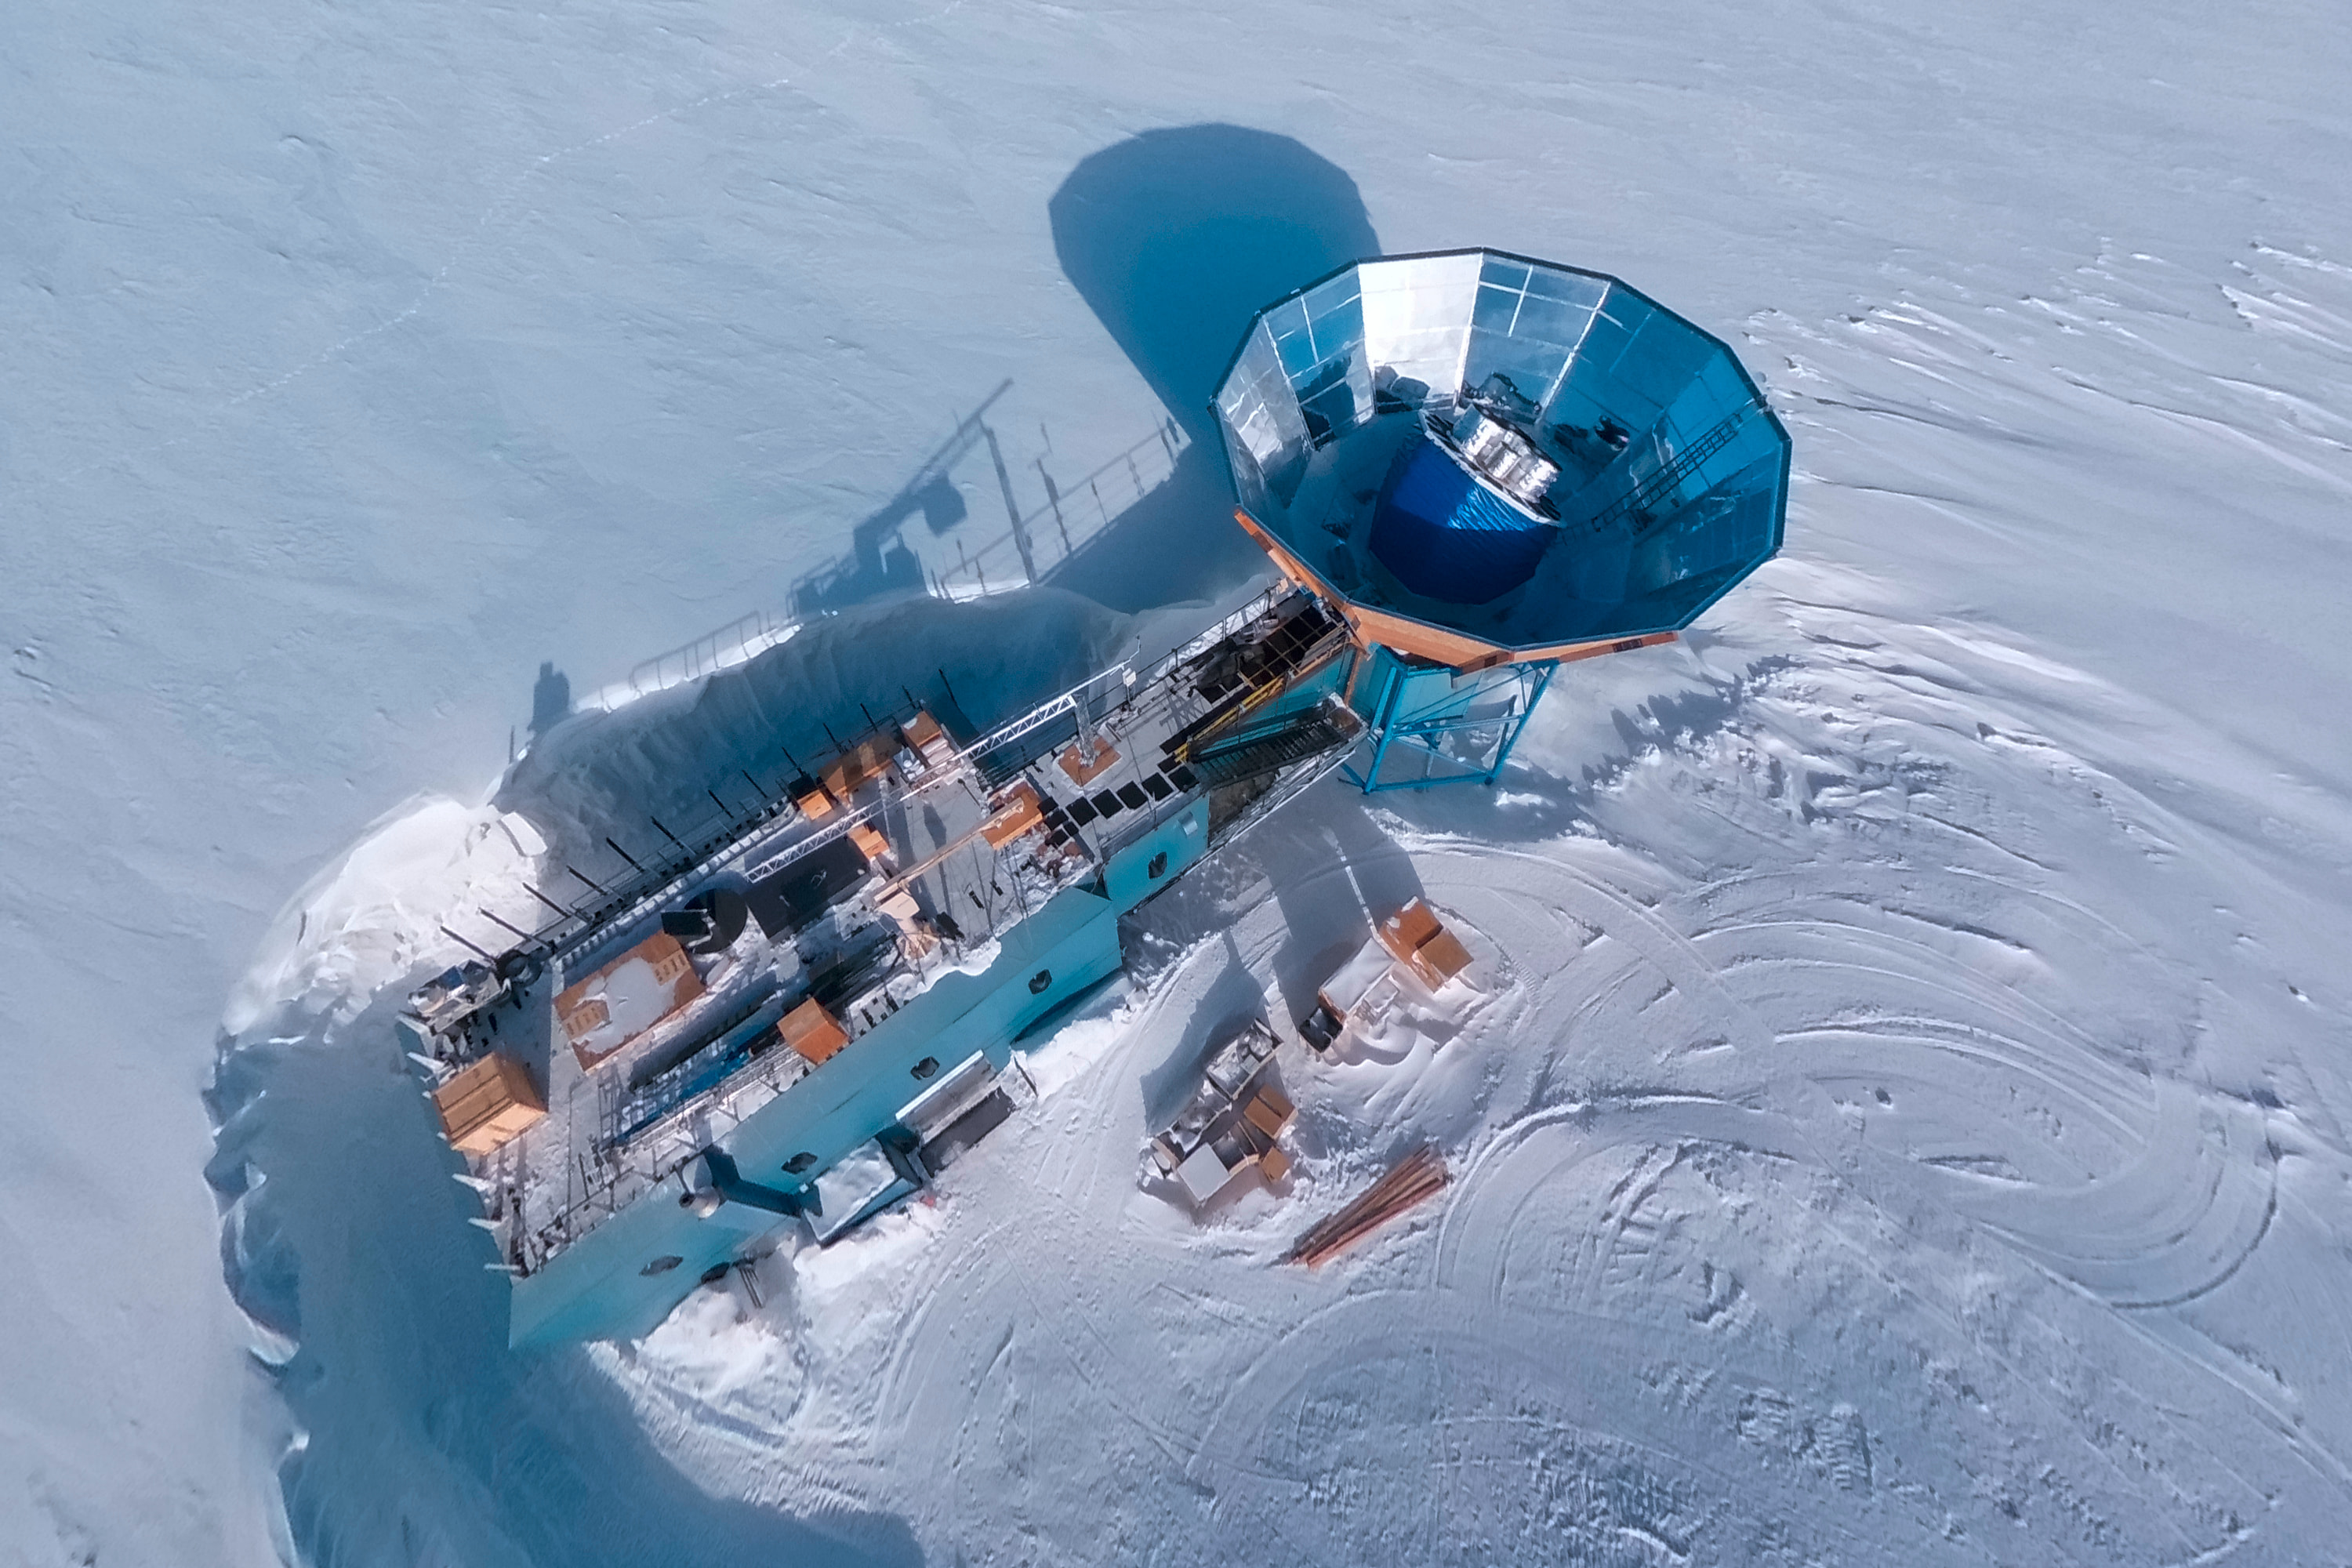
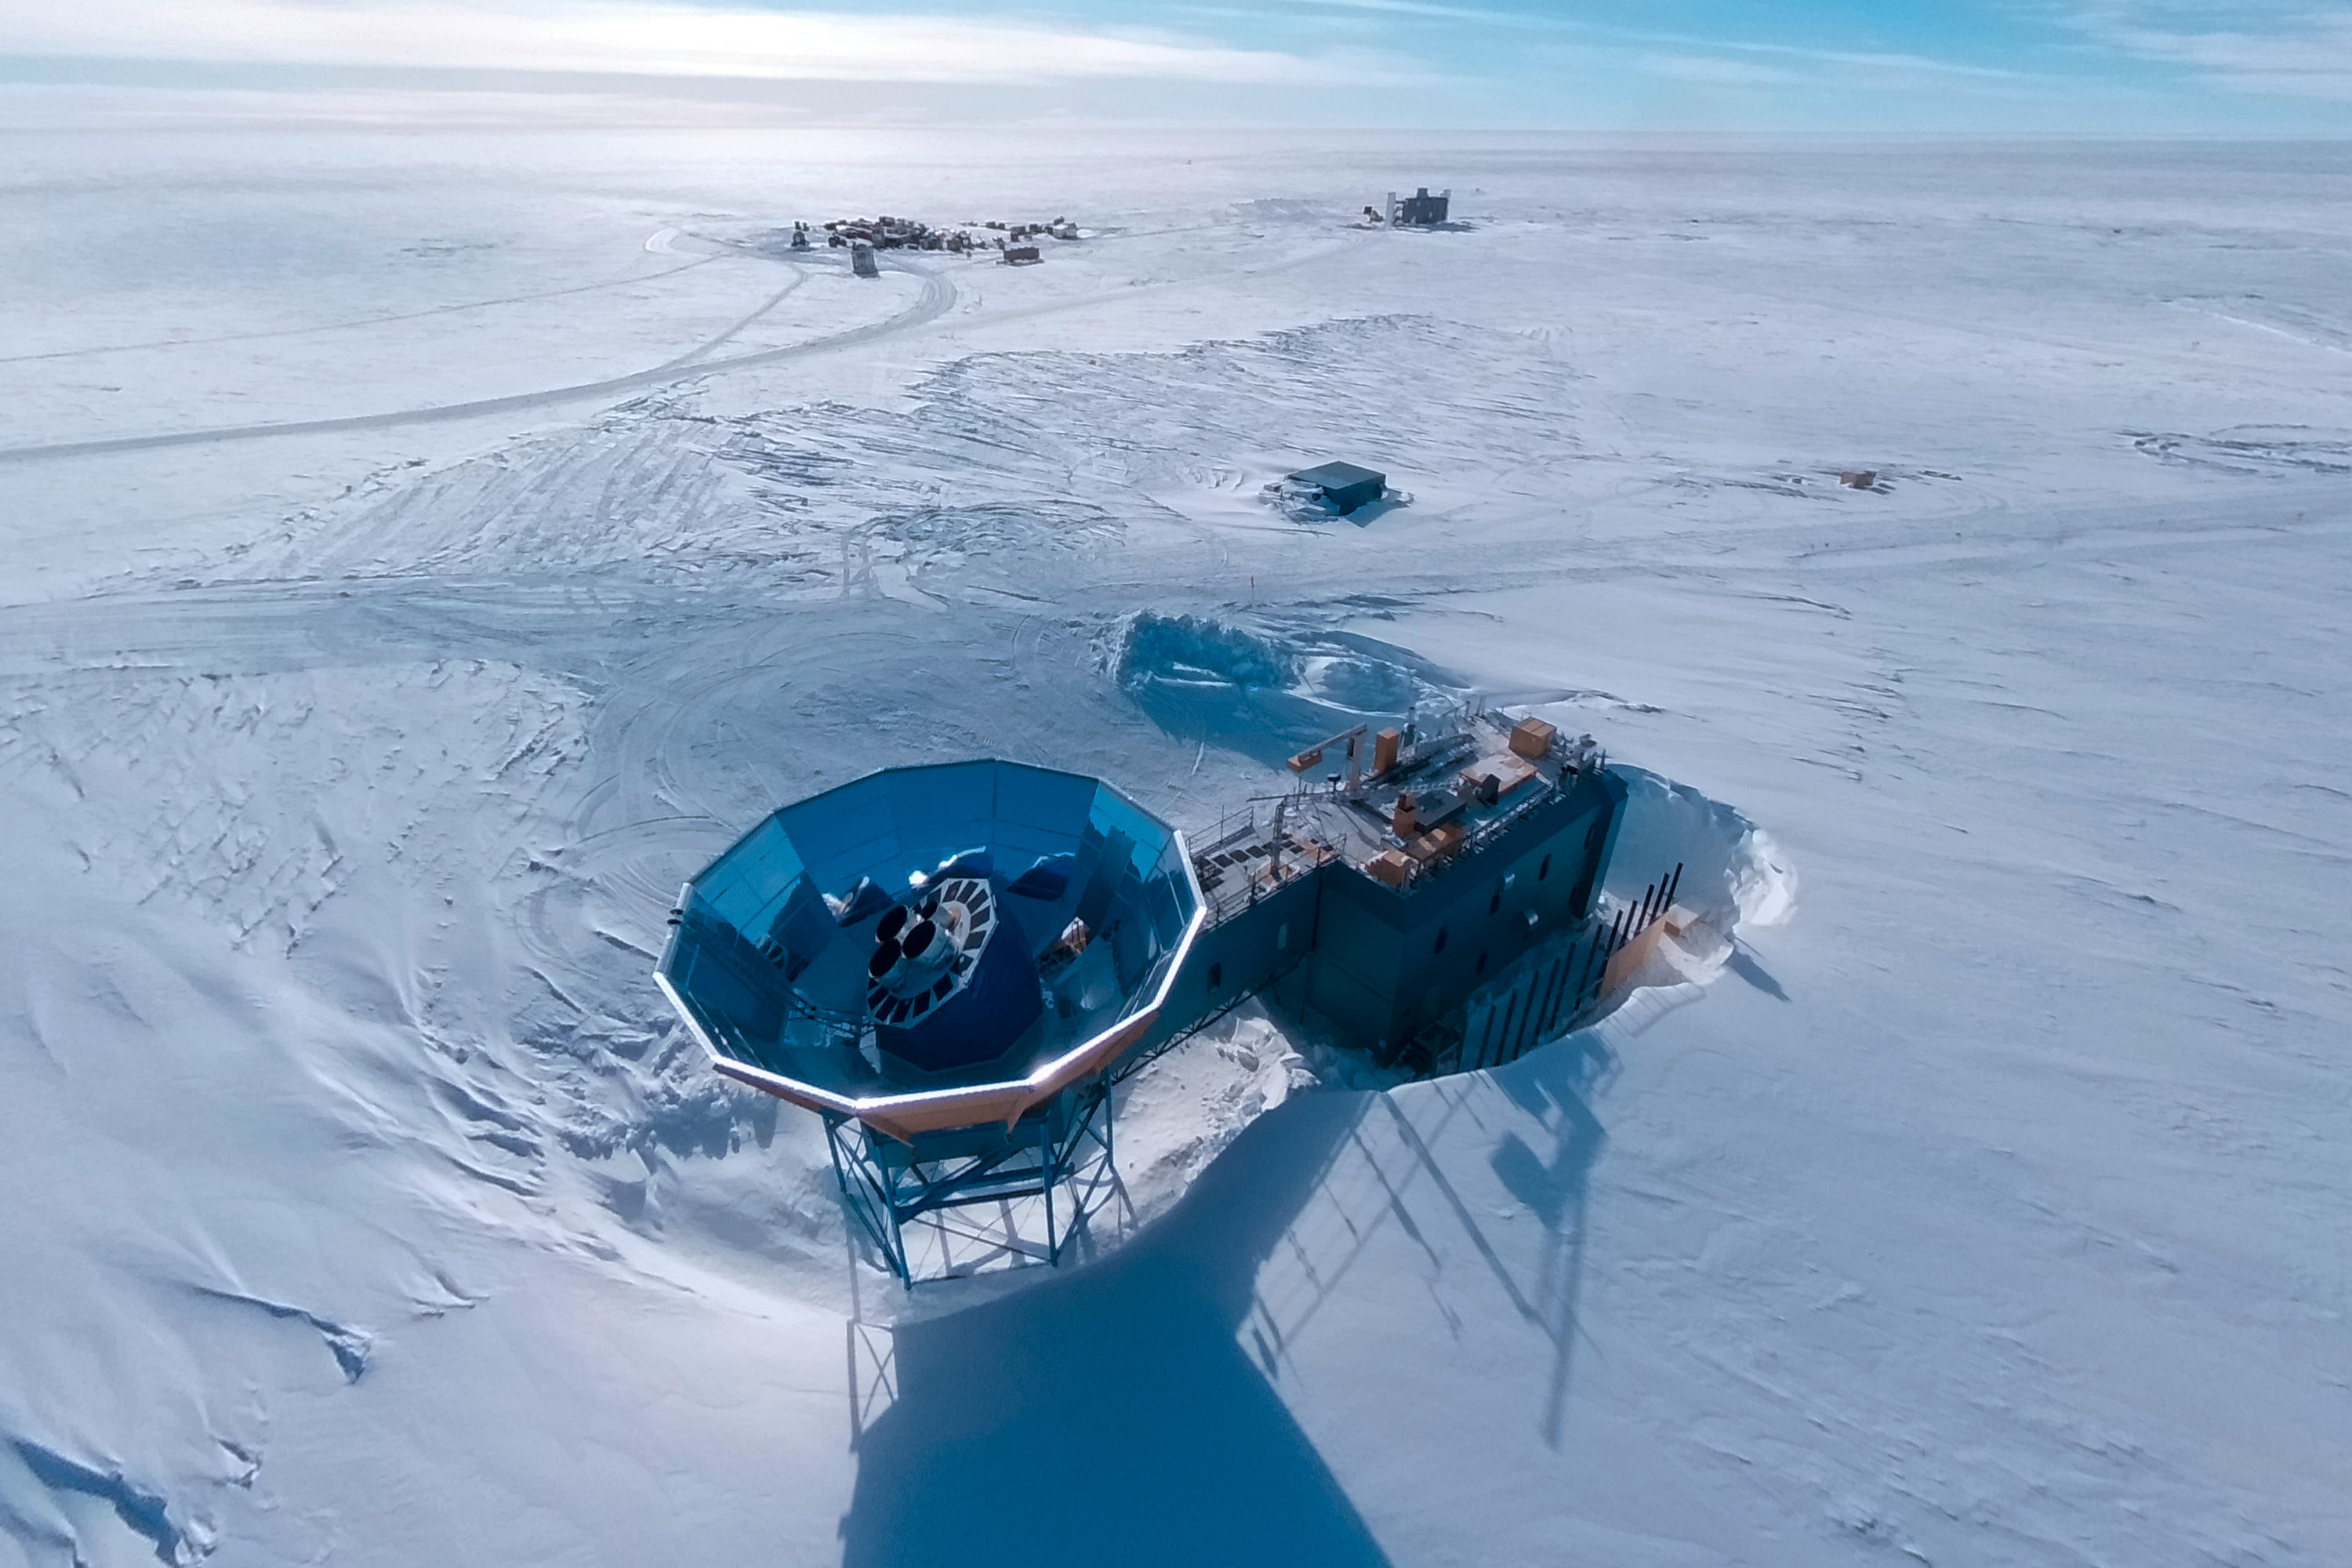
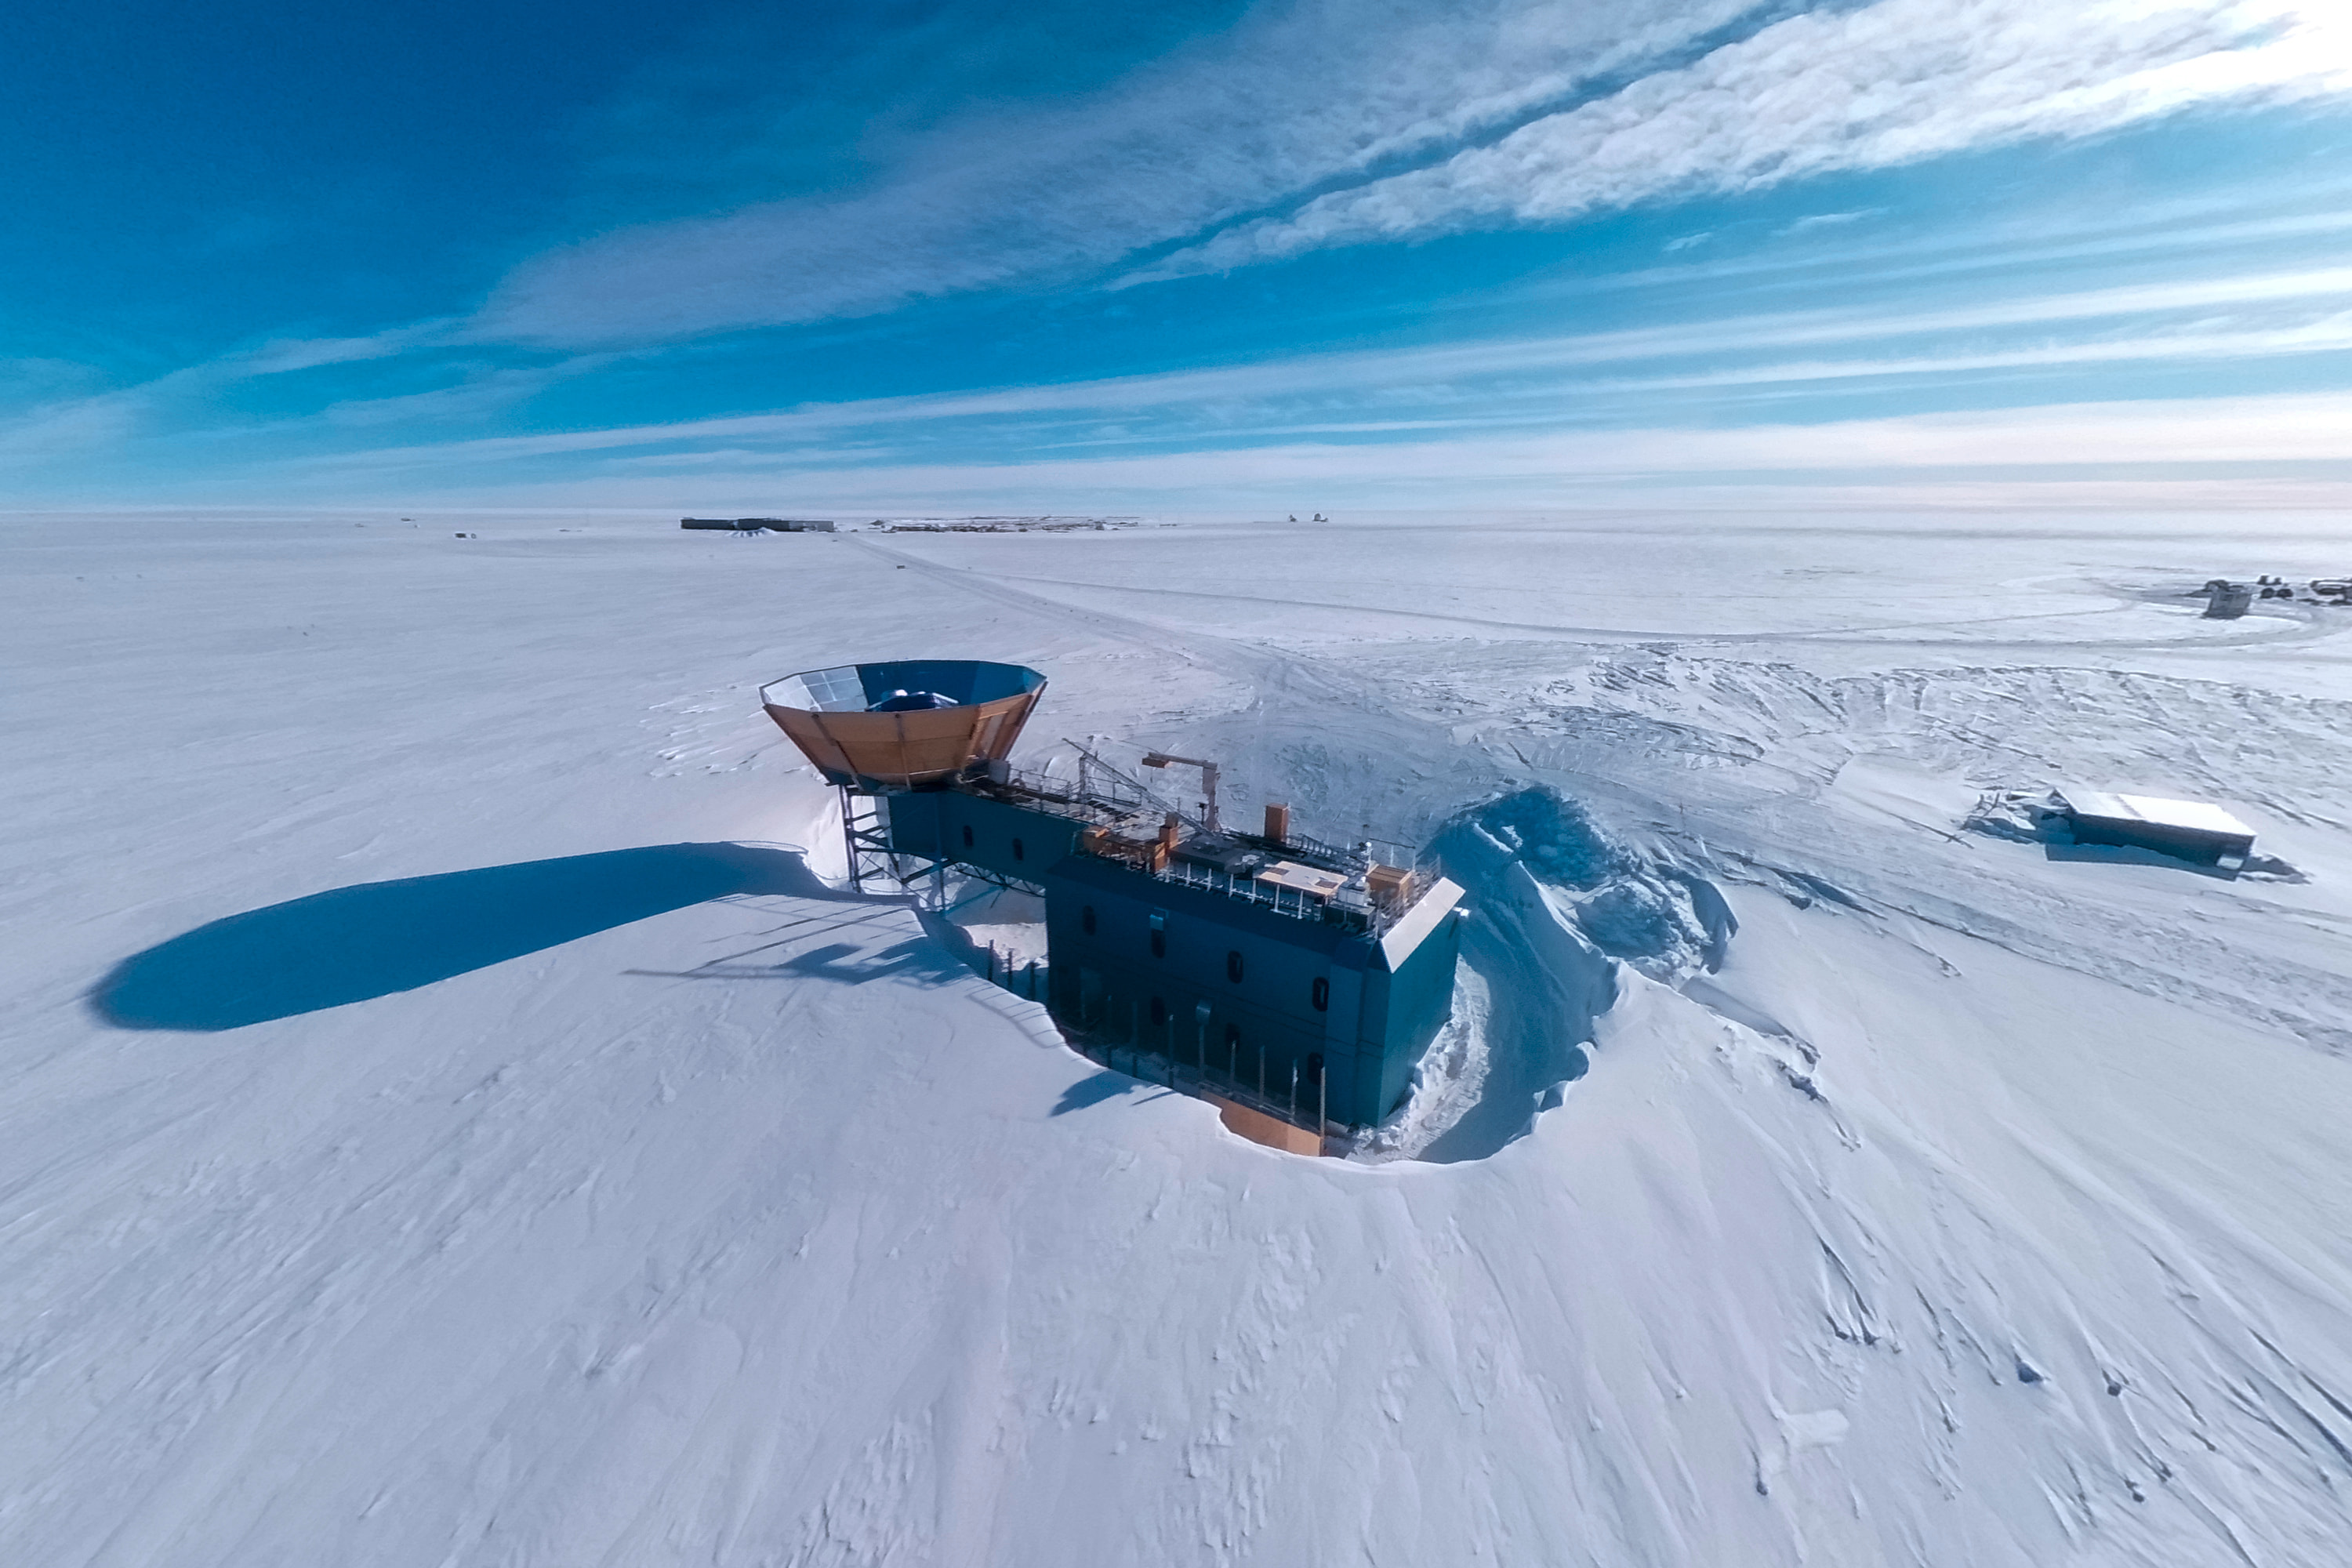
I flew the camera two additional times, with the second flight yielding the vast majority of the photos. For the second flight, I was able to launch the camera near the Dark Sector Laboratory (DSL) and then walk the kite and camera over to the Martin A. Pomerantz Observatory (MAPO) building, IceCube Upgrade drill camp, the IceCube Laboratory building, and then back to DSL, although the weather was a bit cloudy.
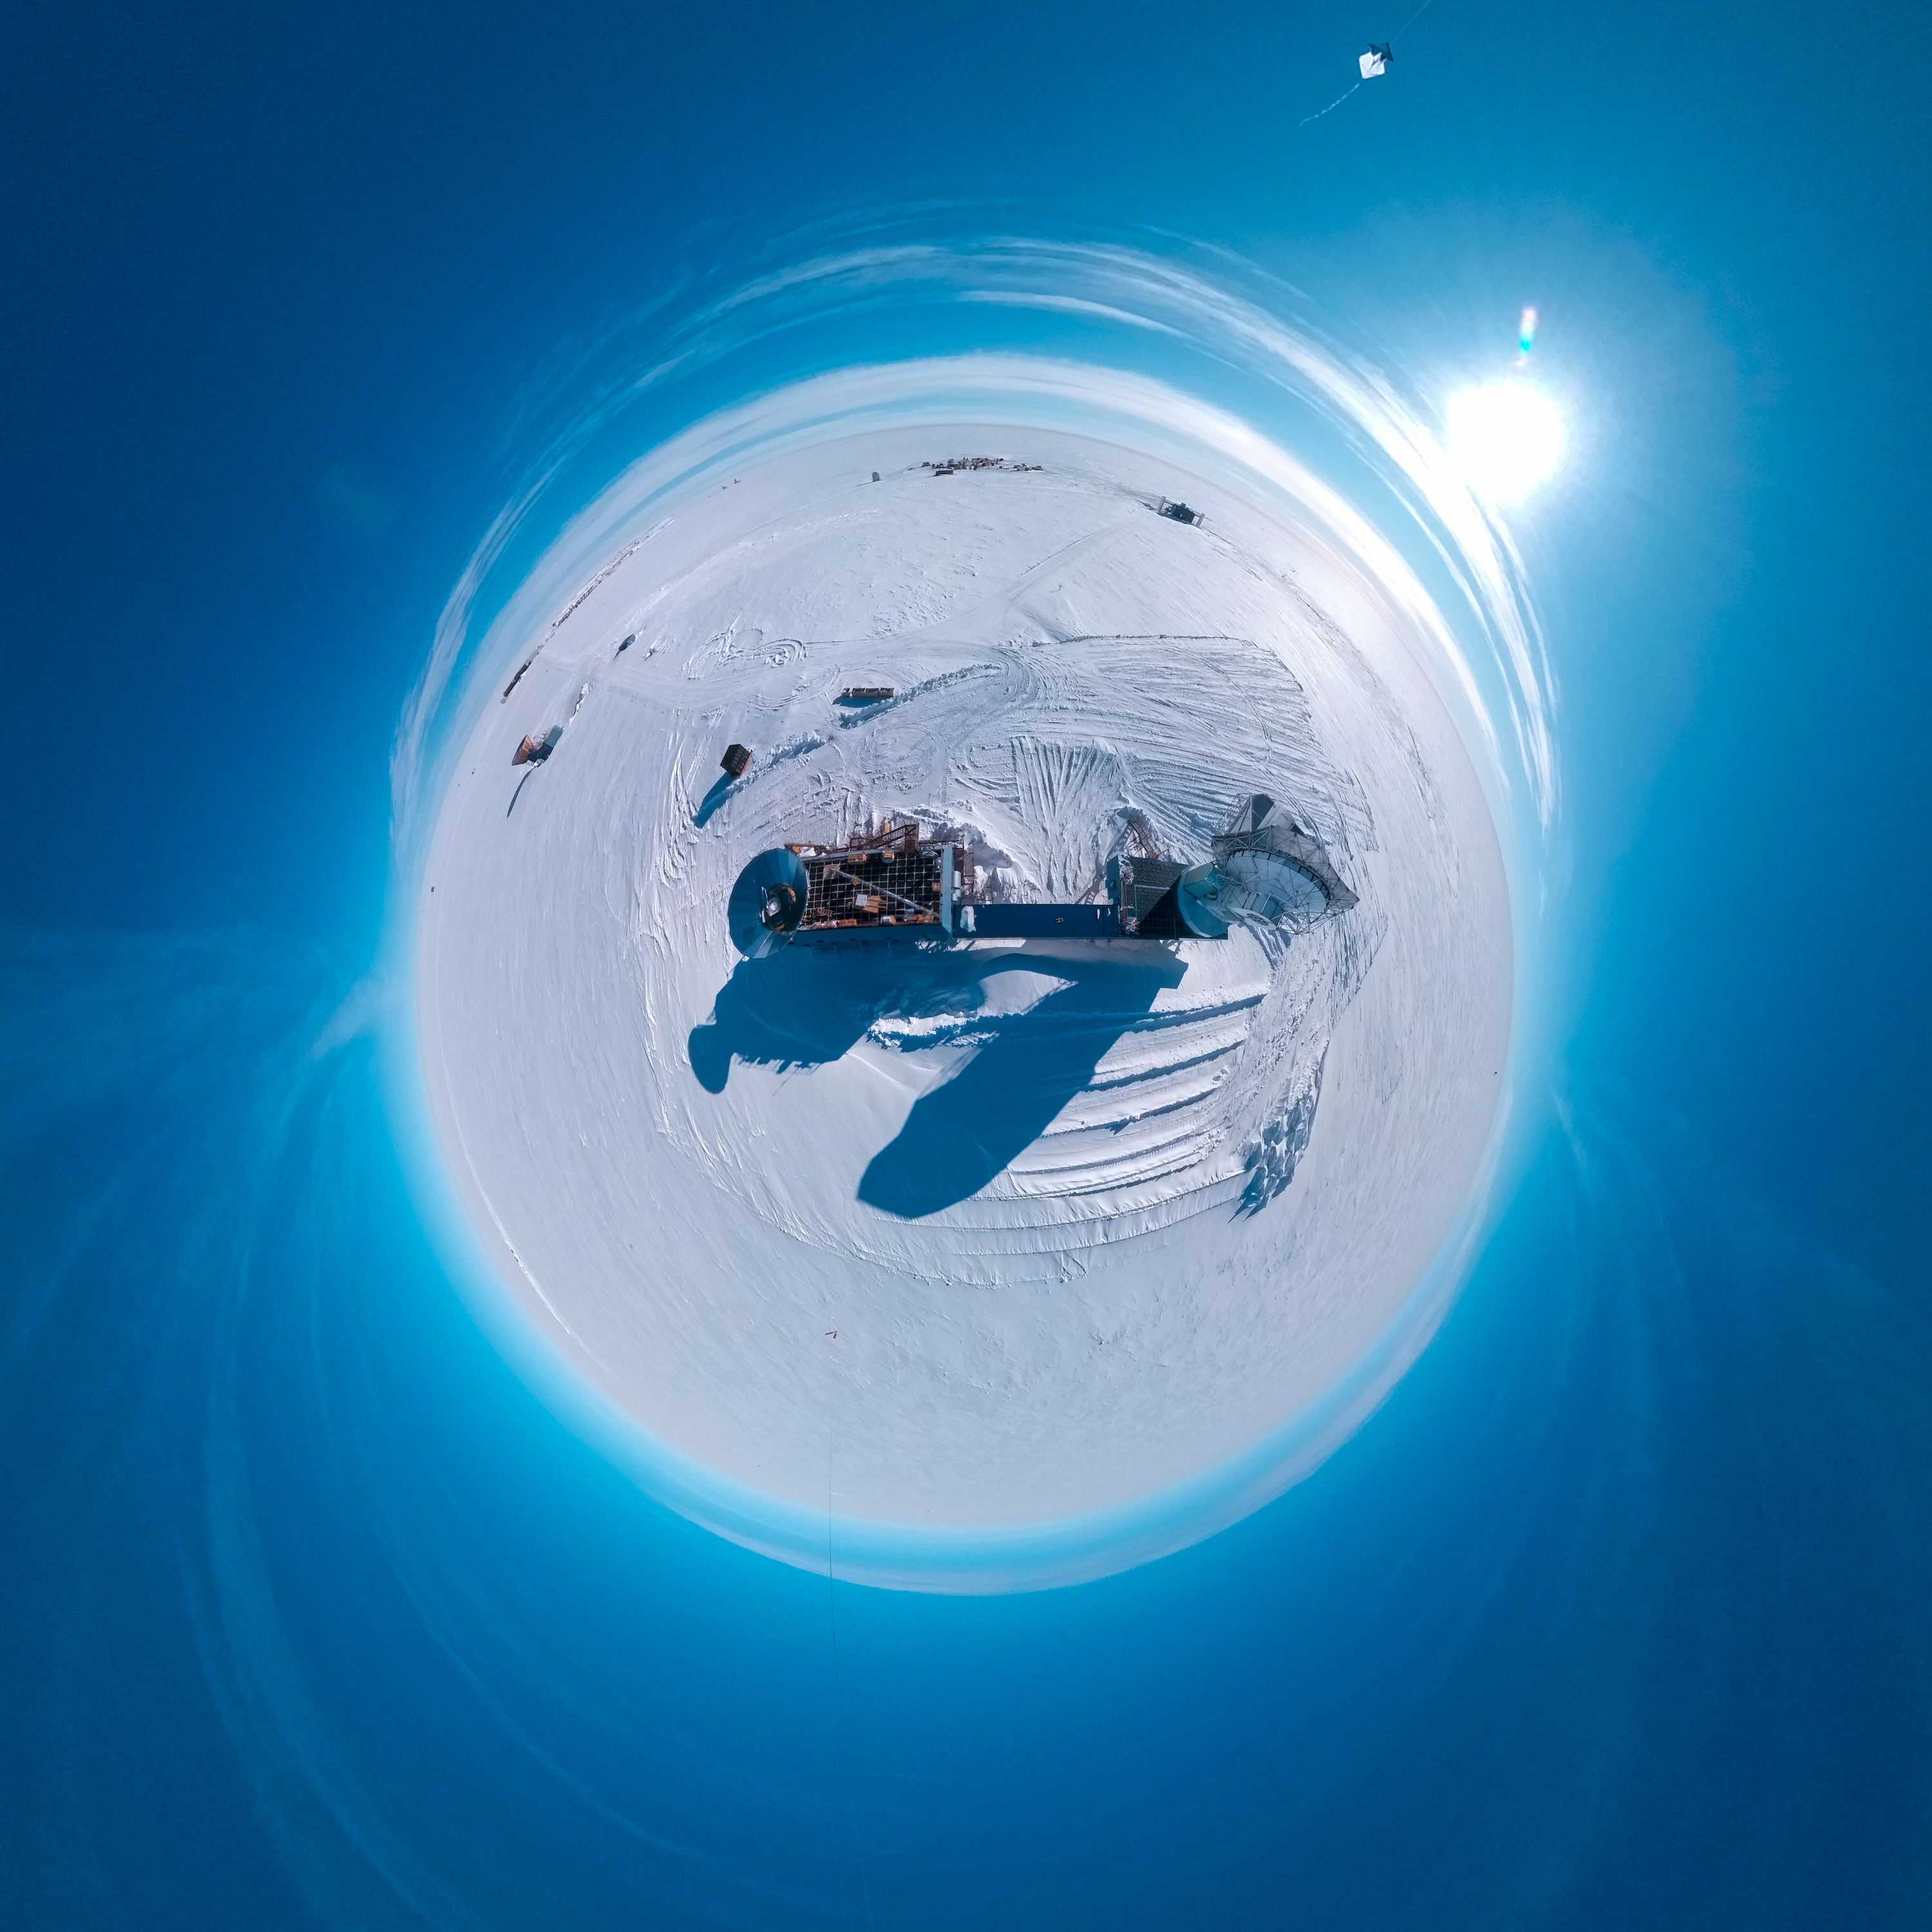

For the third and final flight, it was a bit too windy for the kite. It was pretty much impossible to walk the kite upwind without it becoming unstable, and I wasn’t able to get in quite the position I wanted for photographing the South Pole Telescope, but it still yielded a different perspective than the previous flight.
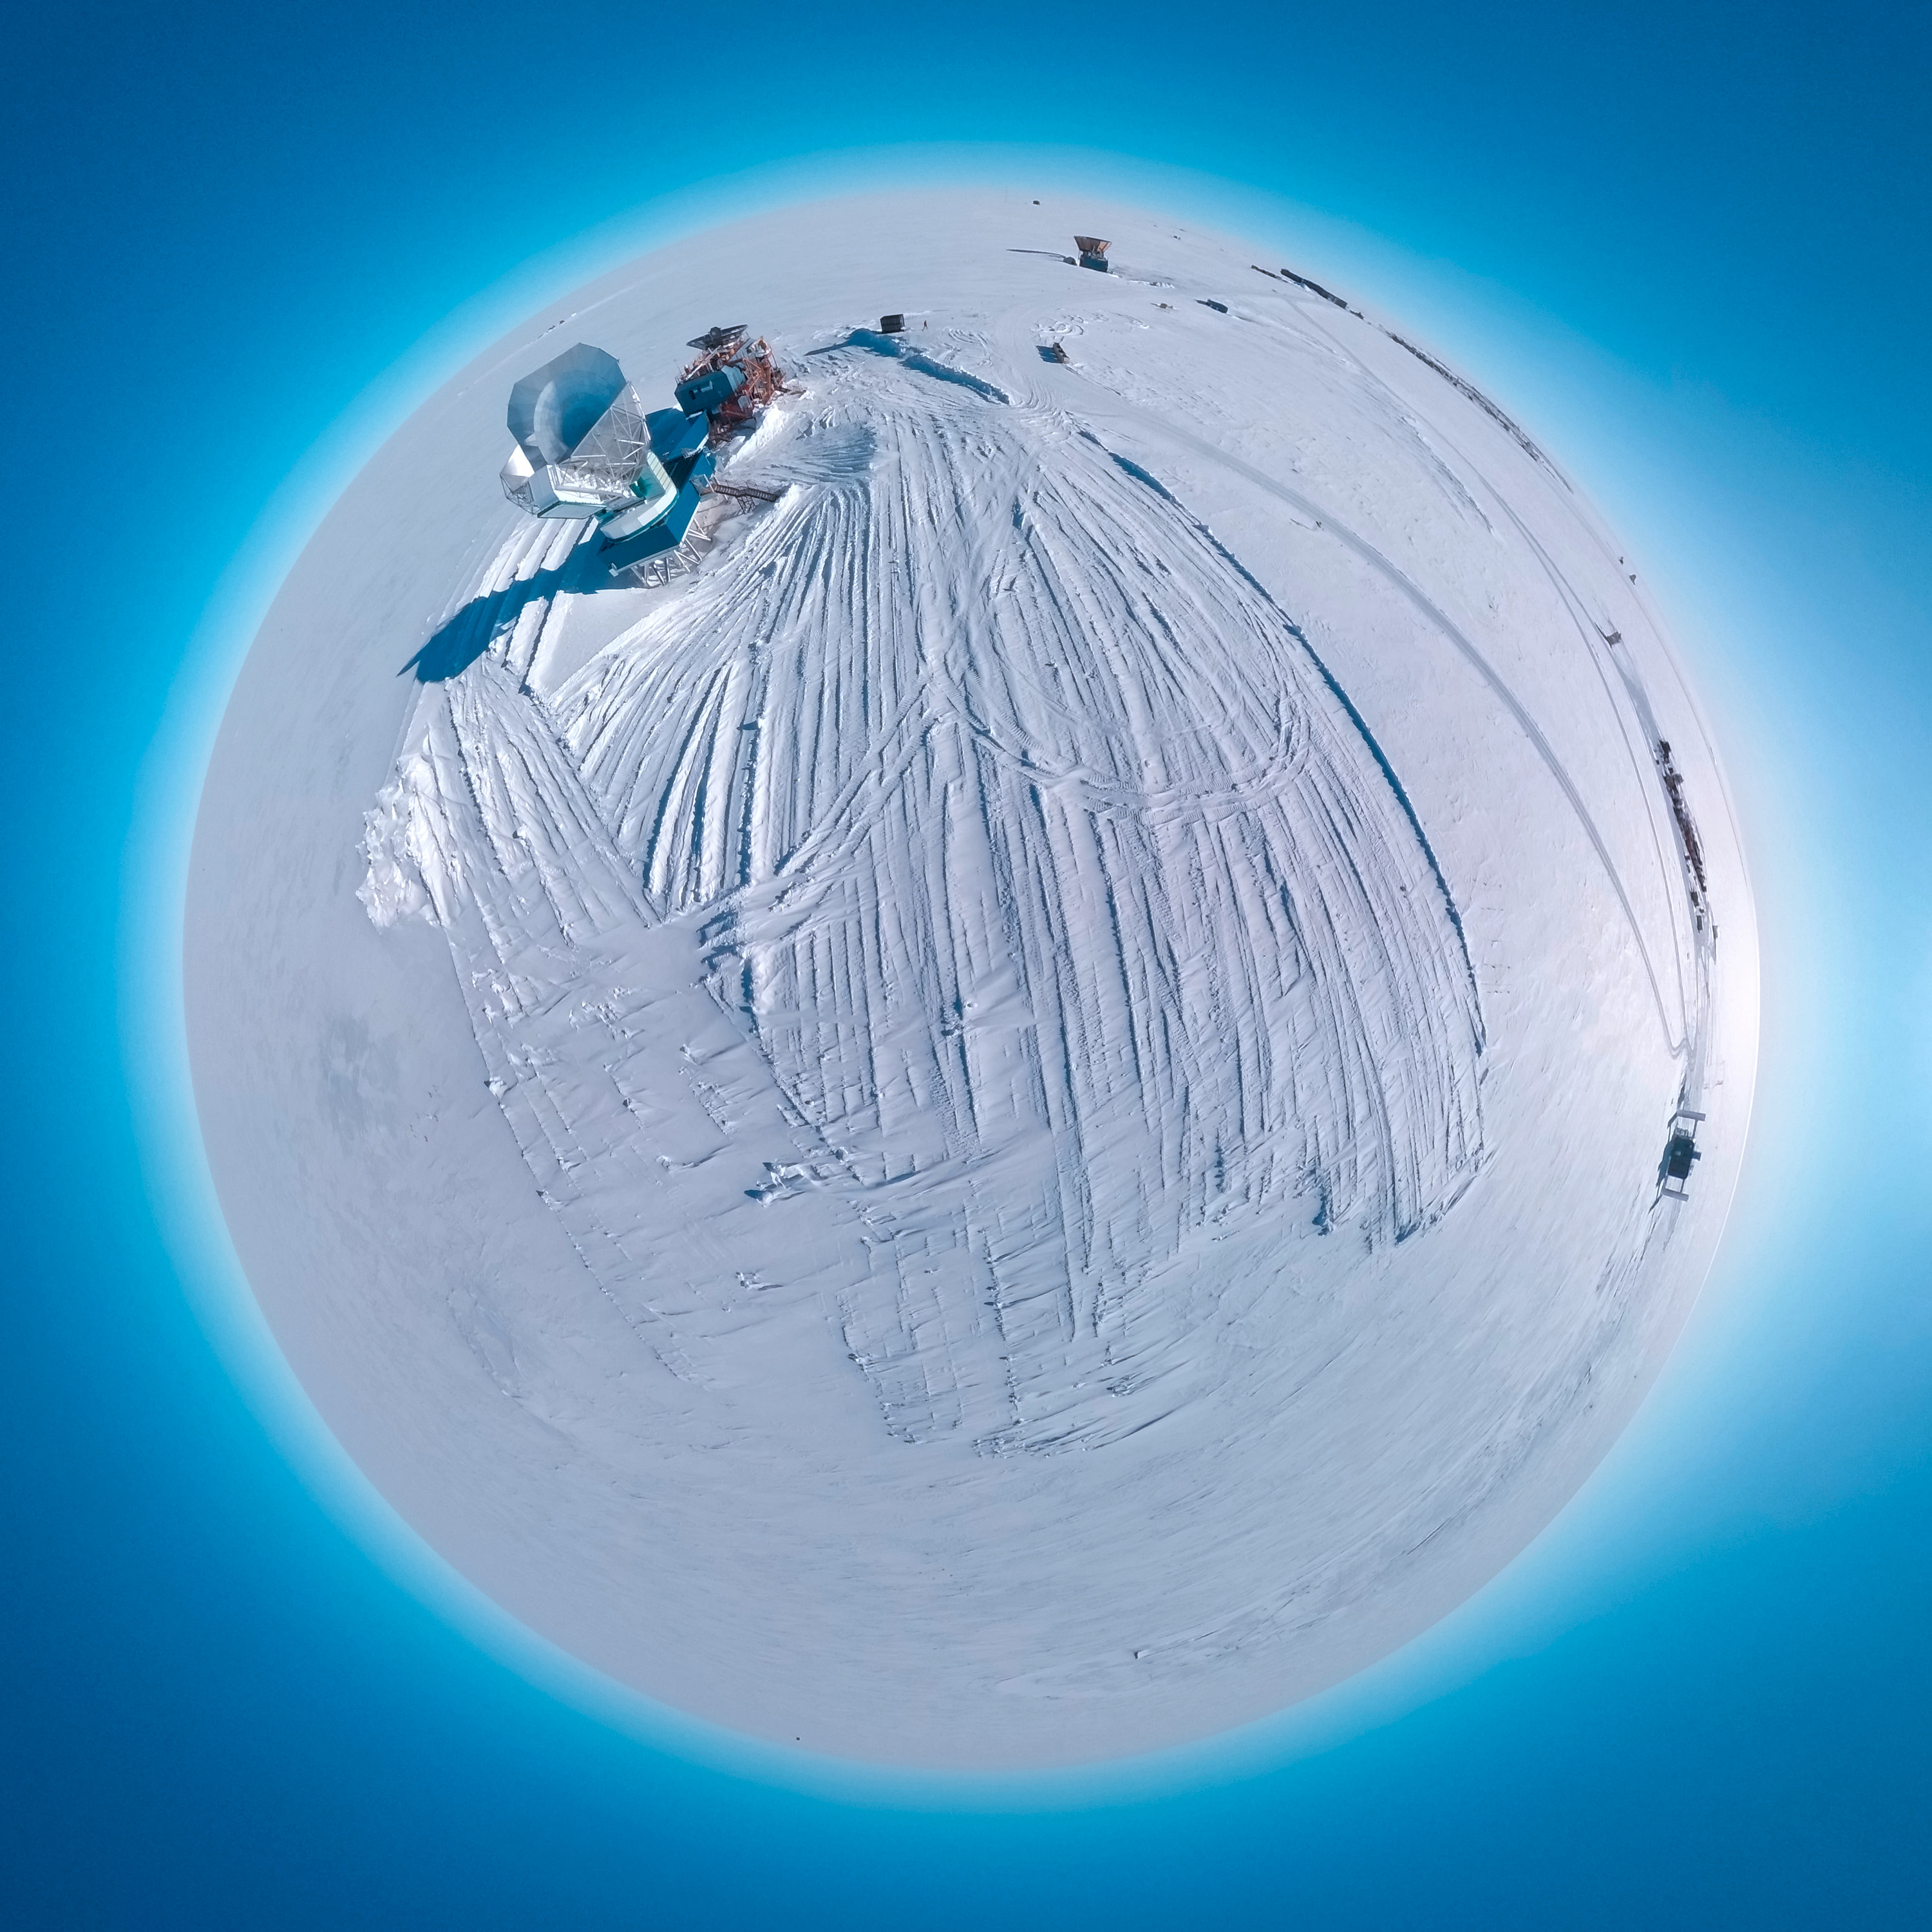
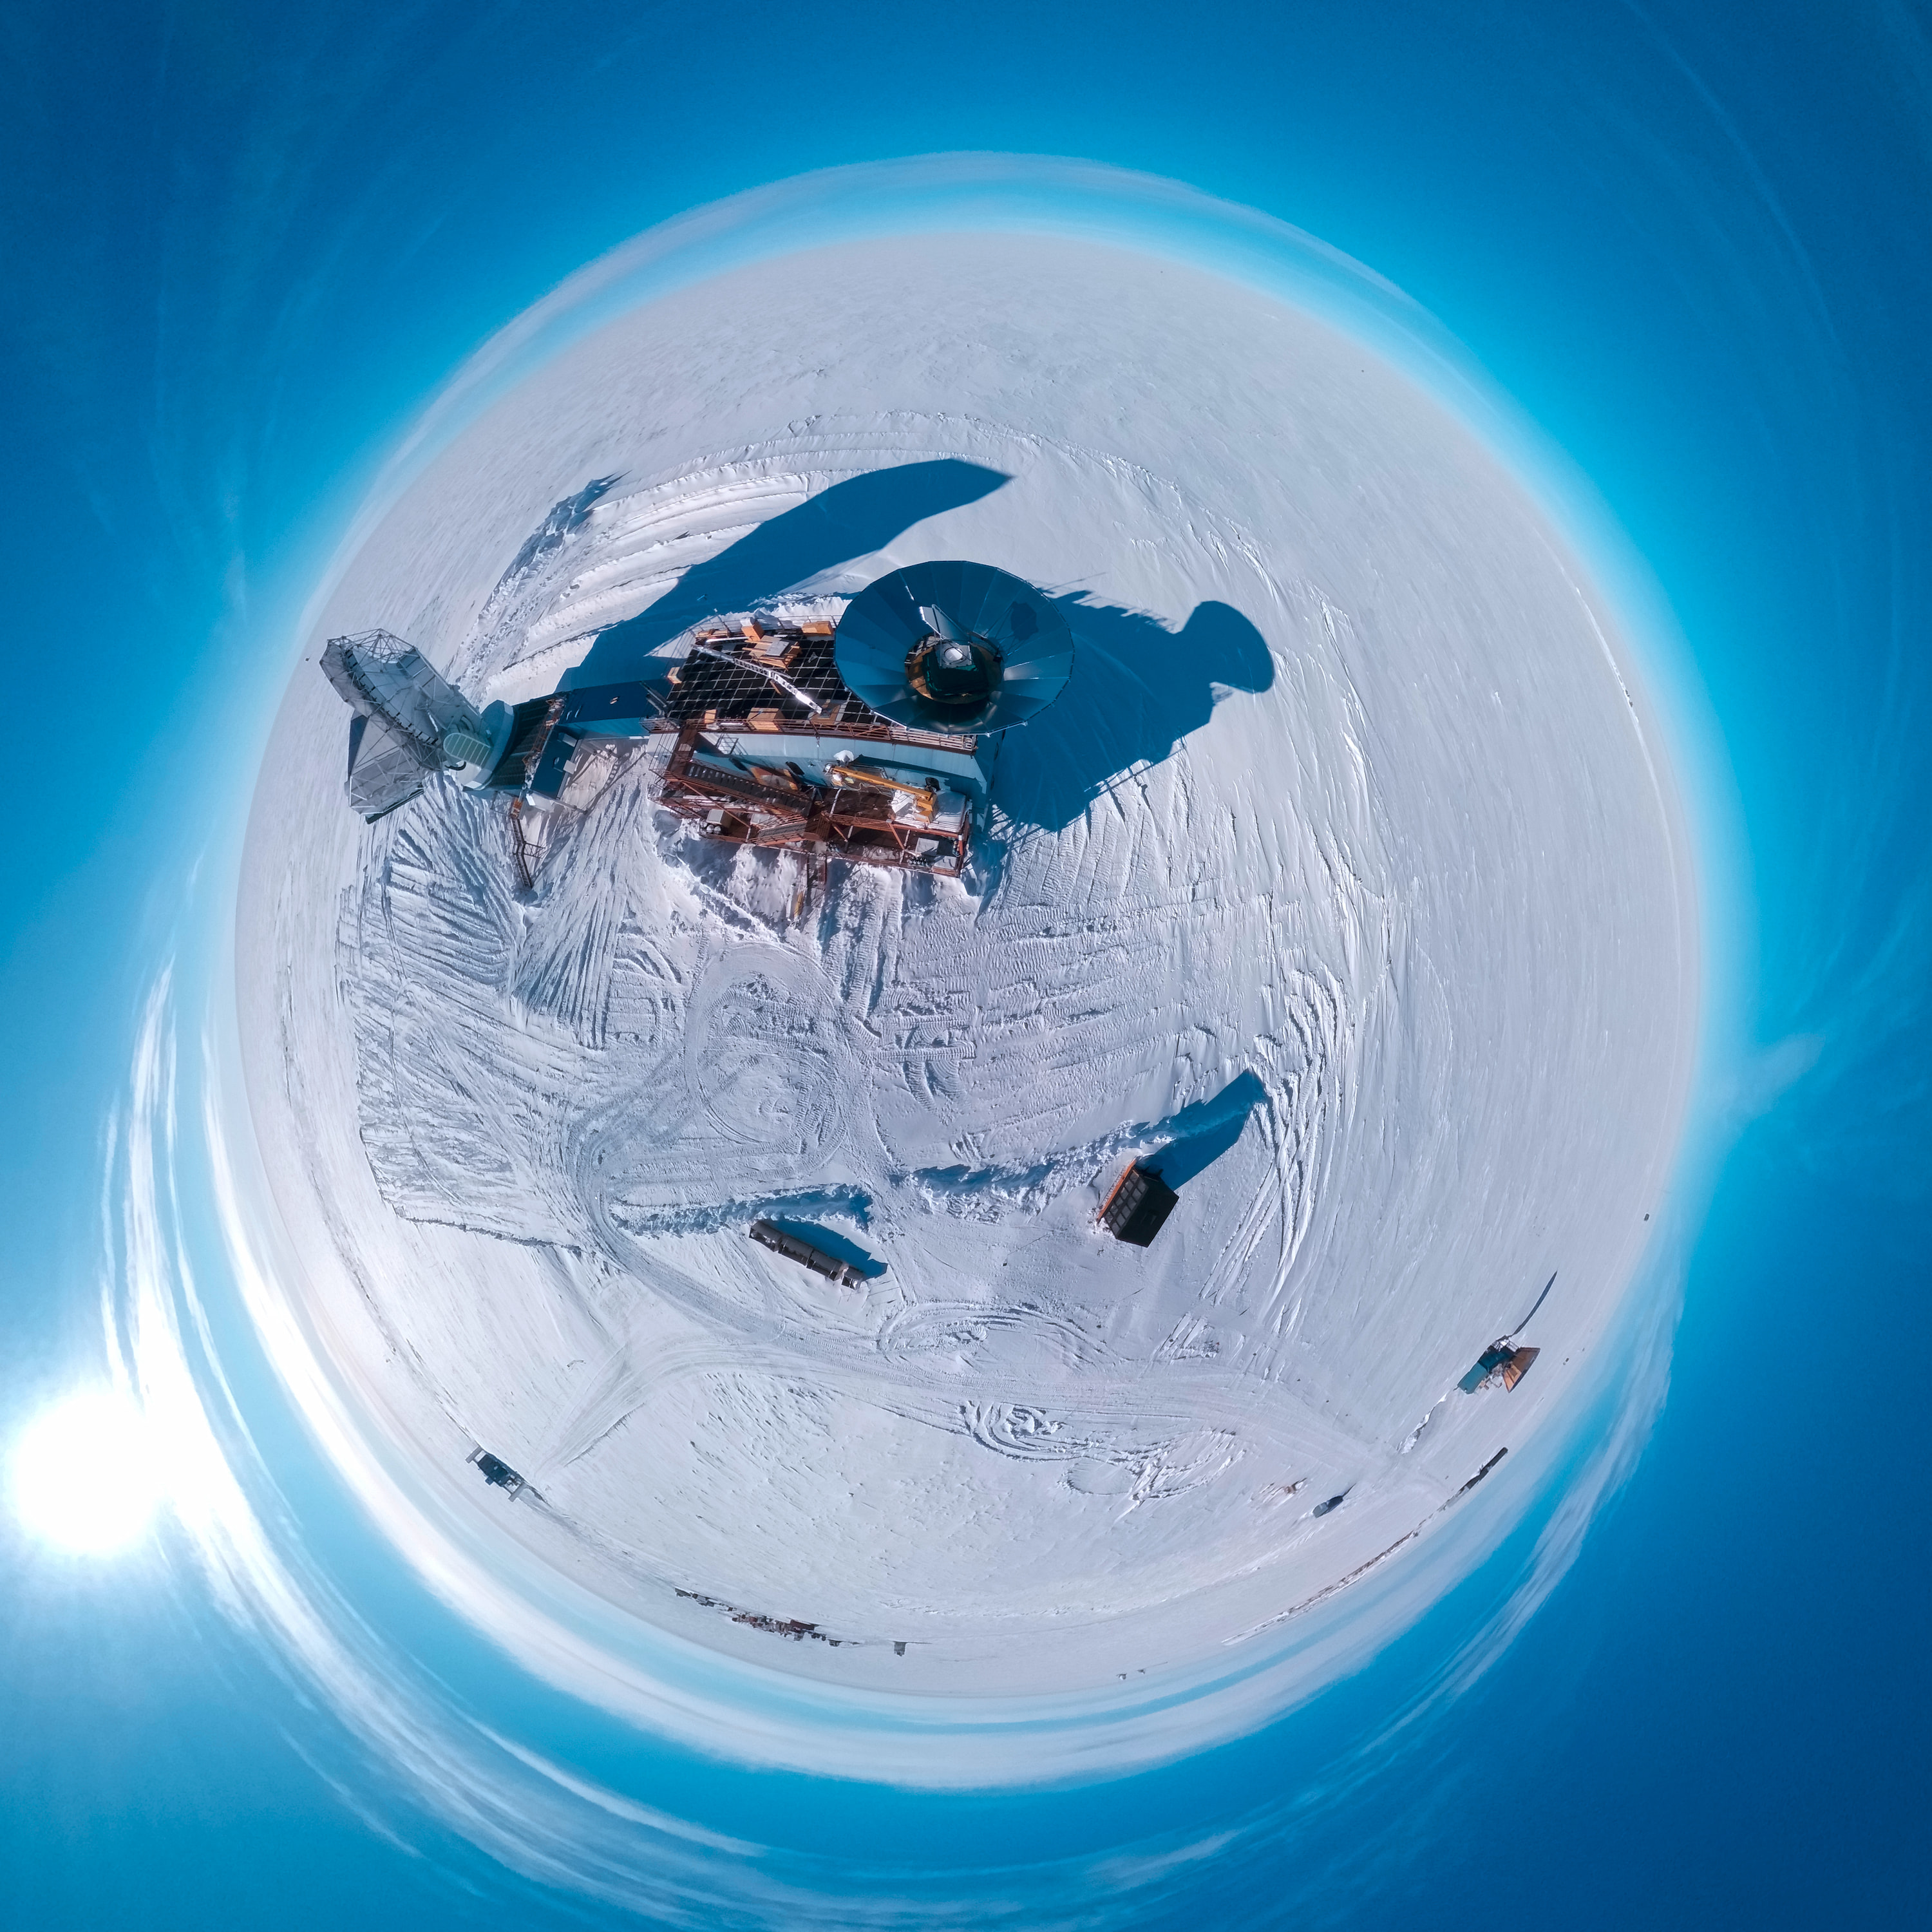
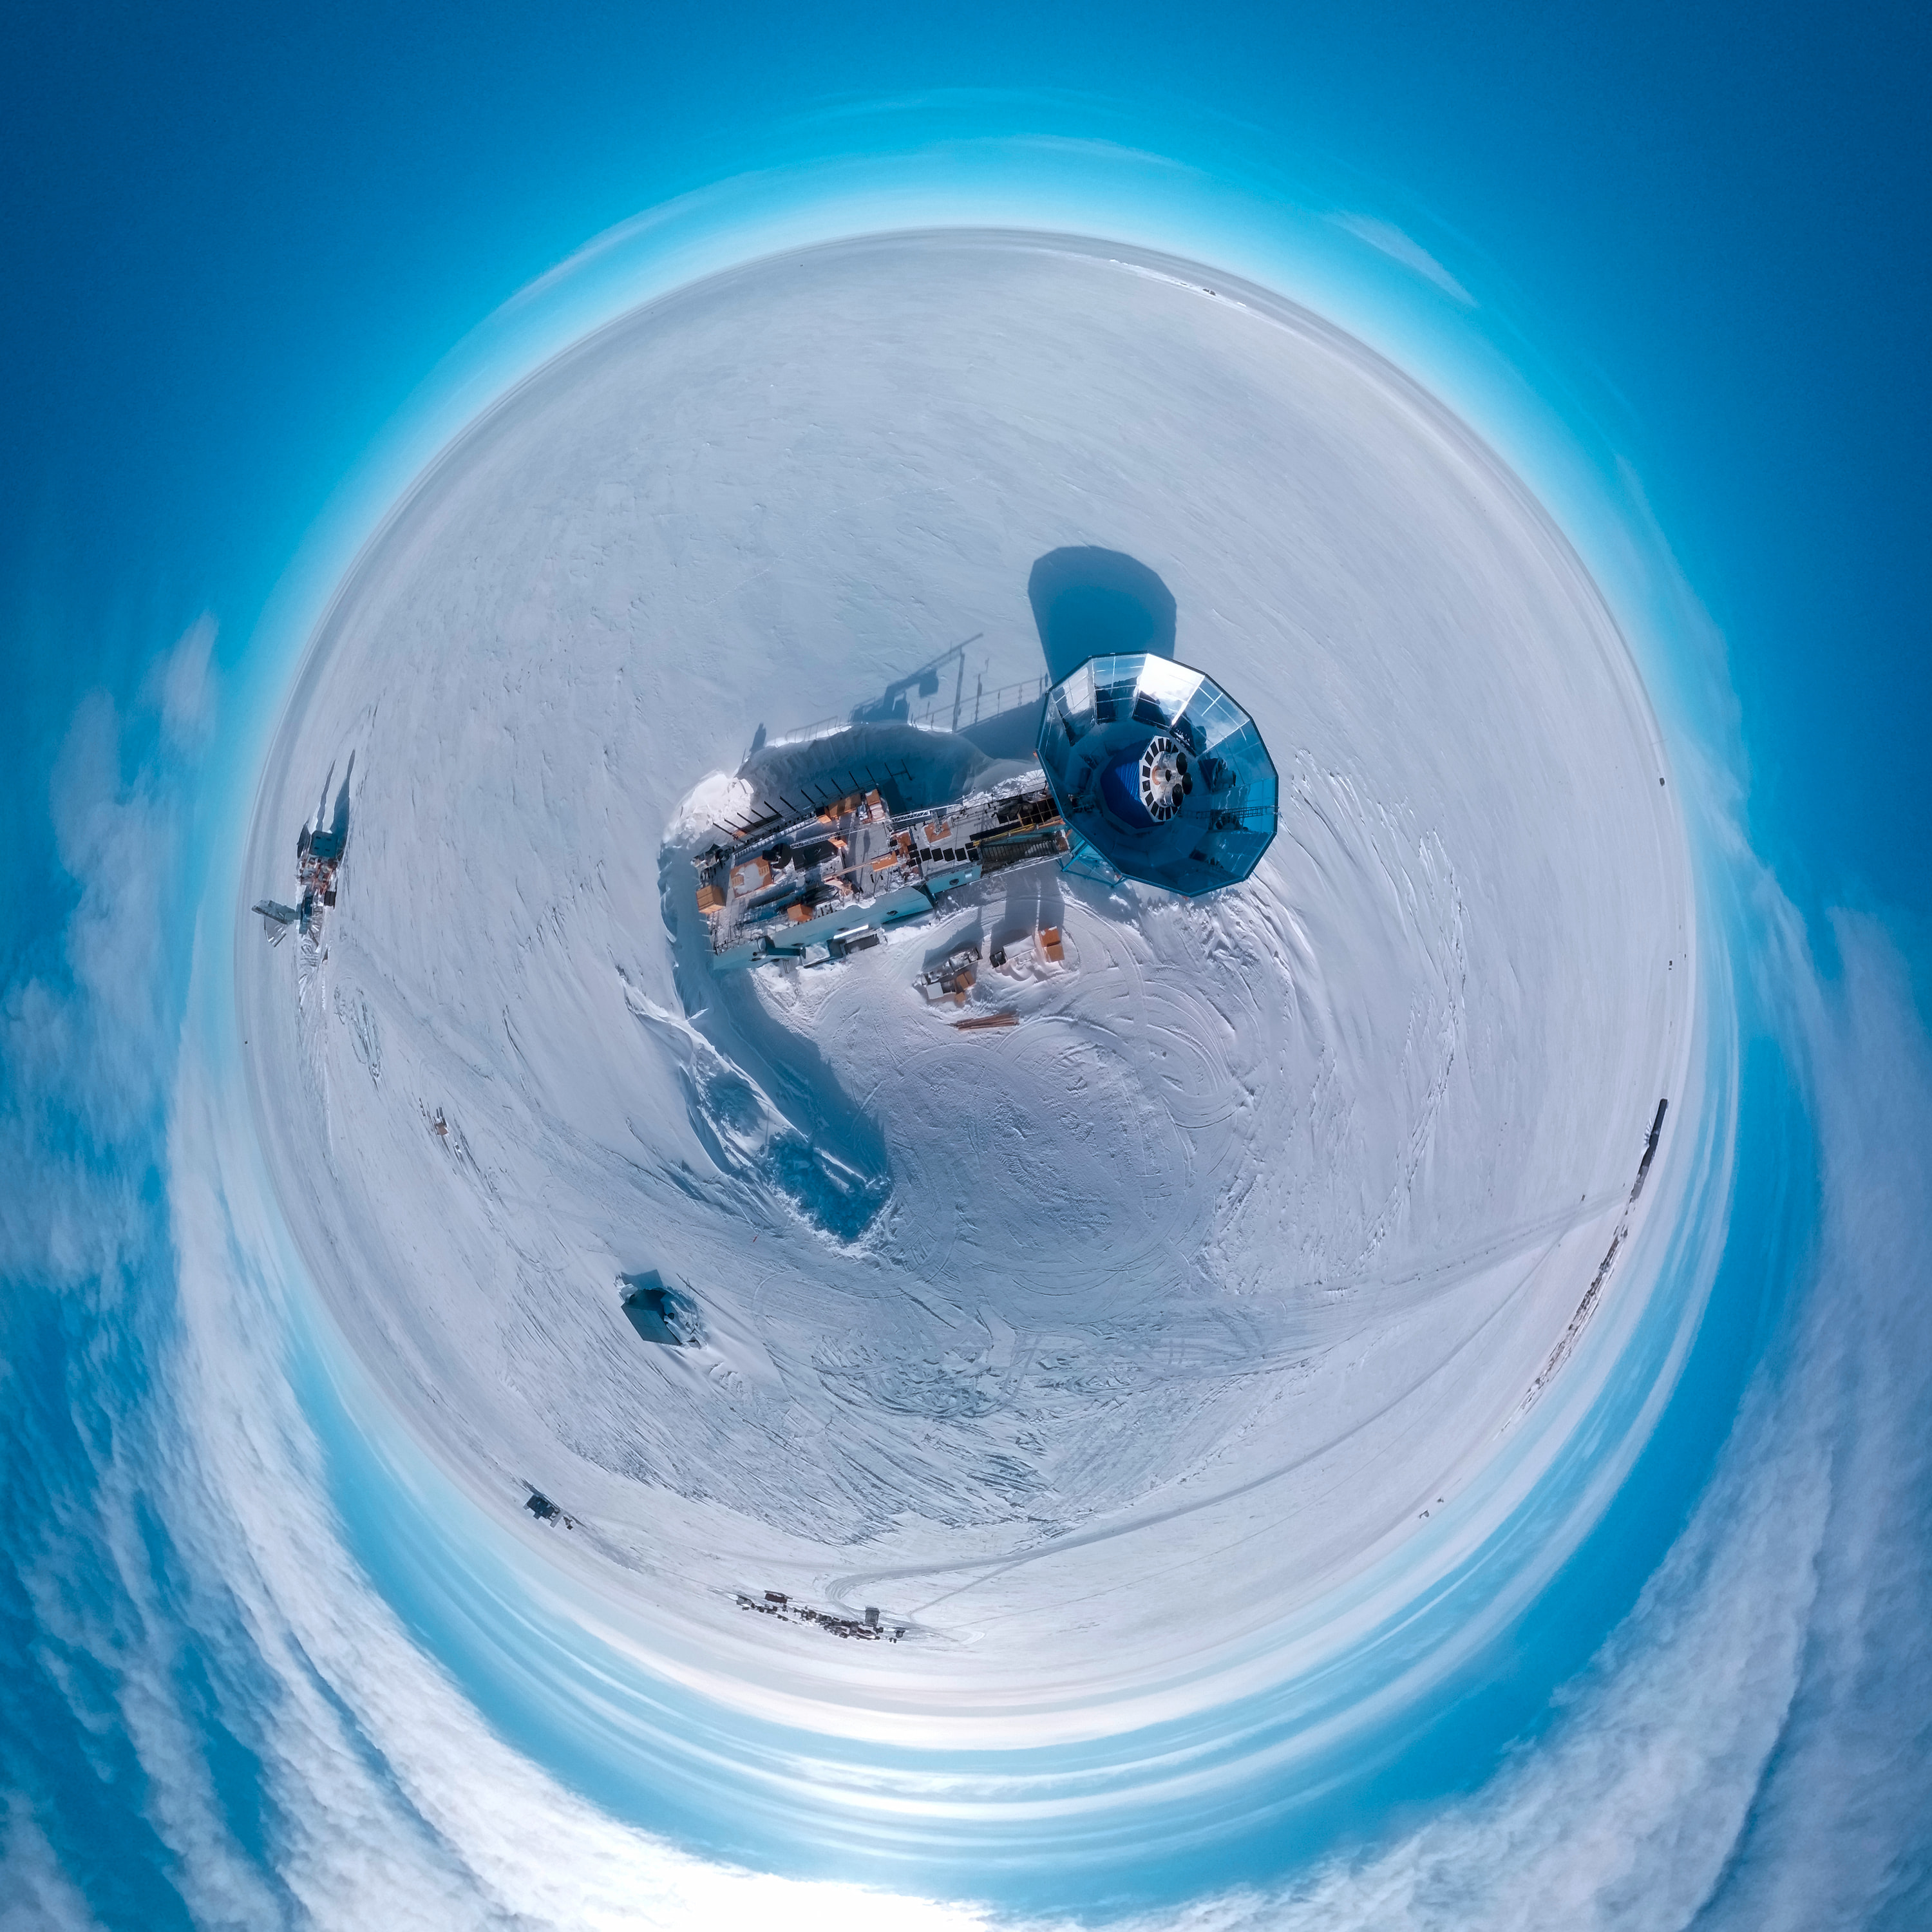
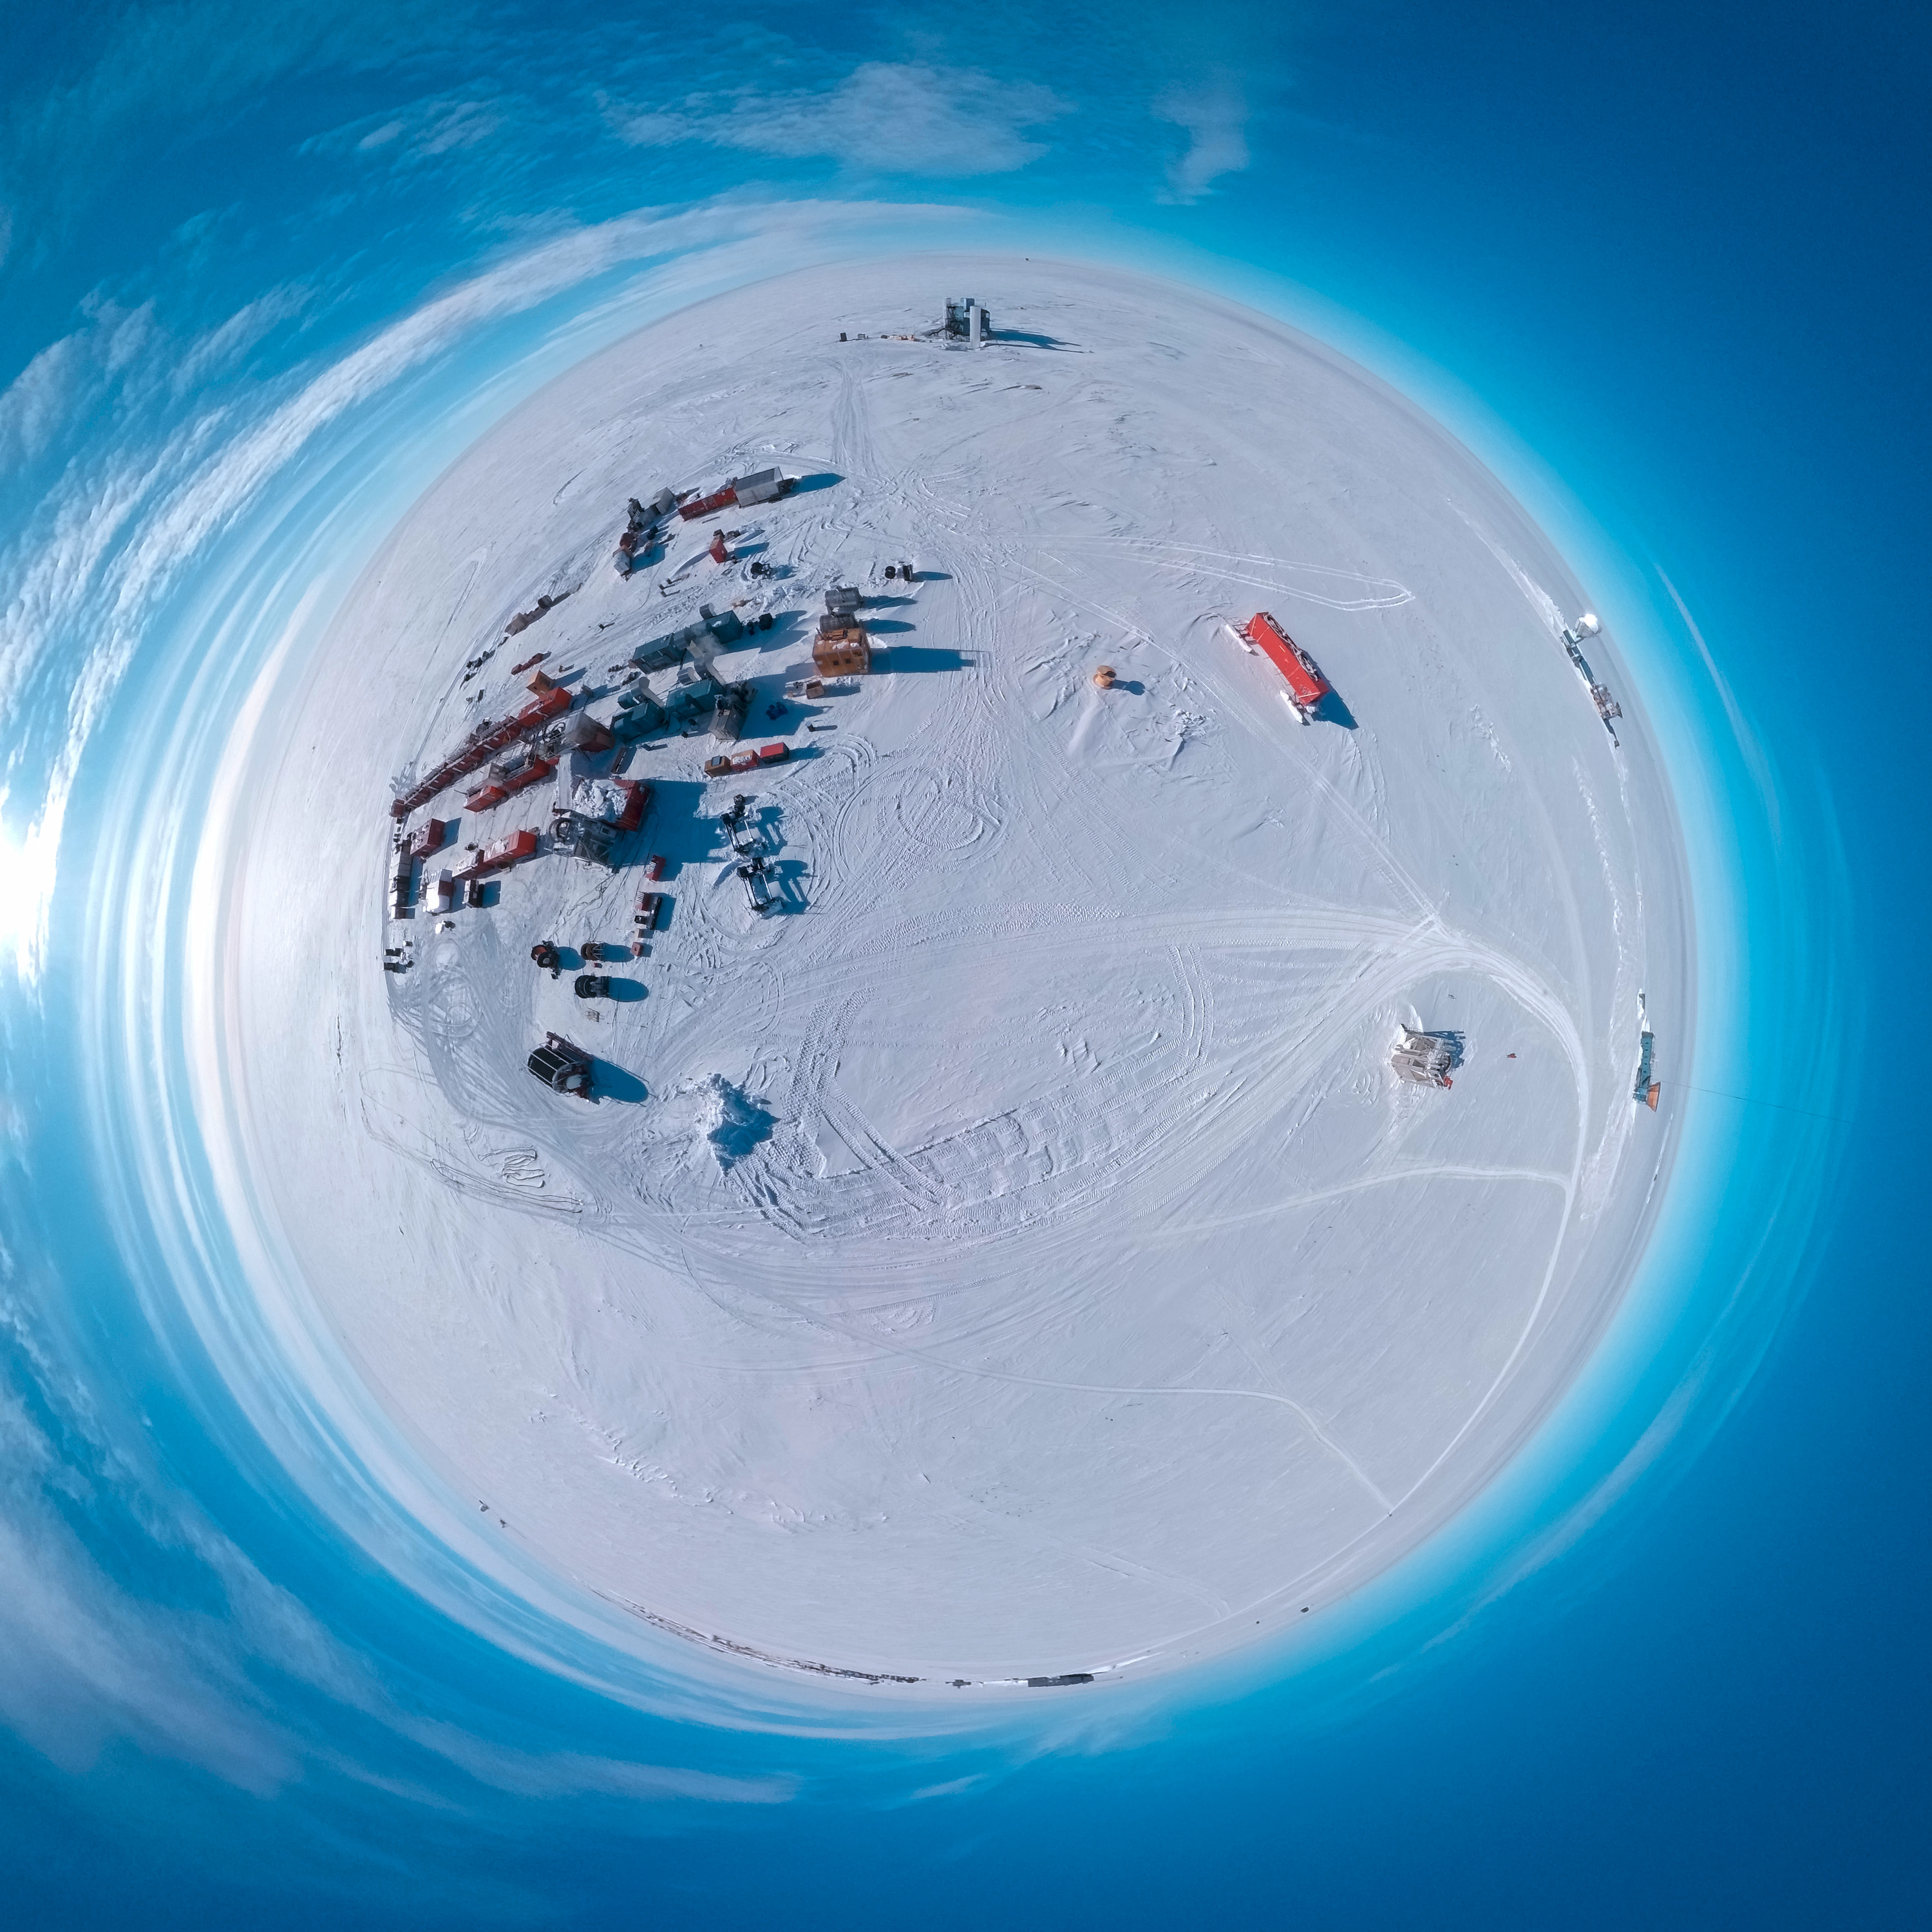
Since the images were taken with a full 360° camera, here are some panoramas.
I’ve uploaded the design files for the Picavet suspension, the battery pack, and the flex heater for the Theta Z1. Some of the images in this blog post were edited to remove the kite and its shadow, string, and operator.
I also had issues with reliably setting the focus, so the Raspberry Pi Camera Module 3, which has autofocus, probably would have been a better choice. The camera was also heavier than I would have liked. ↩
I went as far as purchasing a broken camera on eBay to take apart to see if I could integrate a heater directly into the camera, but I couldn’t figure out a good way to power it. ↩
And also short the data lines together per the USB Battery Charging specification to tell the camera it could draw sufficient current. The backup was to use a rechargable hand warmer with USB output, but this would have been heavier and more difficult to mount to the Picavet suspension. ↩
The carabiner turned out to be in my pocket where I thought it was all along. ↩
The plastic rings around the lenses popped off from the impact. ↩
All flights were while none of the telescopes were observing, since they’re sensitive to radio-frequency interference. ↩
Anecdotally, keeping the Wi-Fi enabled on the camera seemed to help prevent it from turning off in the cold, but I did not thoroughly test this. ↩