Earlier this week, this year’s BICEP / Keck collaboration meeting was held at Harvard (we build, operate, and analyze data from cosmic microwave background telescopes installed at the South Pole). As a collaboration member at the host institution, I decided to bake some BICEP-themed cookies for a coffee break at the meeting, arriving at the idea of making butter cookies in the style of Pepperidge Farm Chessmen cookies.
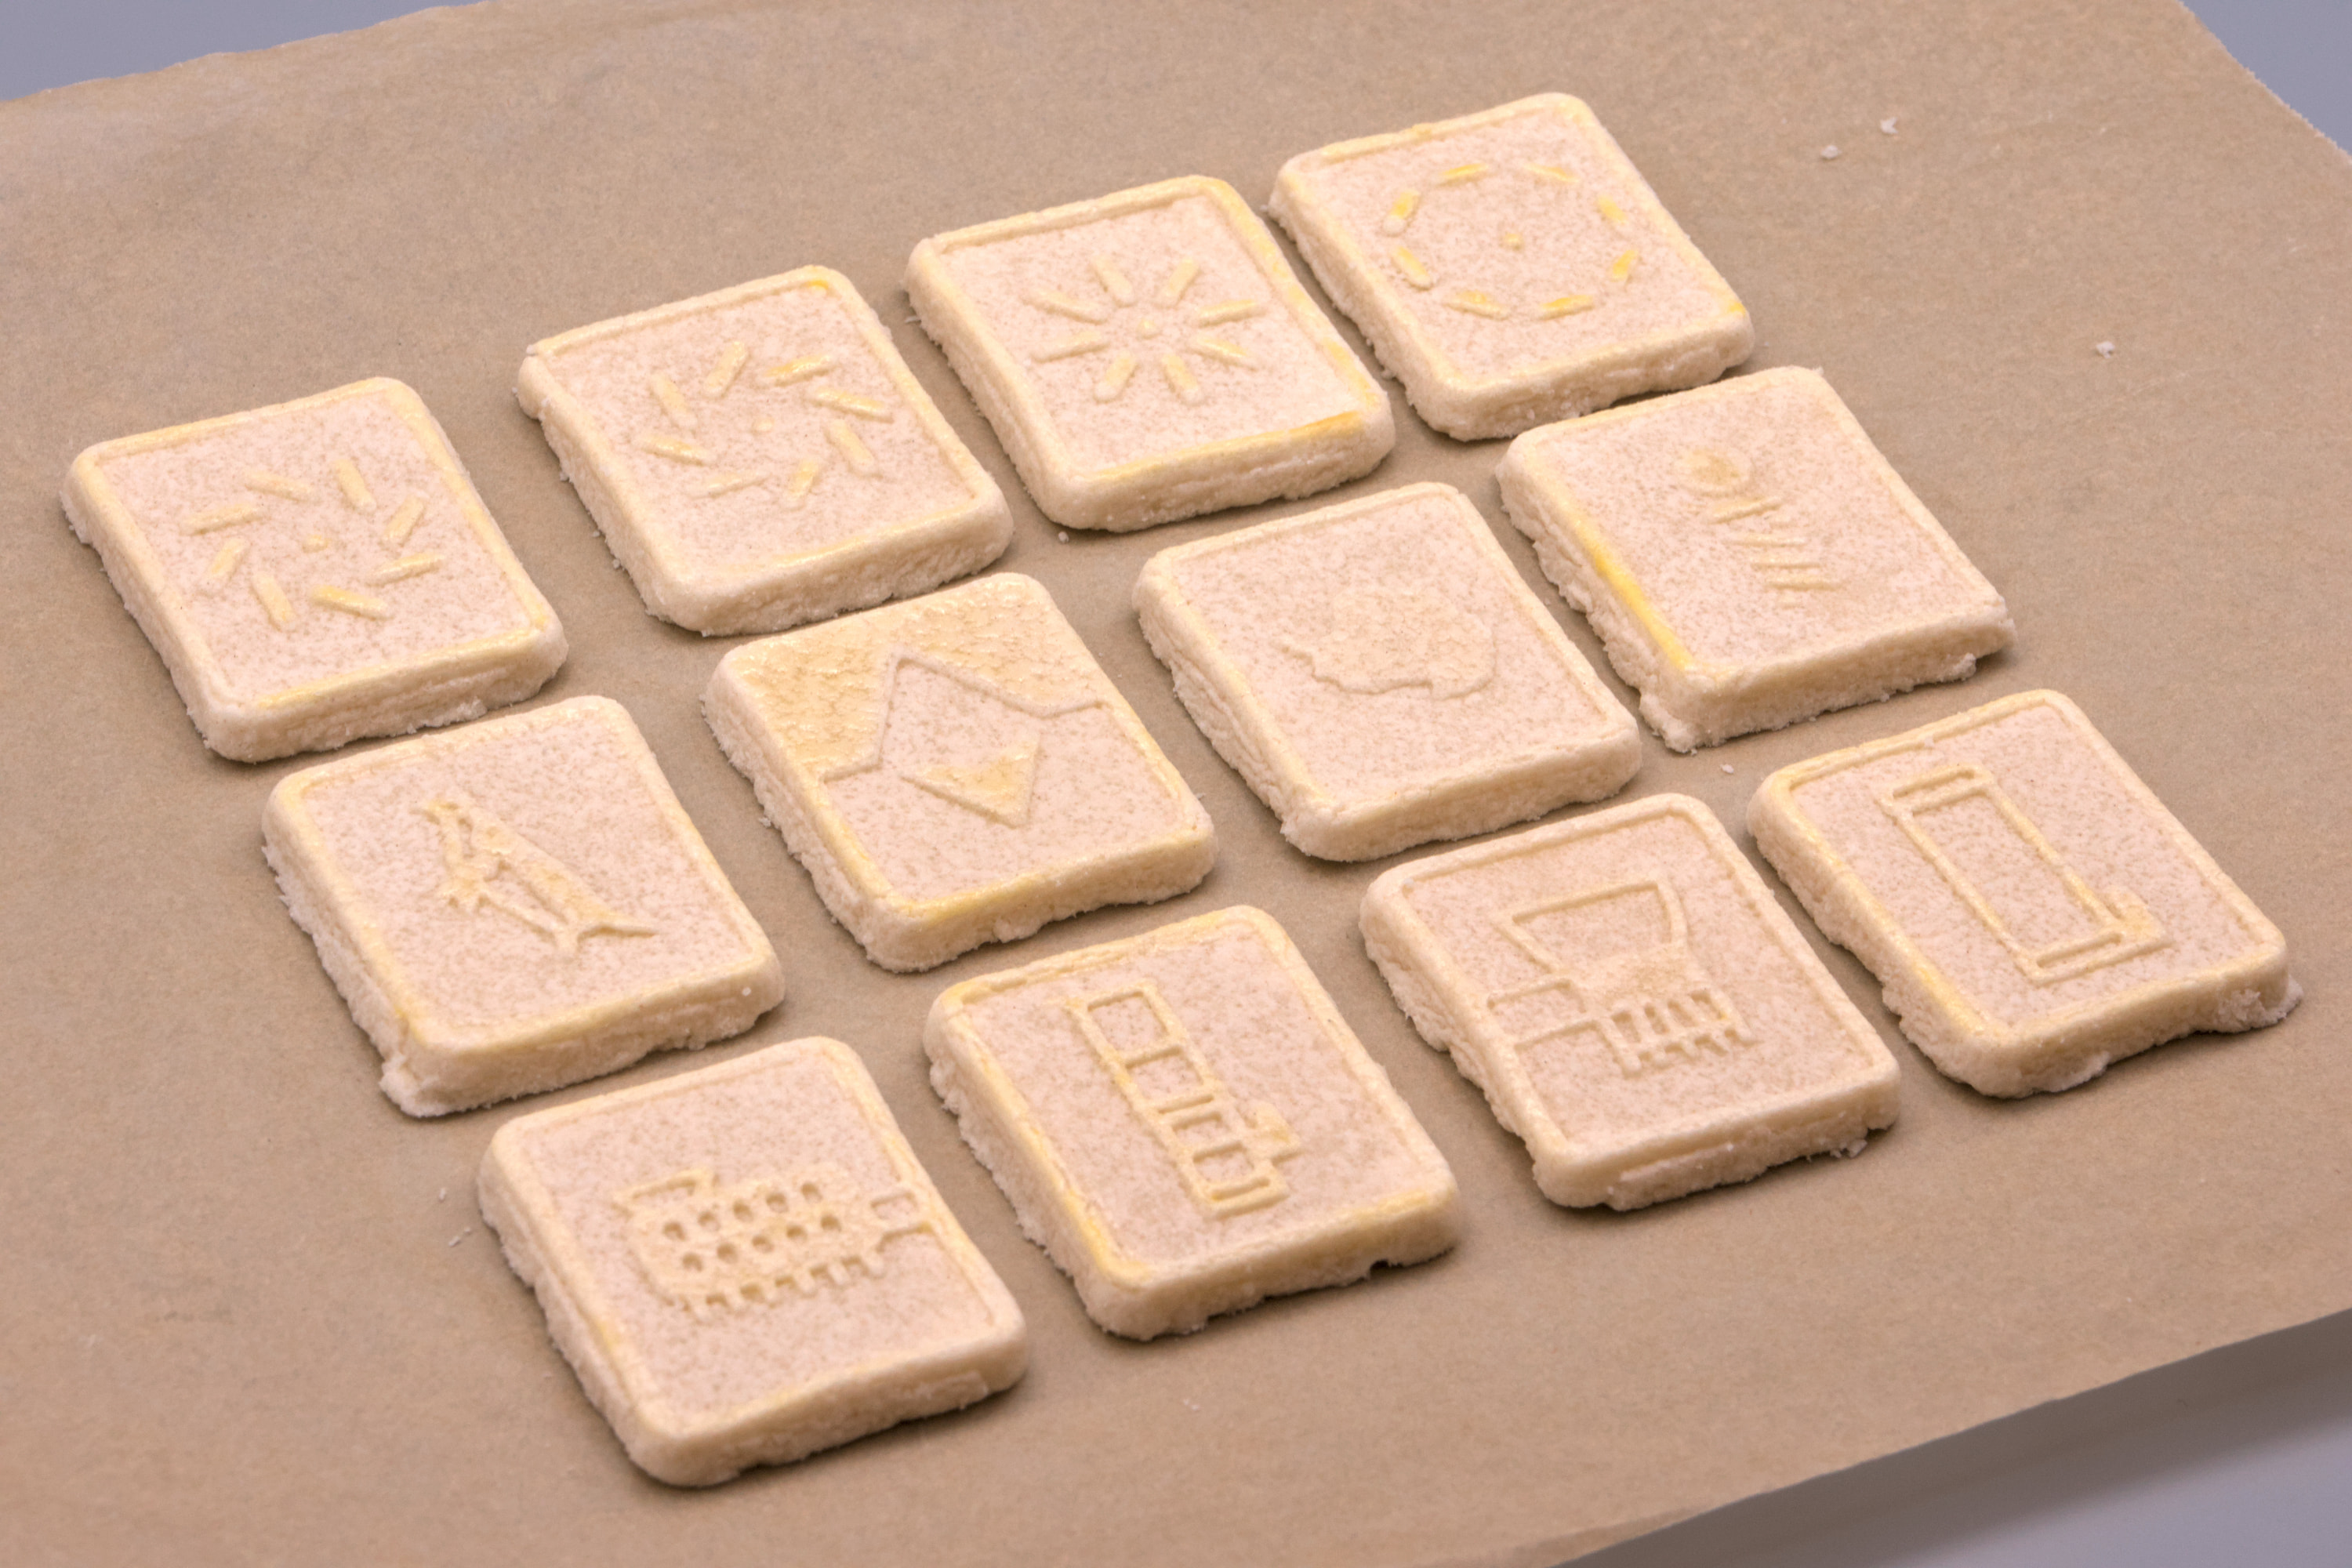
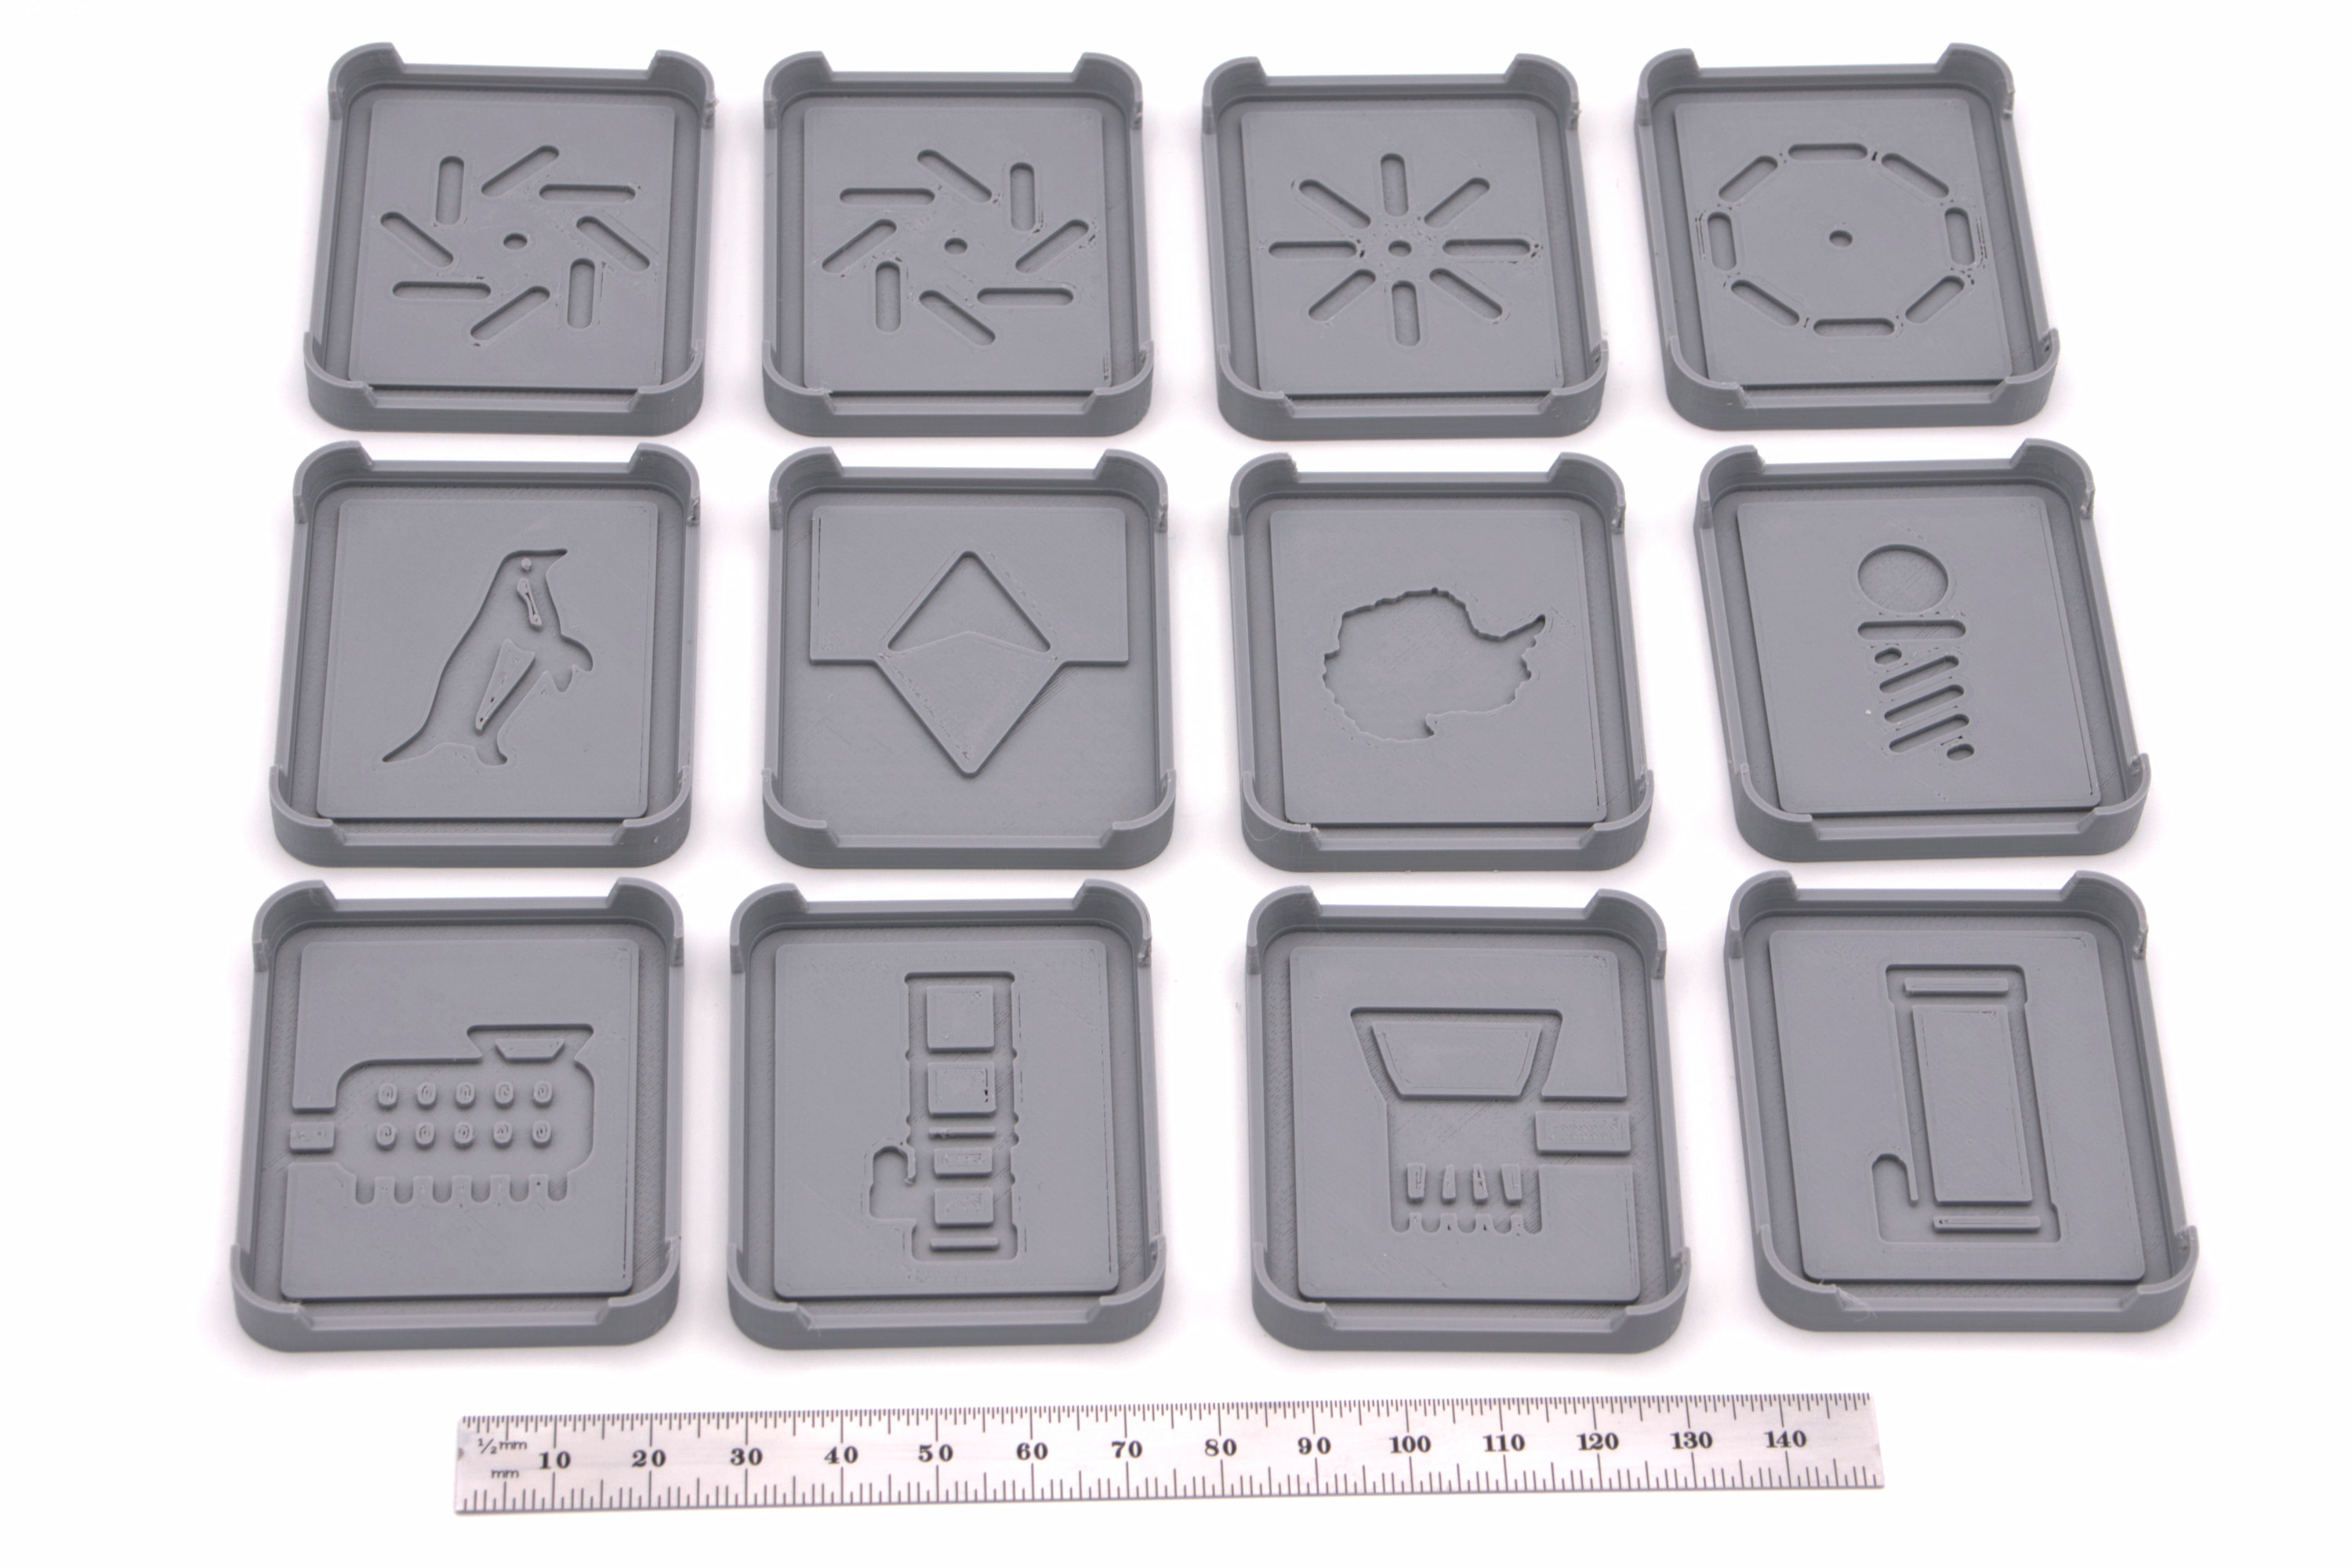
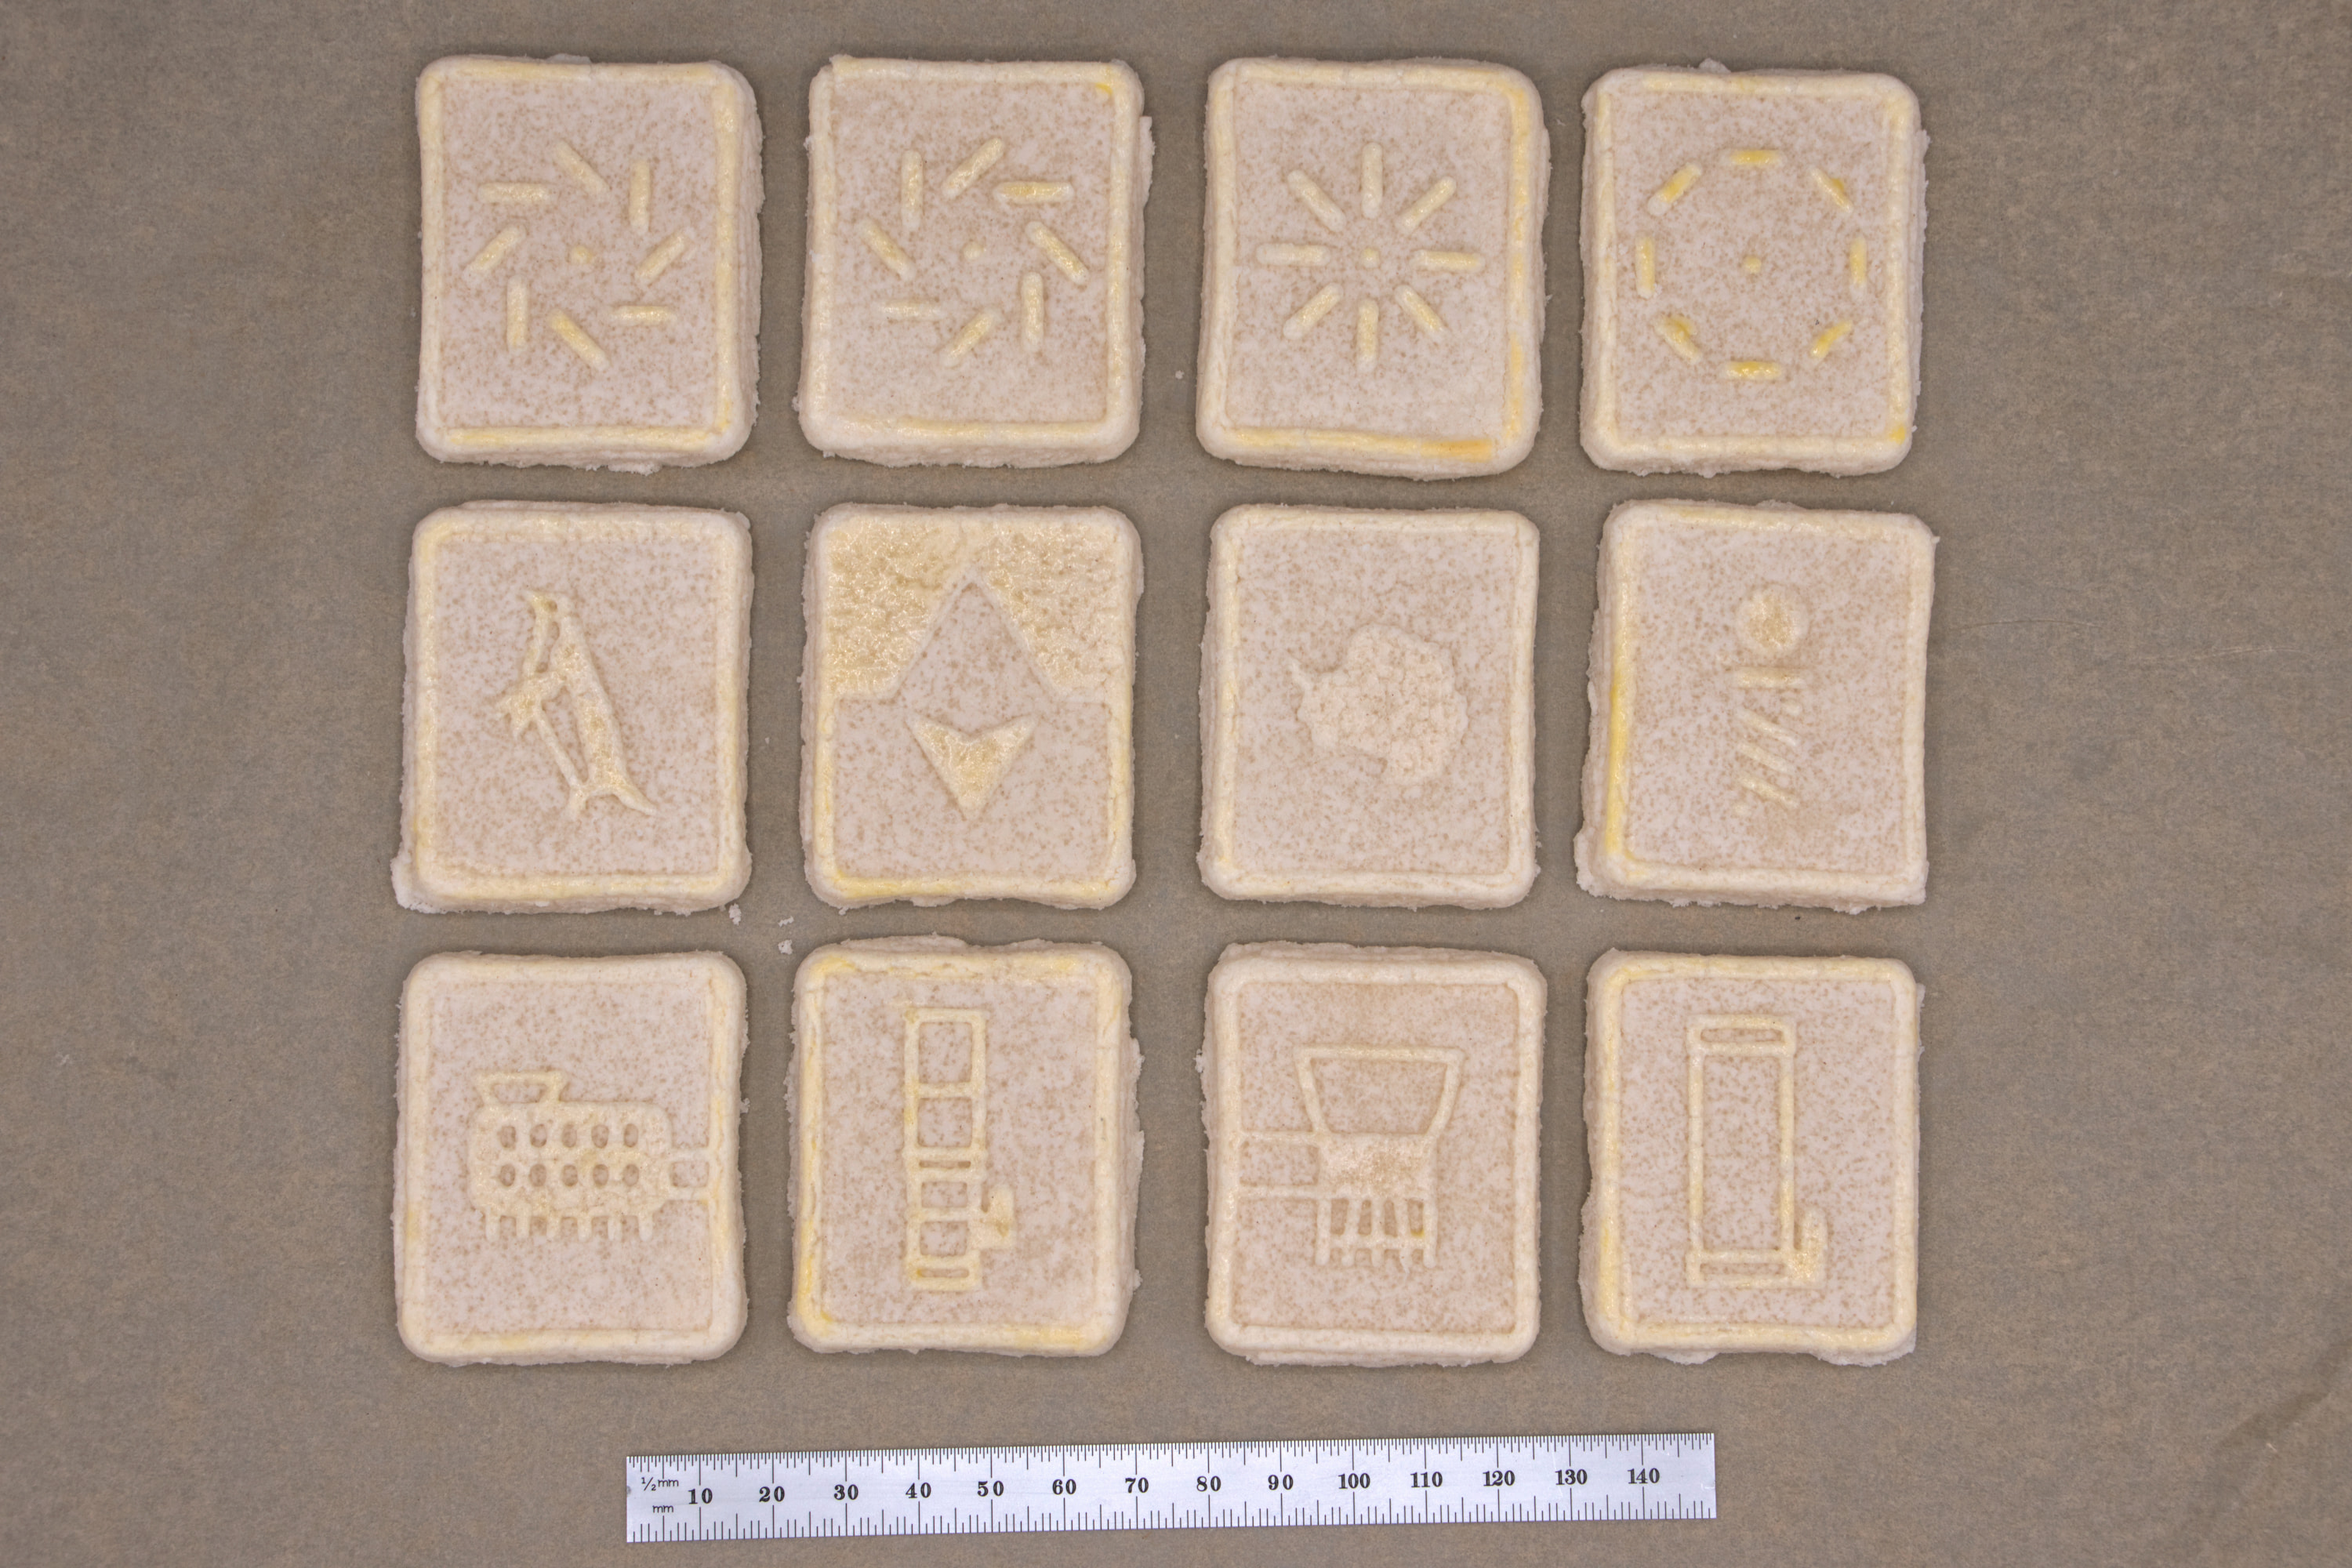
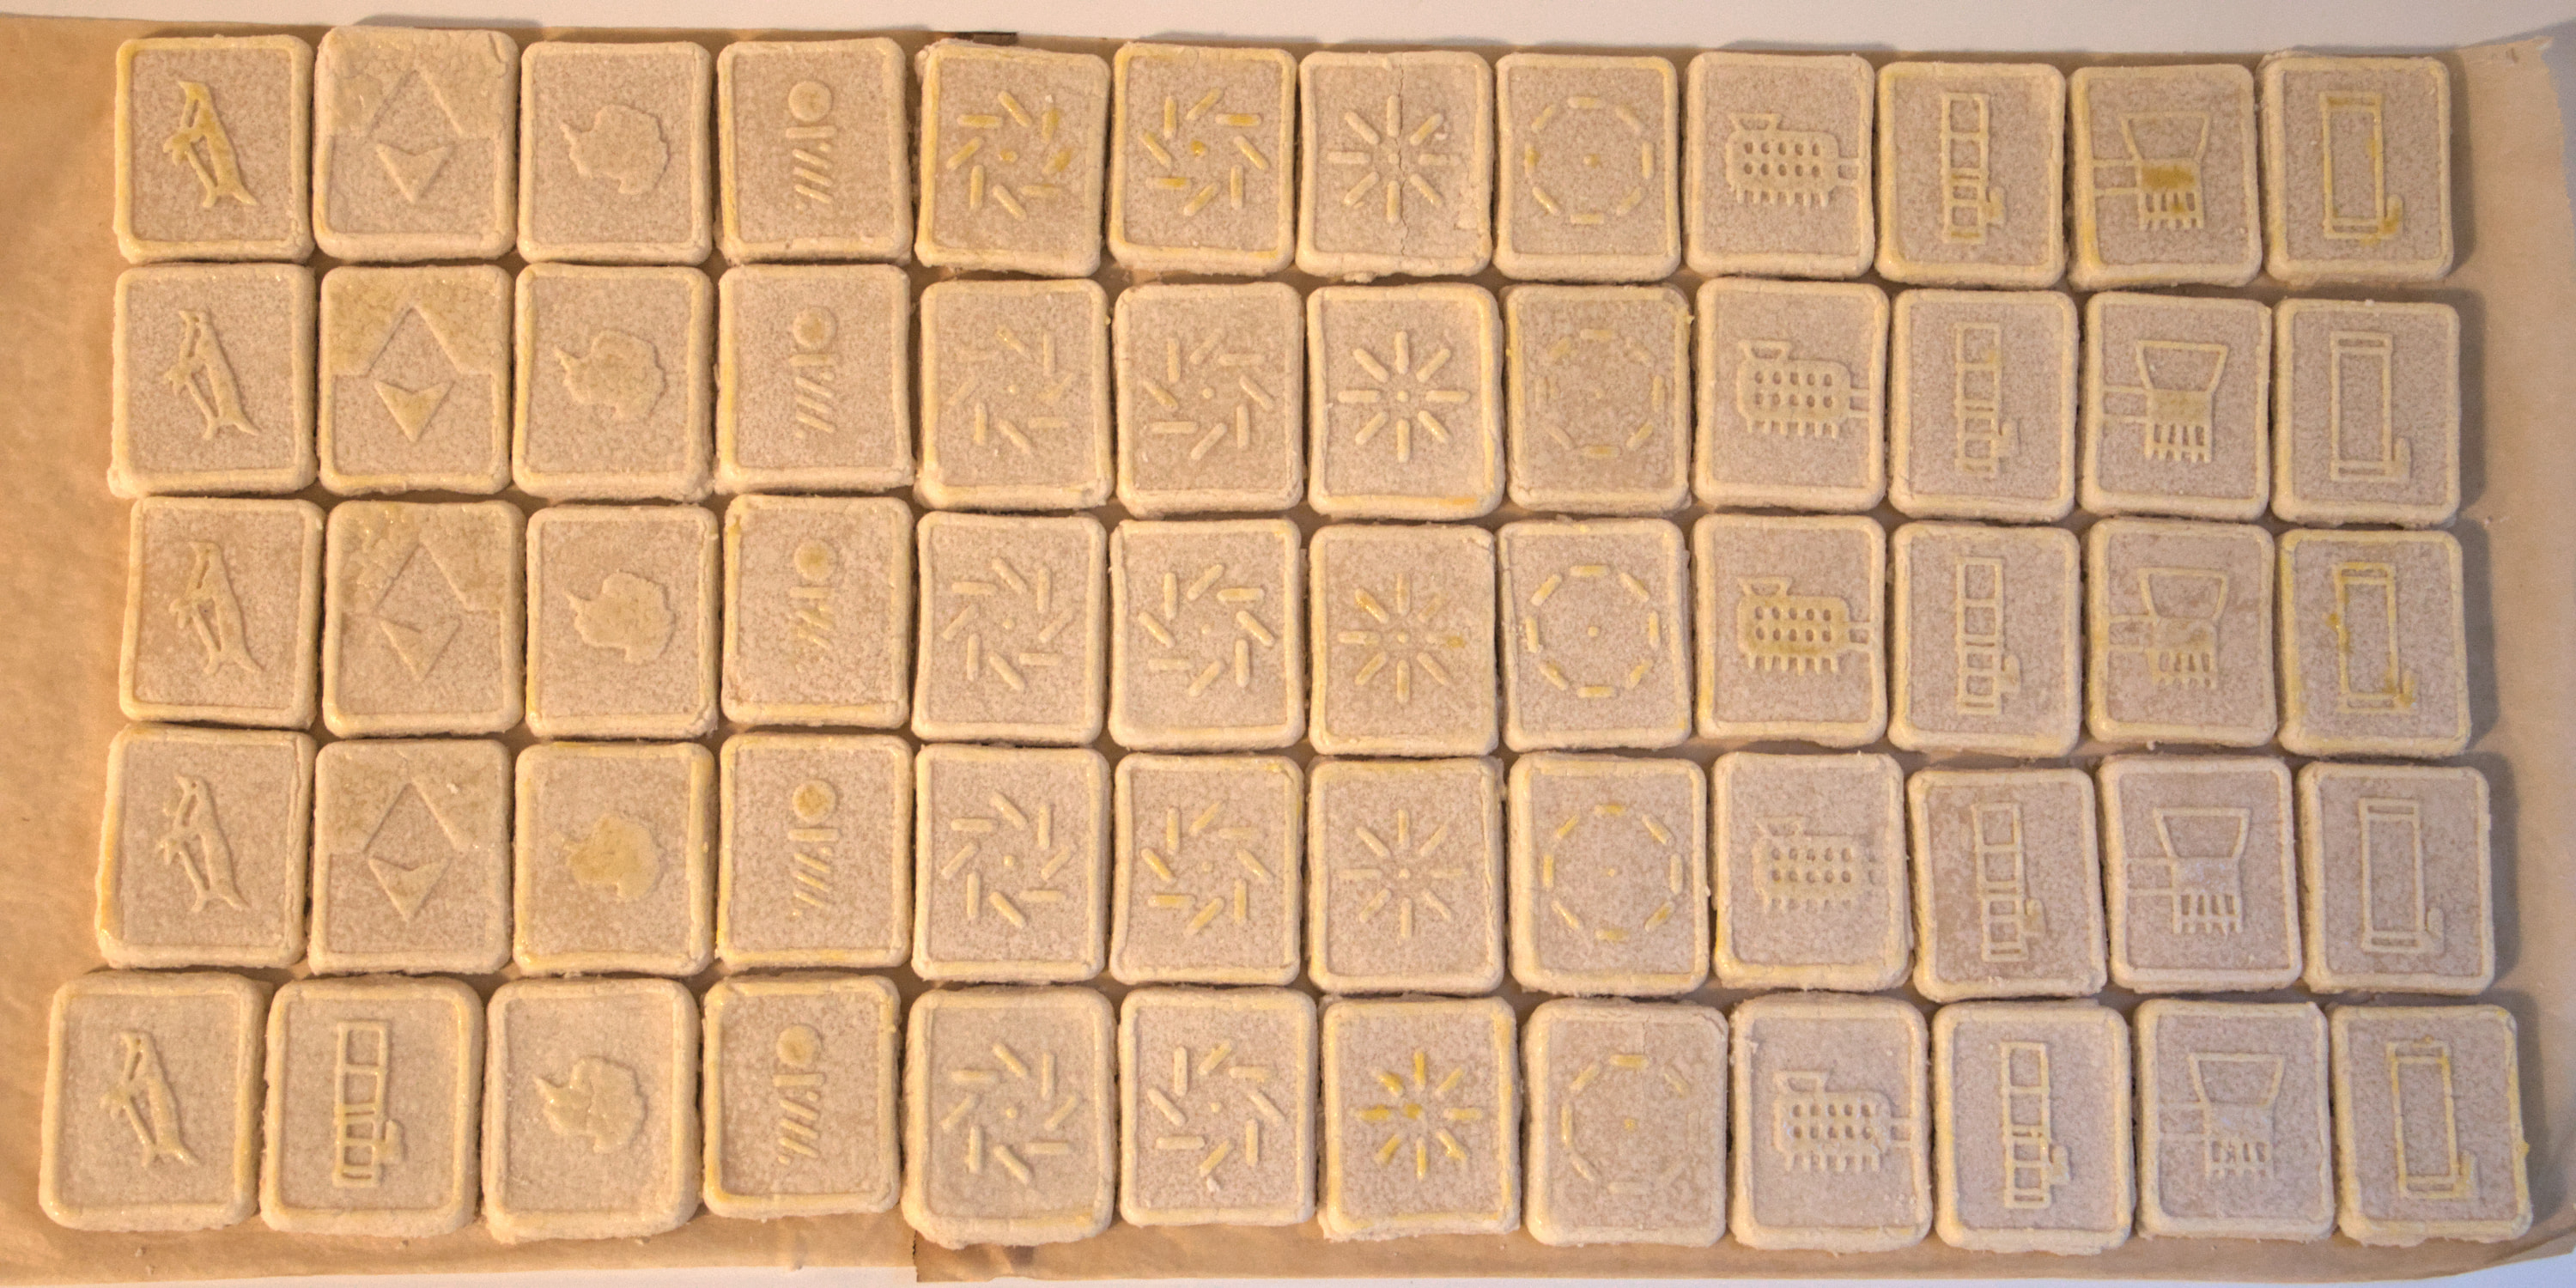
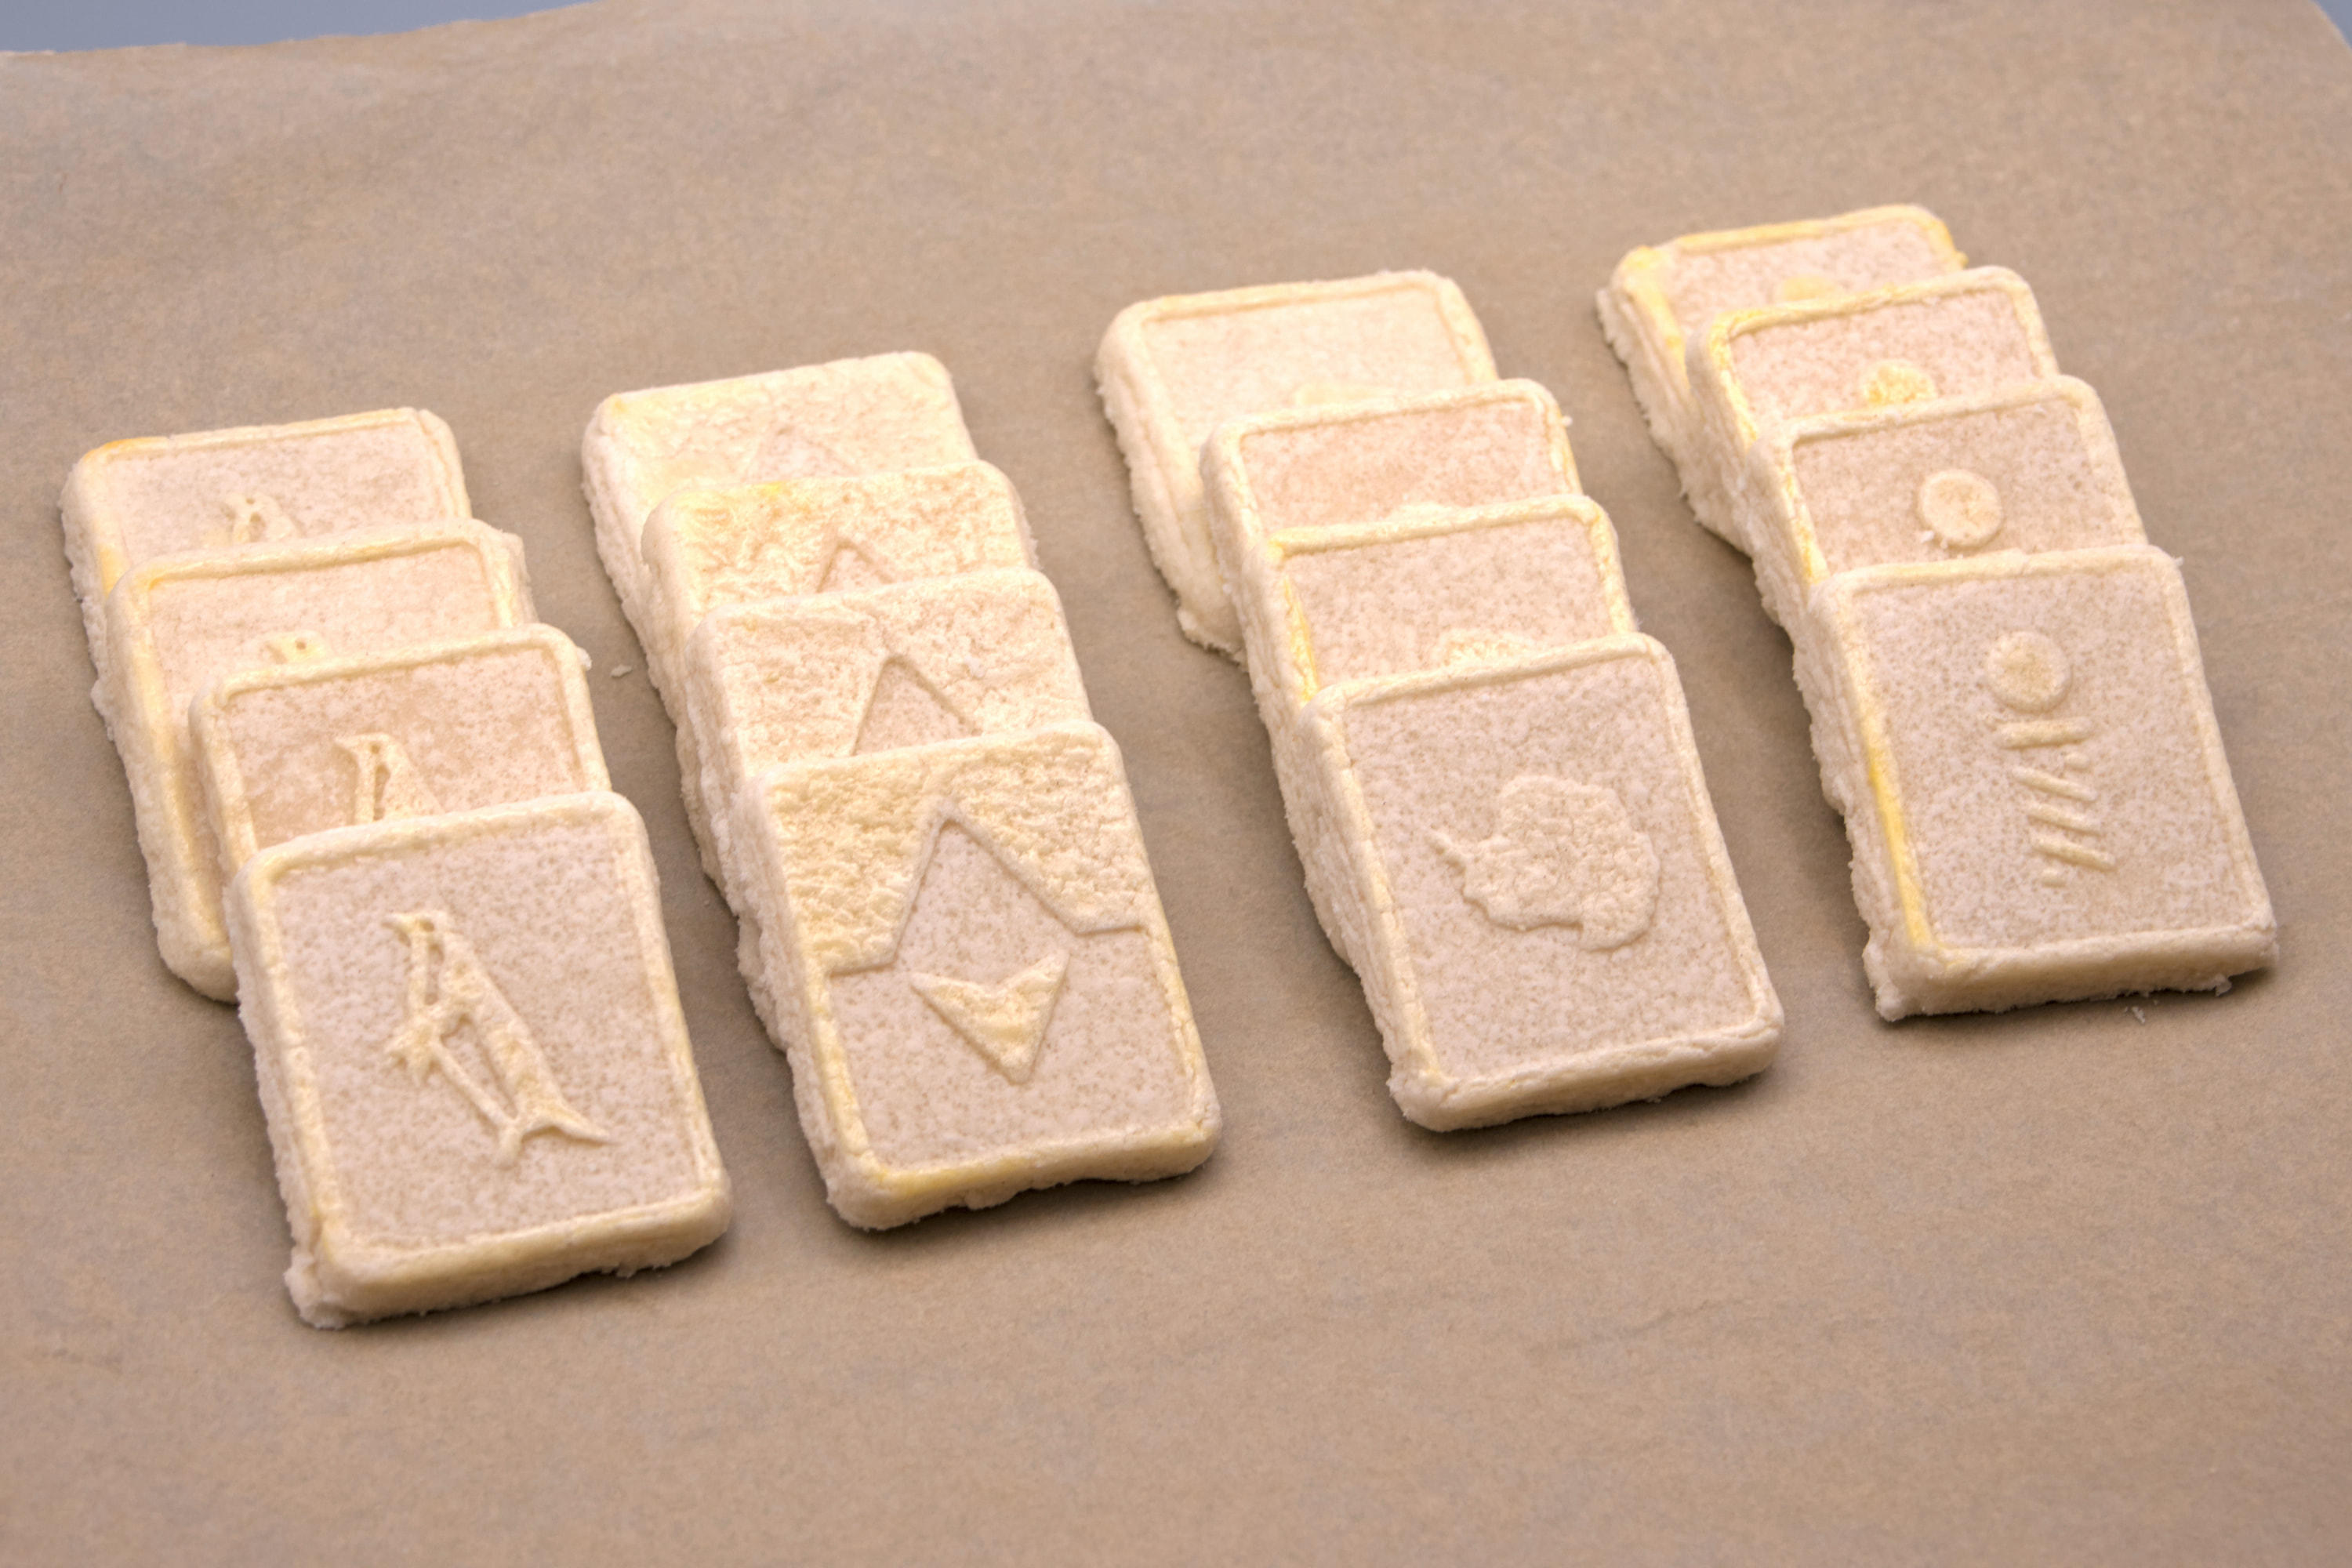
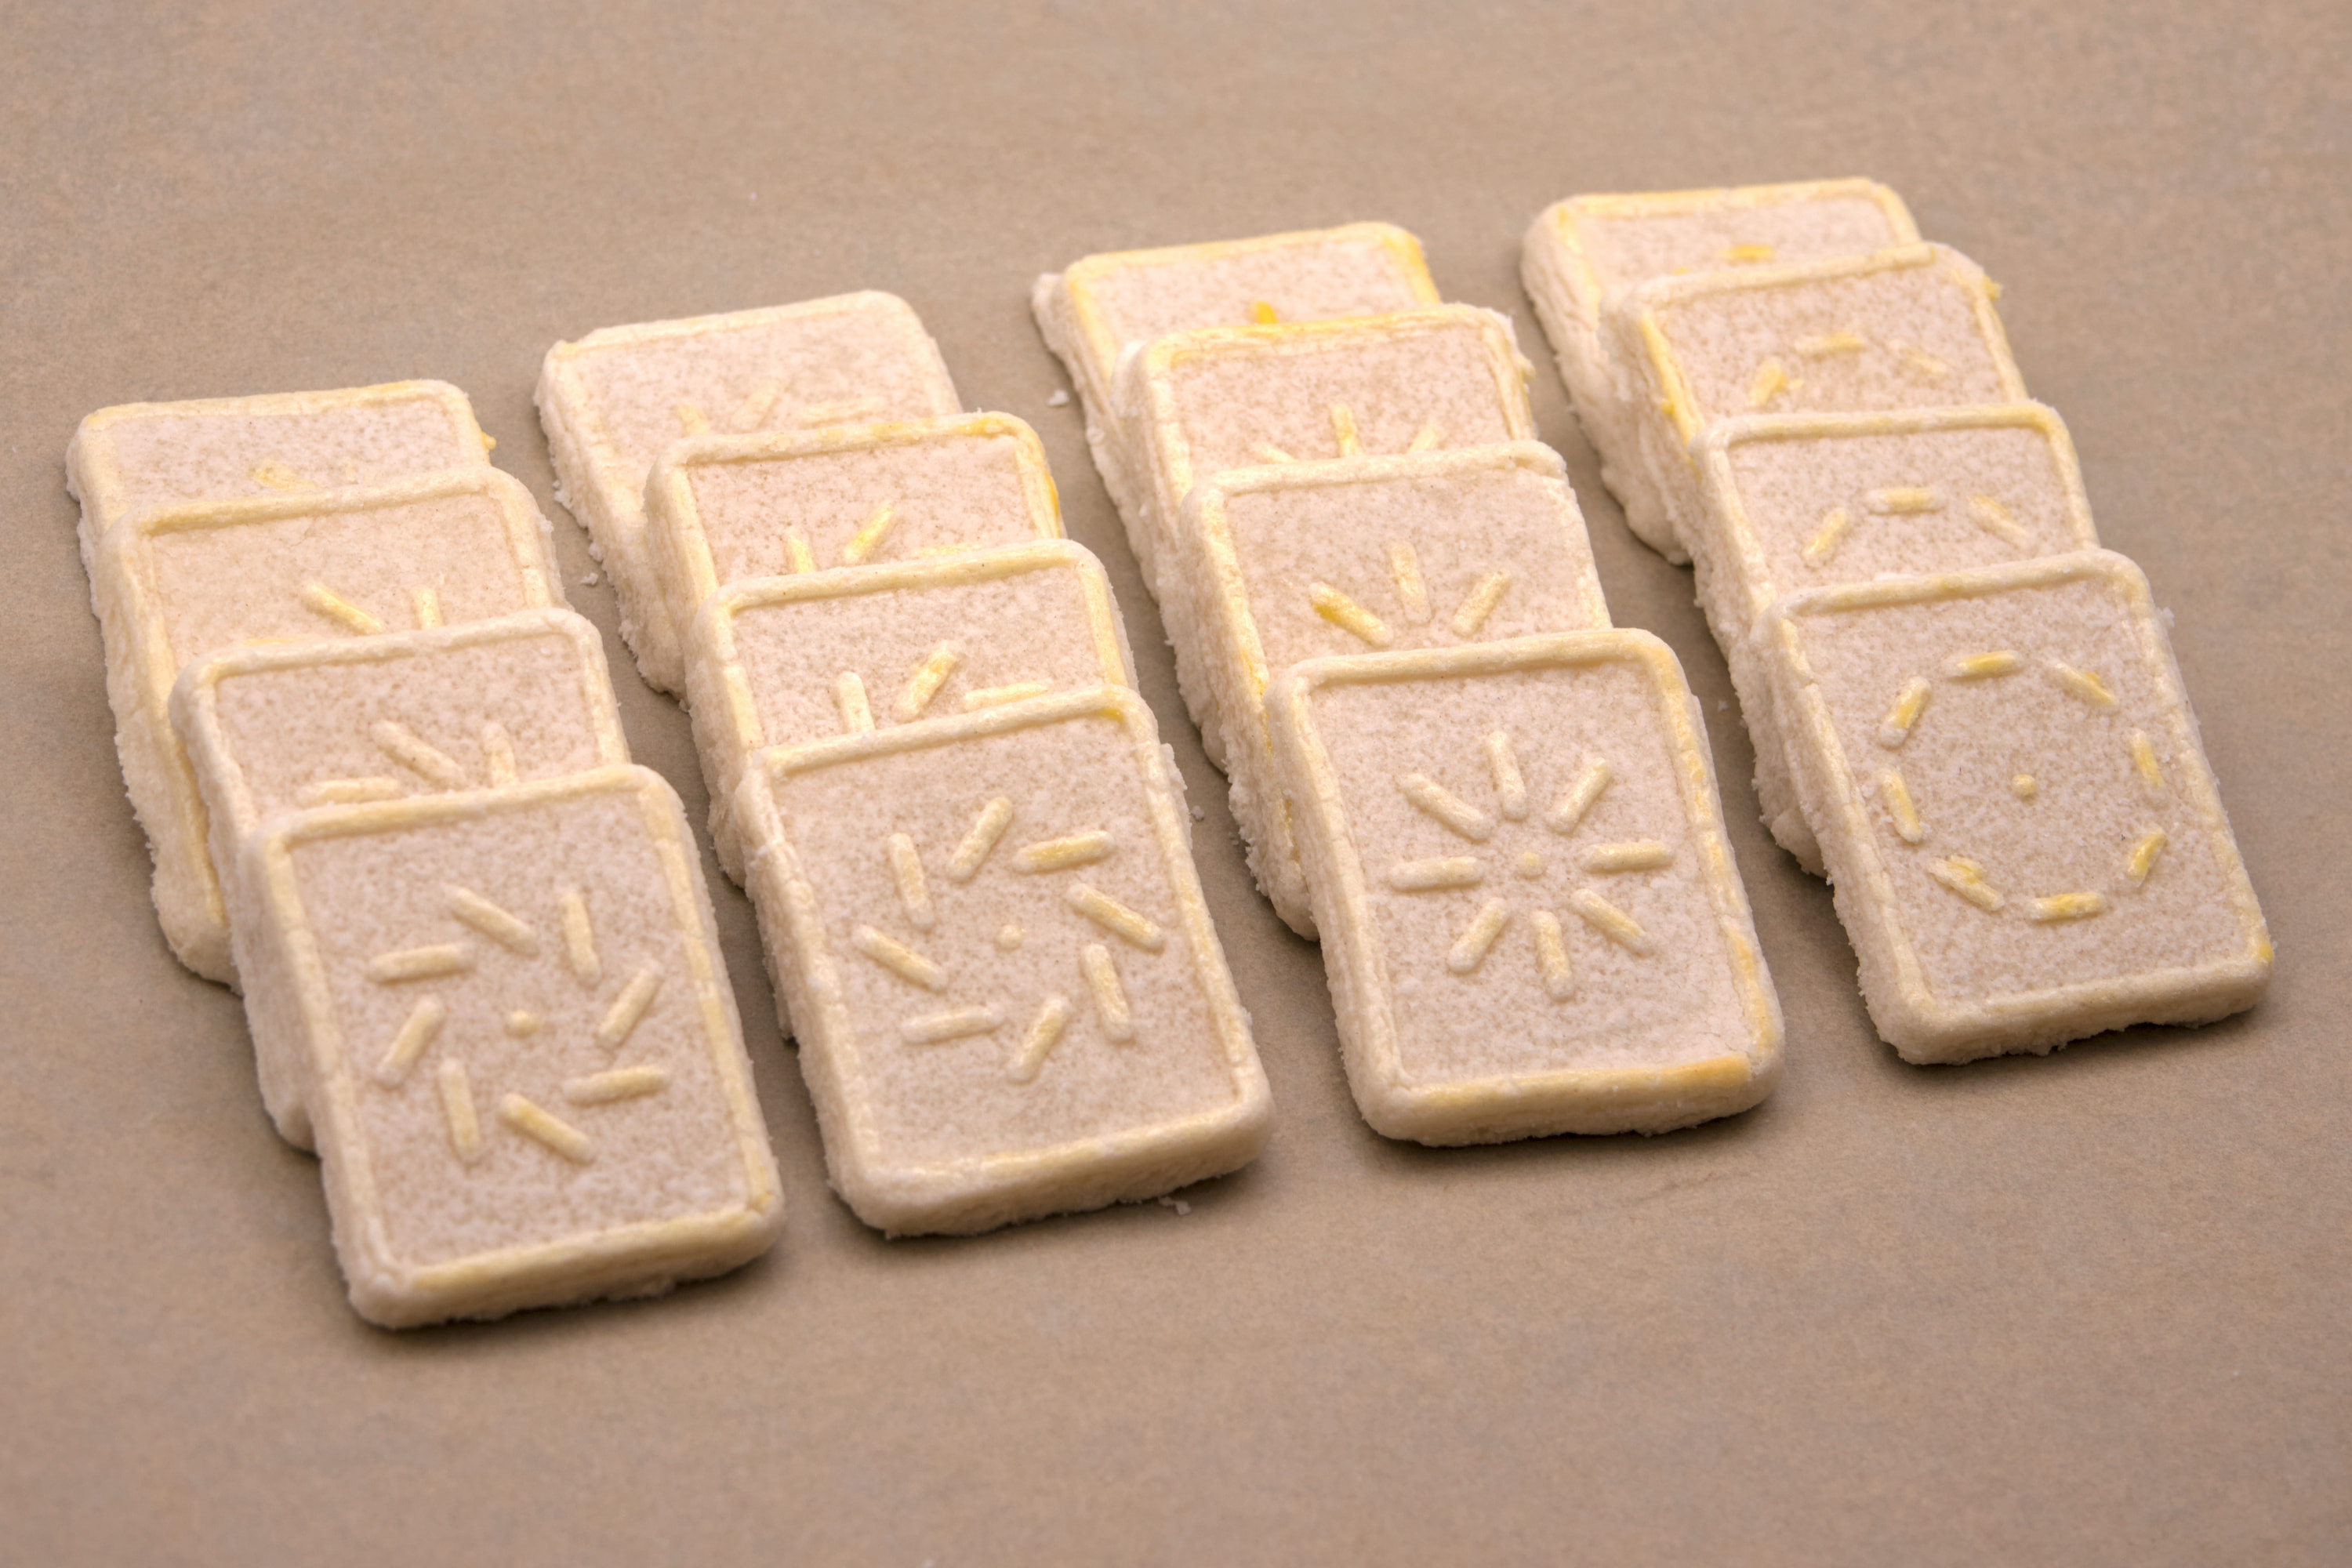
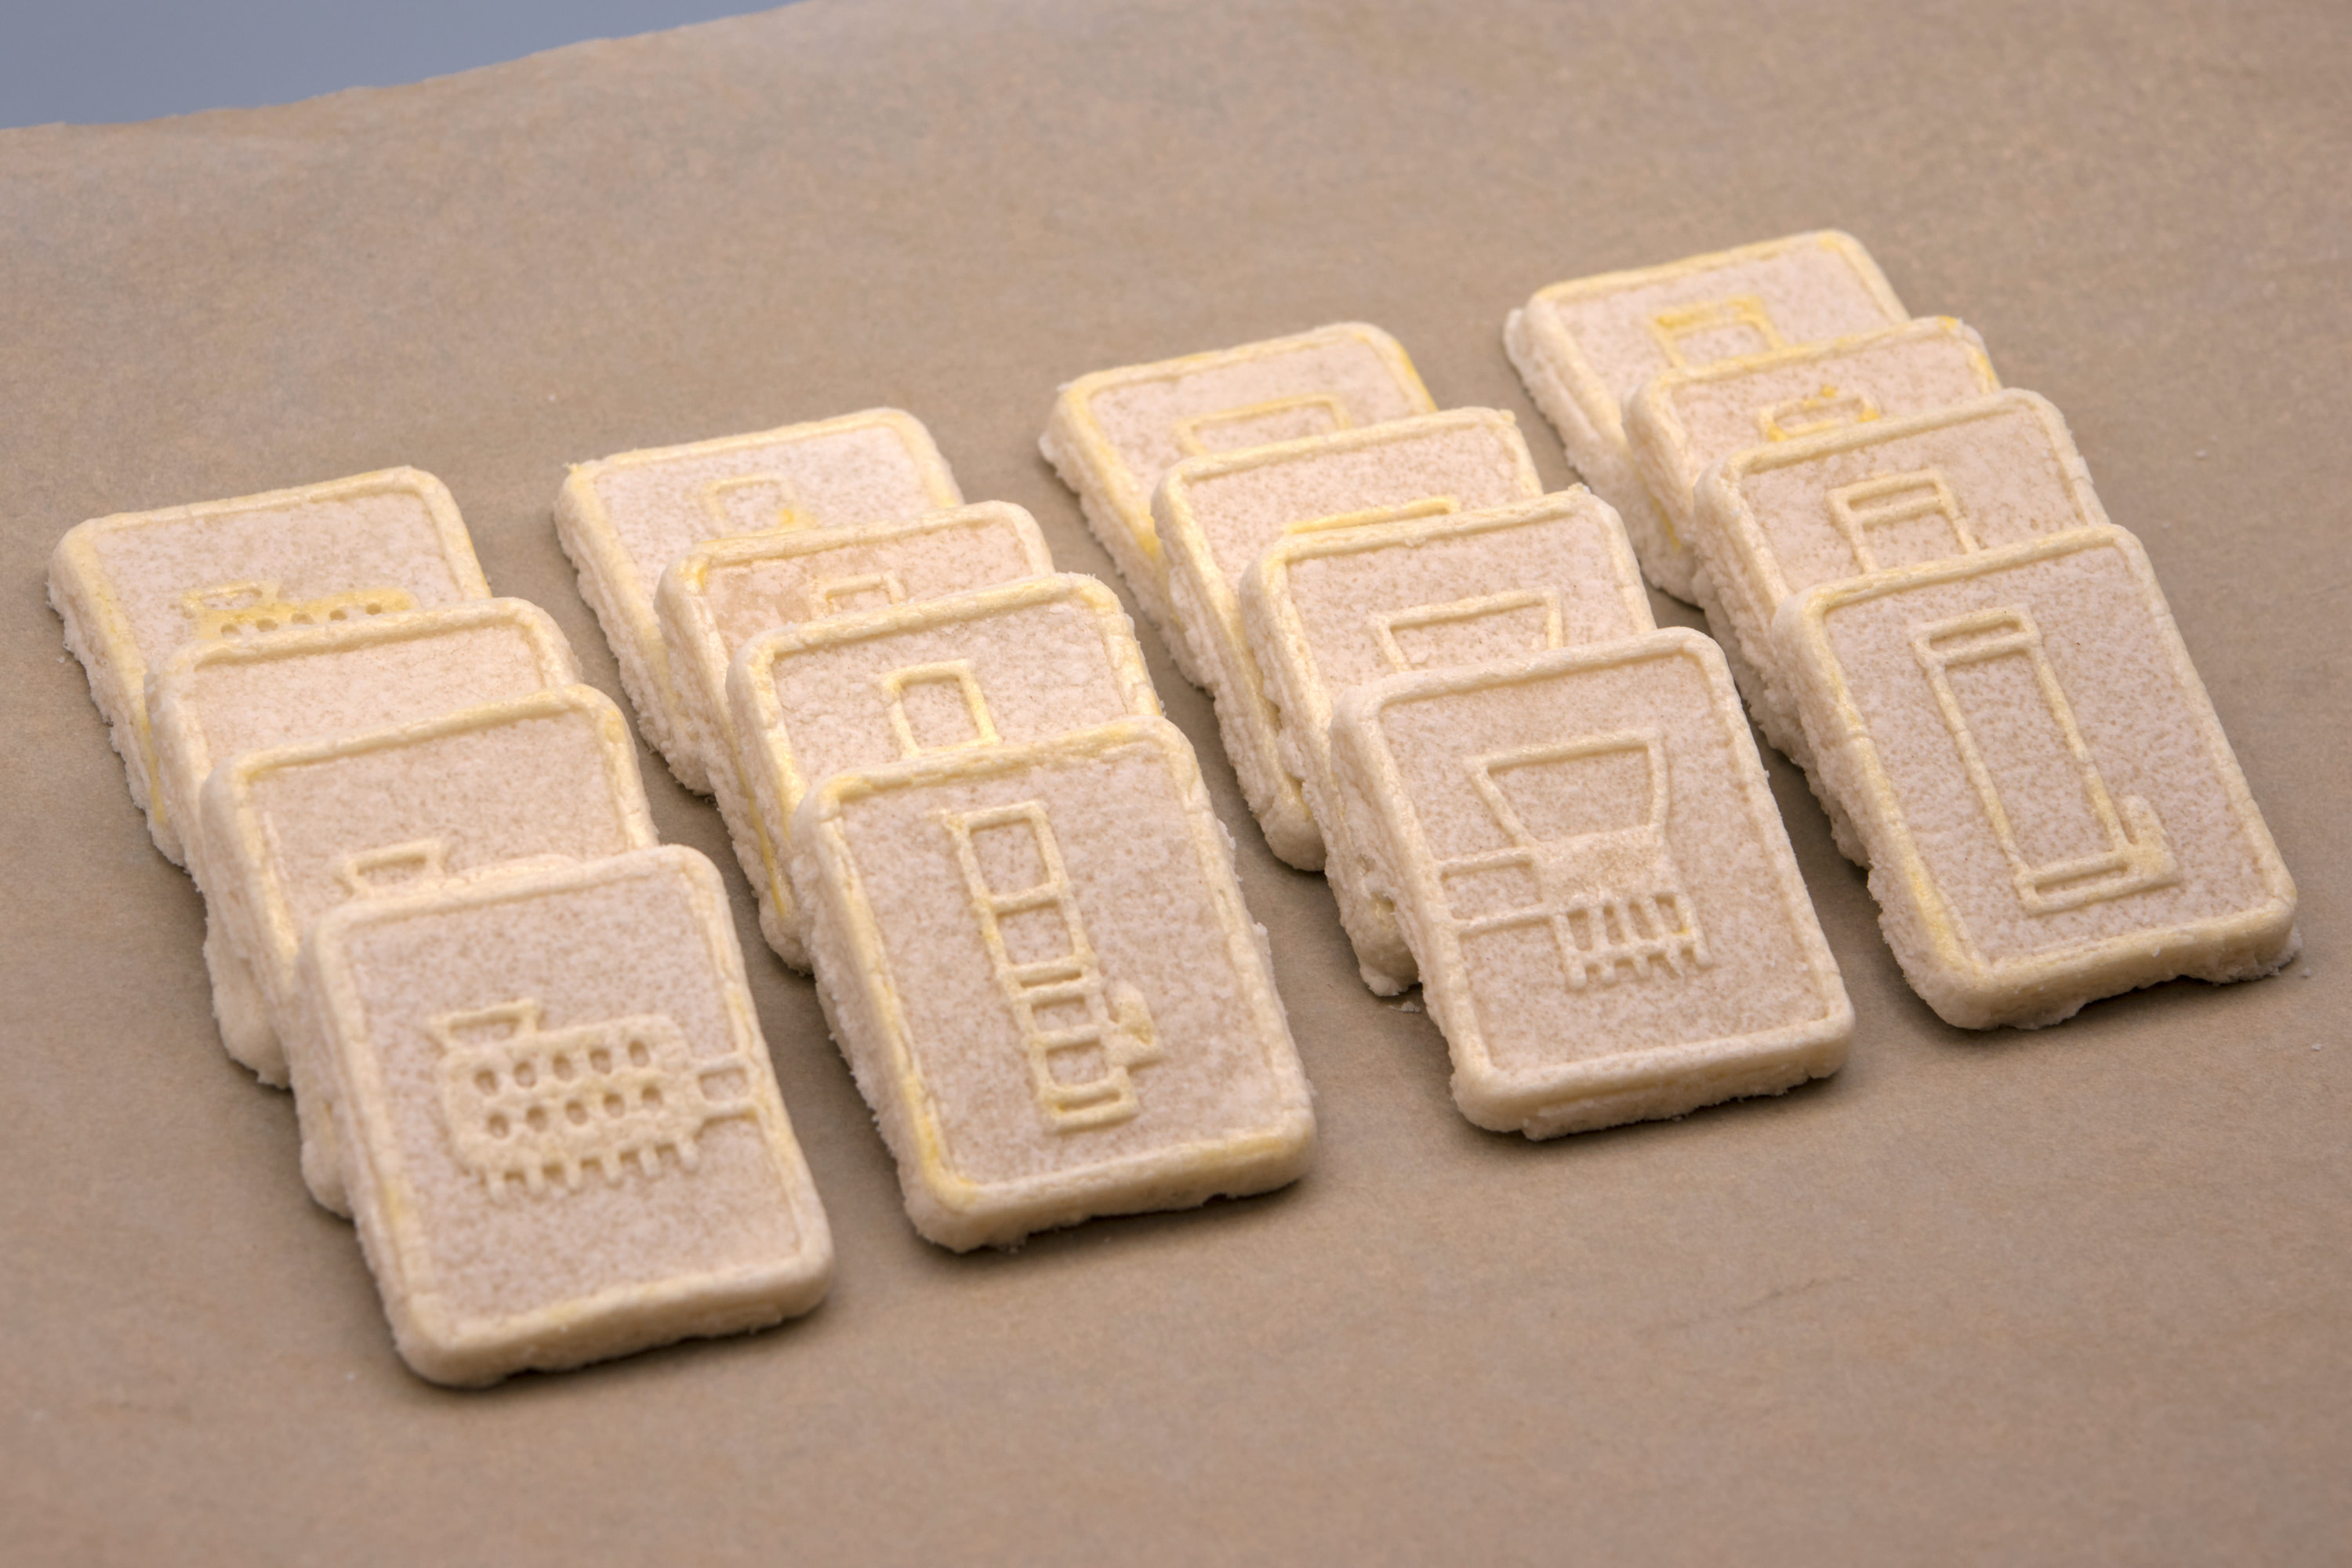
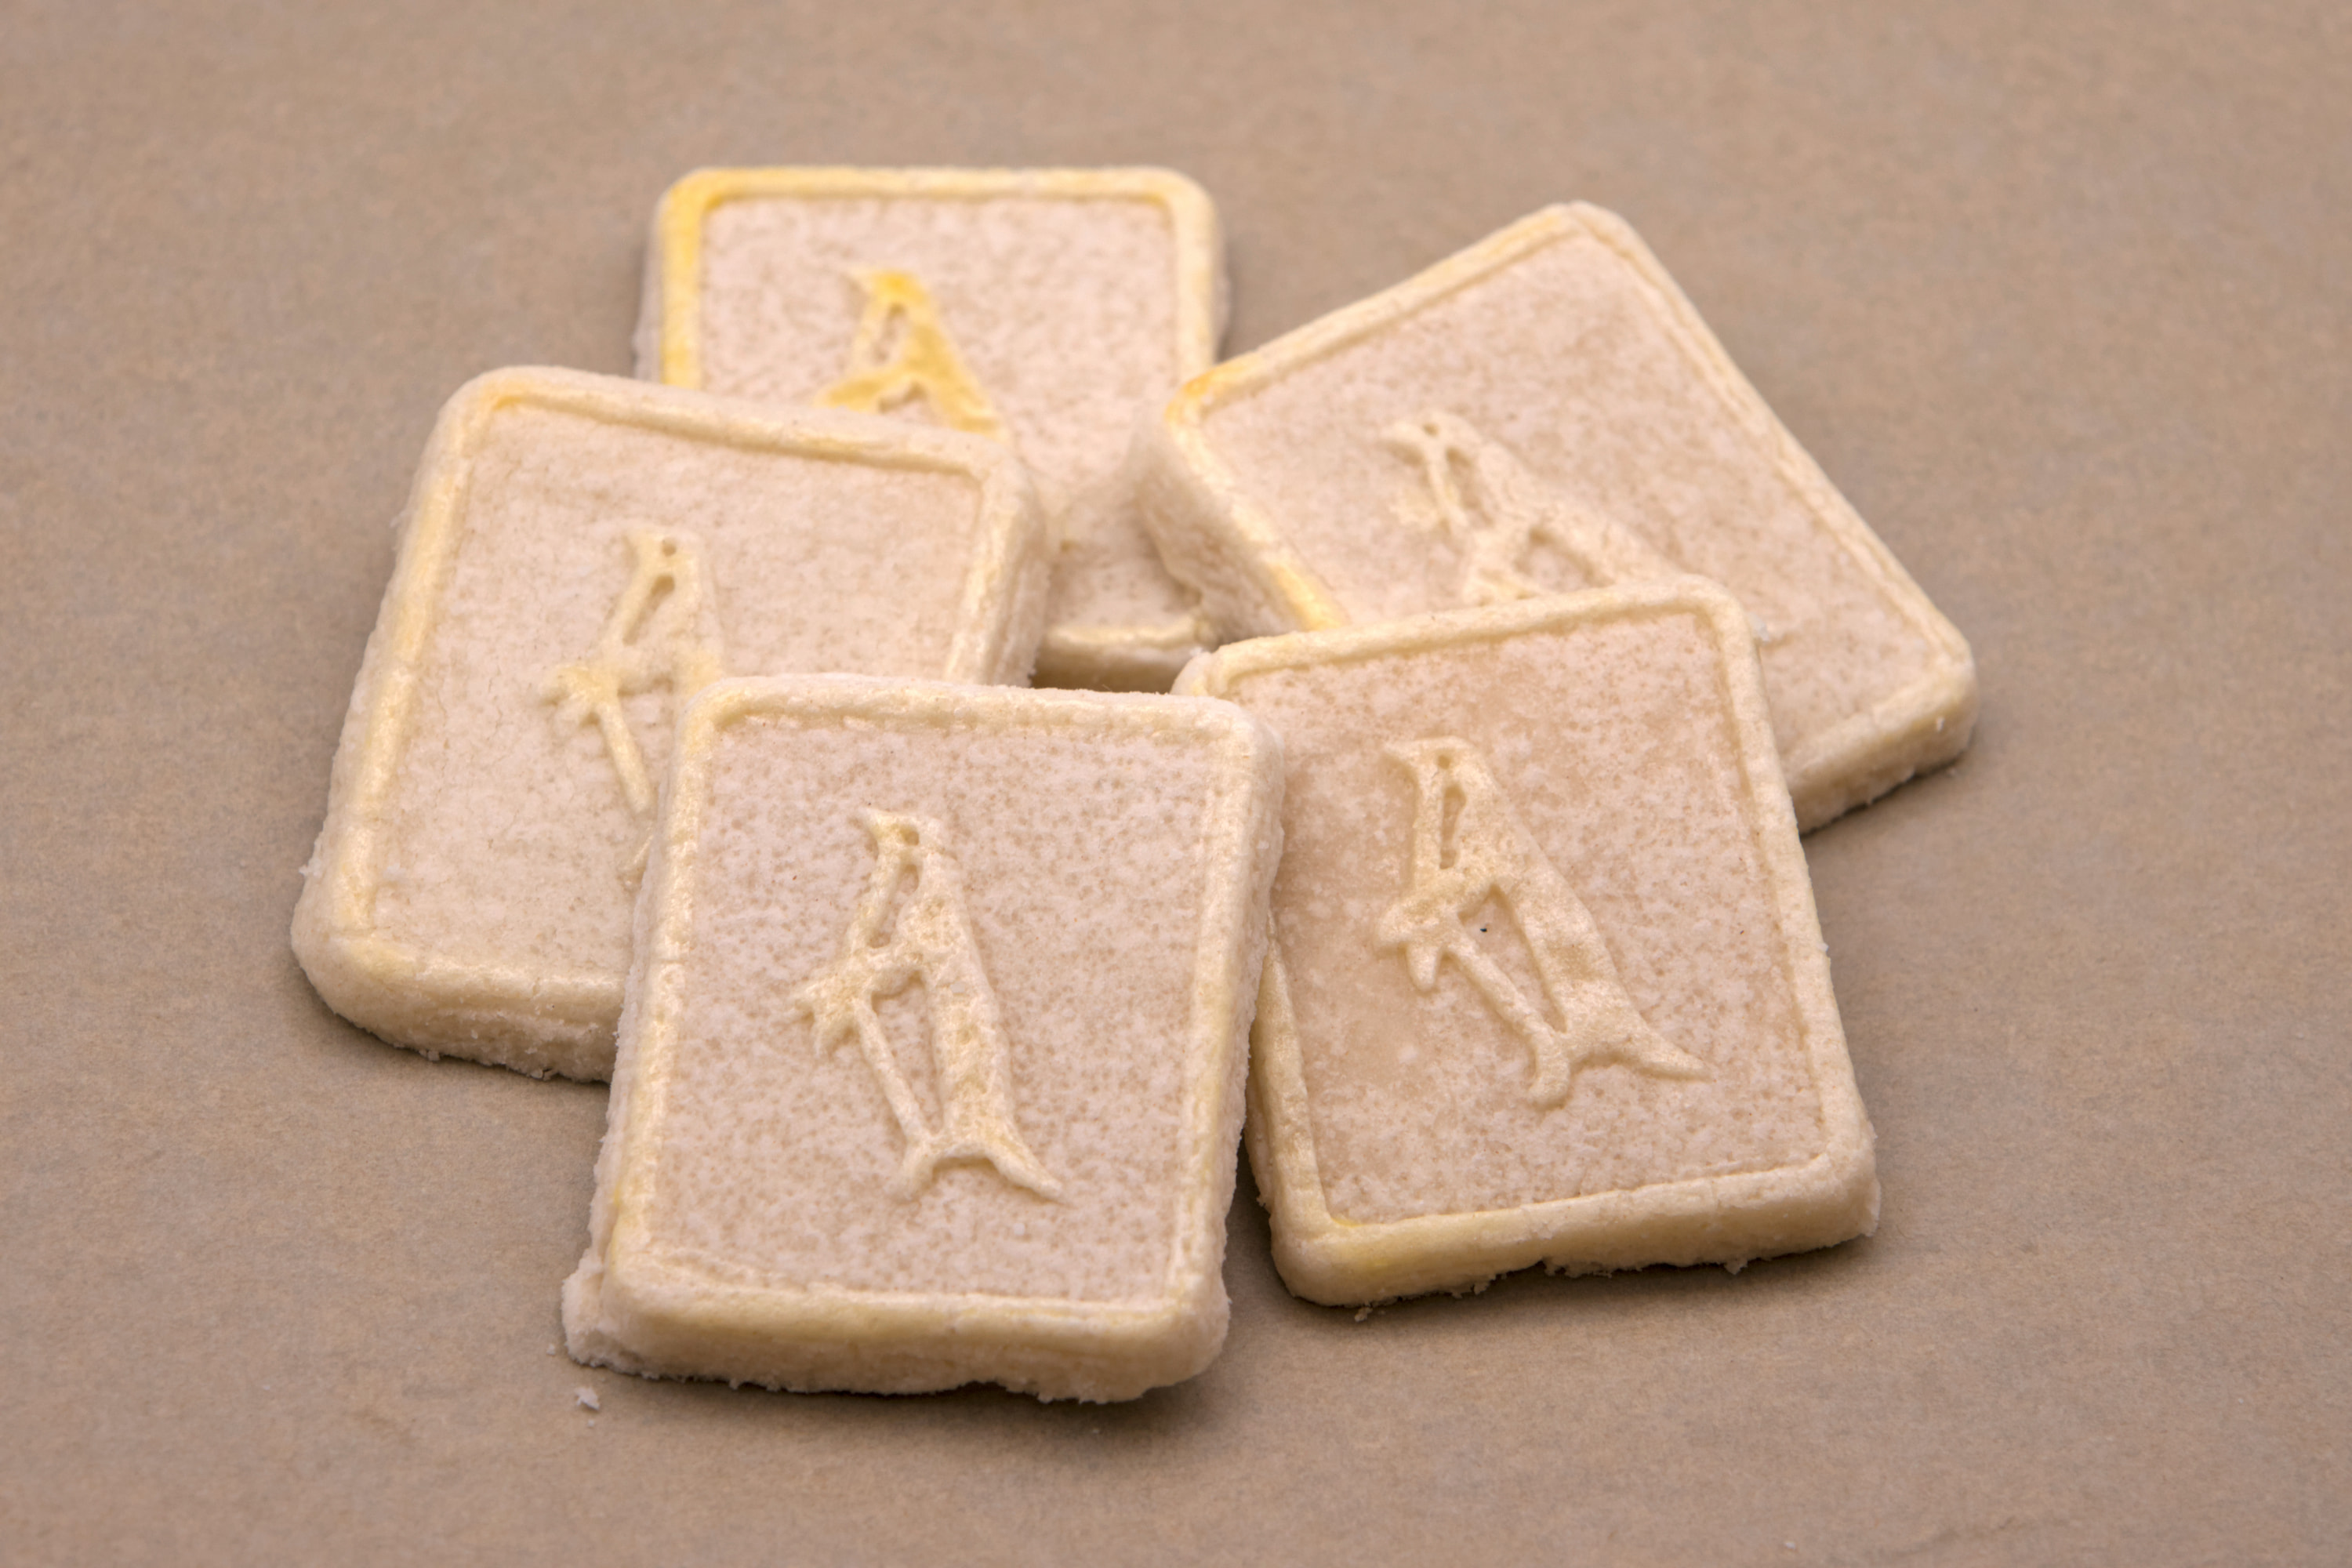
To create the custom shapes, I 3D printed molds. To create the molds, I first drew a set of 43 mm by 53 mm designs—the size I measured the commercially-available cookies to be—in Inkscape, making each line at least 2 mm thick, to ensure it would survive the molding and baking process. In the end, I settled on twelve designs: four designs showing E- and B-mode polarization patterns; four designs with Antarctica themes, specifically, an Adélie penguin, the True South flag, an Antarctica outline, and the ceremonial Pole marker; and four designs with BICEP themes, specifically, the Dark Sector Laboratory (DSL) building with BICEP3 ground shield, the BICEP3 cryostat, the BICEP Array tower connected to the Martin A. Pomerantz Observatory (MAPO) building, and a BICEP Array cryostat. After converting the outlines of the designs to paths and taking their union, each design was individually exported in the DXF R14 format and converted into solid models using a custom CadQuery script. The molds were then printed out of PLA using a Prusa MINI+ 3D printer using 0.1 mm layer height. For initial prototypes, the molds were designed to act as both molds and cookie cutters, but the dough would get stuck in the mold. Instead, the design was modified to only cut out the corners, leaving the sides connected to the rest of the rolled out dough; after removing the molds, the sides were cut with a dull knife, freeing the cookies from the dough.
Others have previously baked cookies in this style, so I had an existing reference for a recipe to use. However, I tried to more closely follow Pepperidge Farm’s recipe based on the ingredients list and nutritional information. In the end, I settled on a recipe of 3/4 cup butter, 3/4 cup granulated sugar, 1 3/4 cup all-purpose flour, and 1/2 cup corn starch. Originally, I had included 1 teaspoon of baking powder—as a substitute for the baking soda and cream of tartar in the commercially-available cookies—and less flour and corn starch to better match the fat–sugar–carbohydrate ratio in the nutritional information, but the cookies rose and spread too much during baking, ruining the designs. Thus, I removed the leavening agent and increased the amounts of flour and corn starch to the values listed above. As eggs are listed as being less than 2% of the cookies, I suspect they are only used for the wash, so I left them out of my dough recipe.1
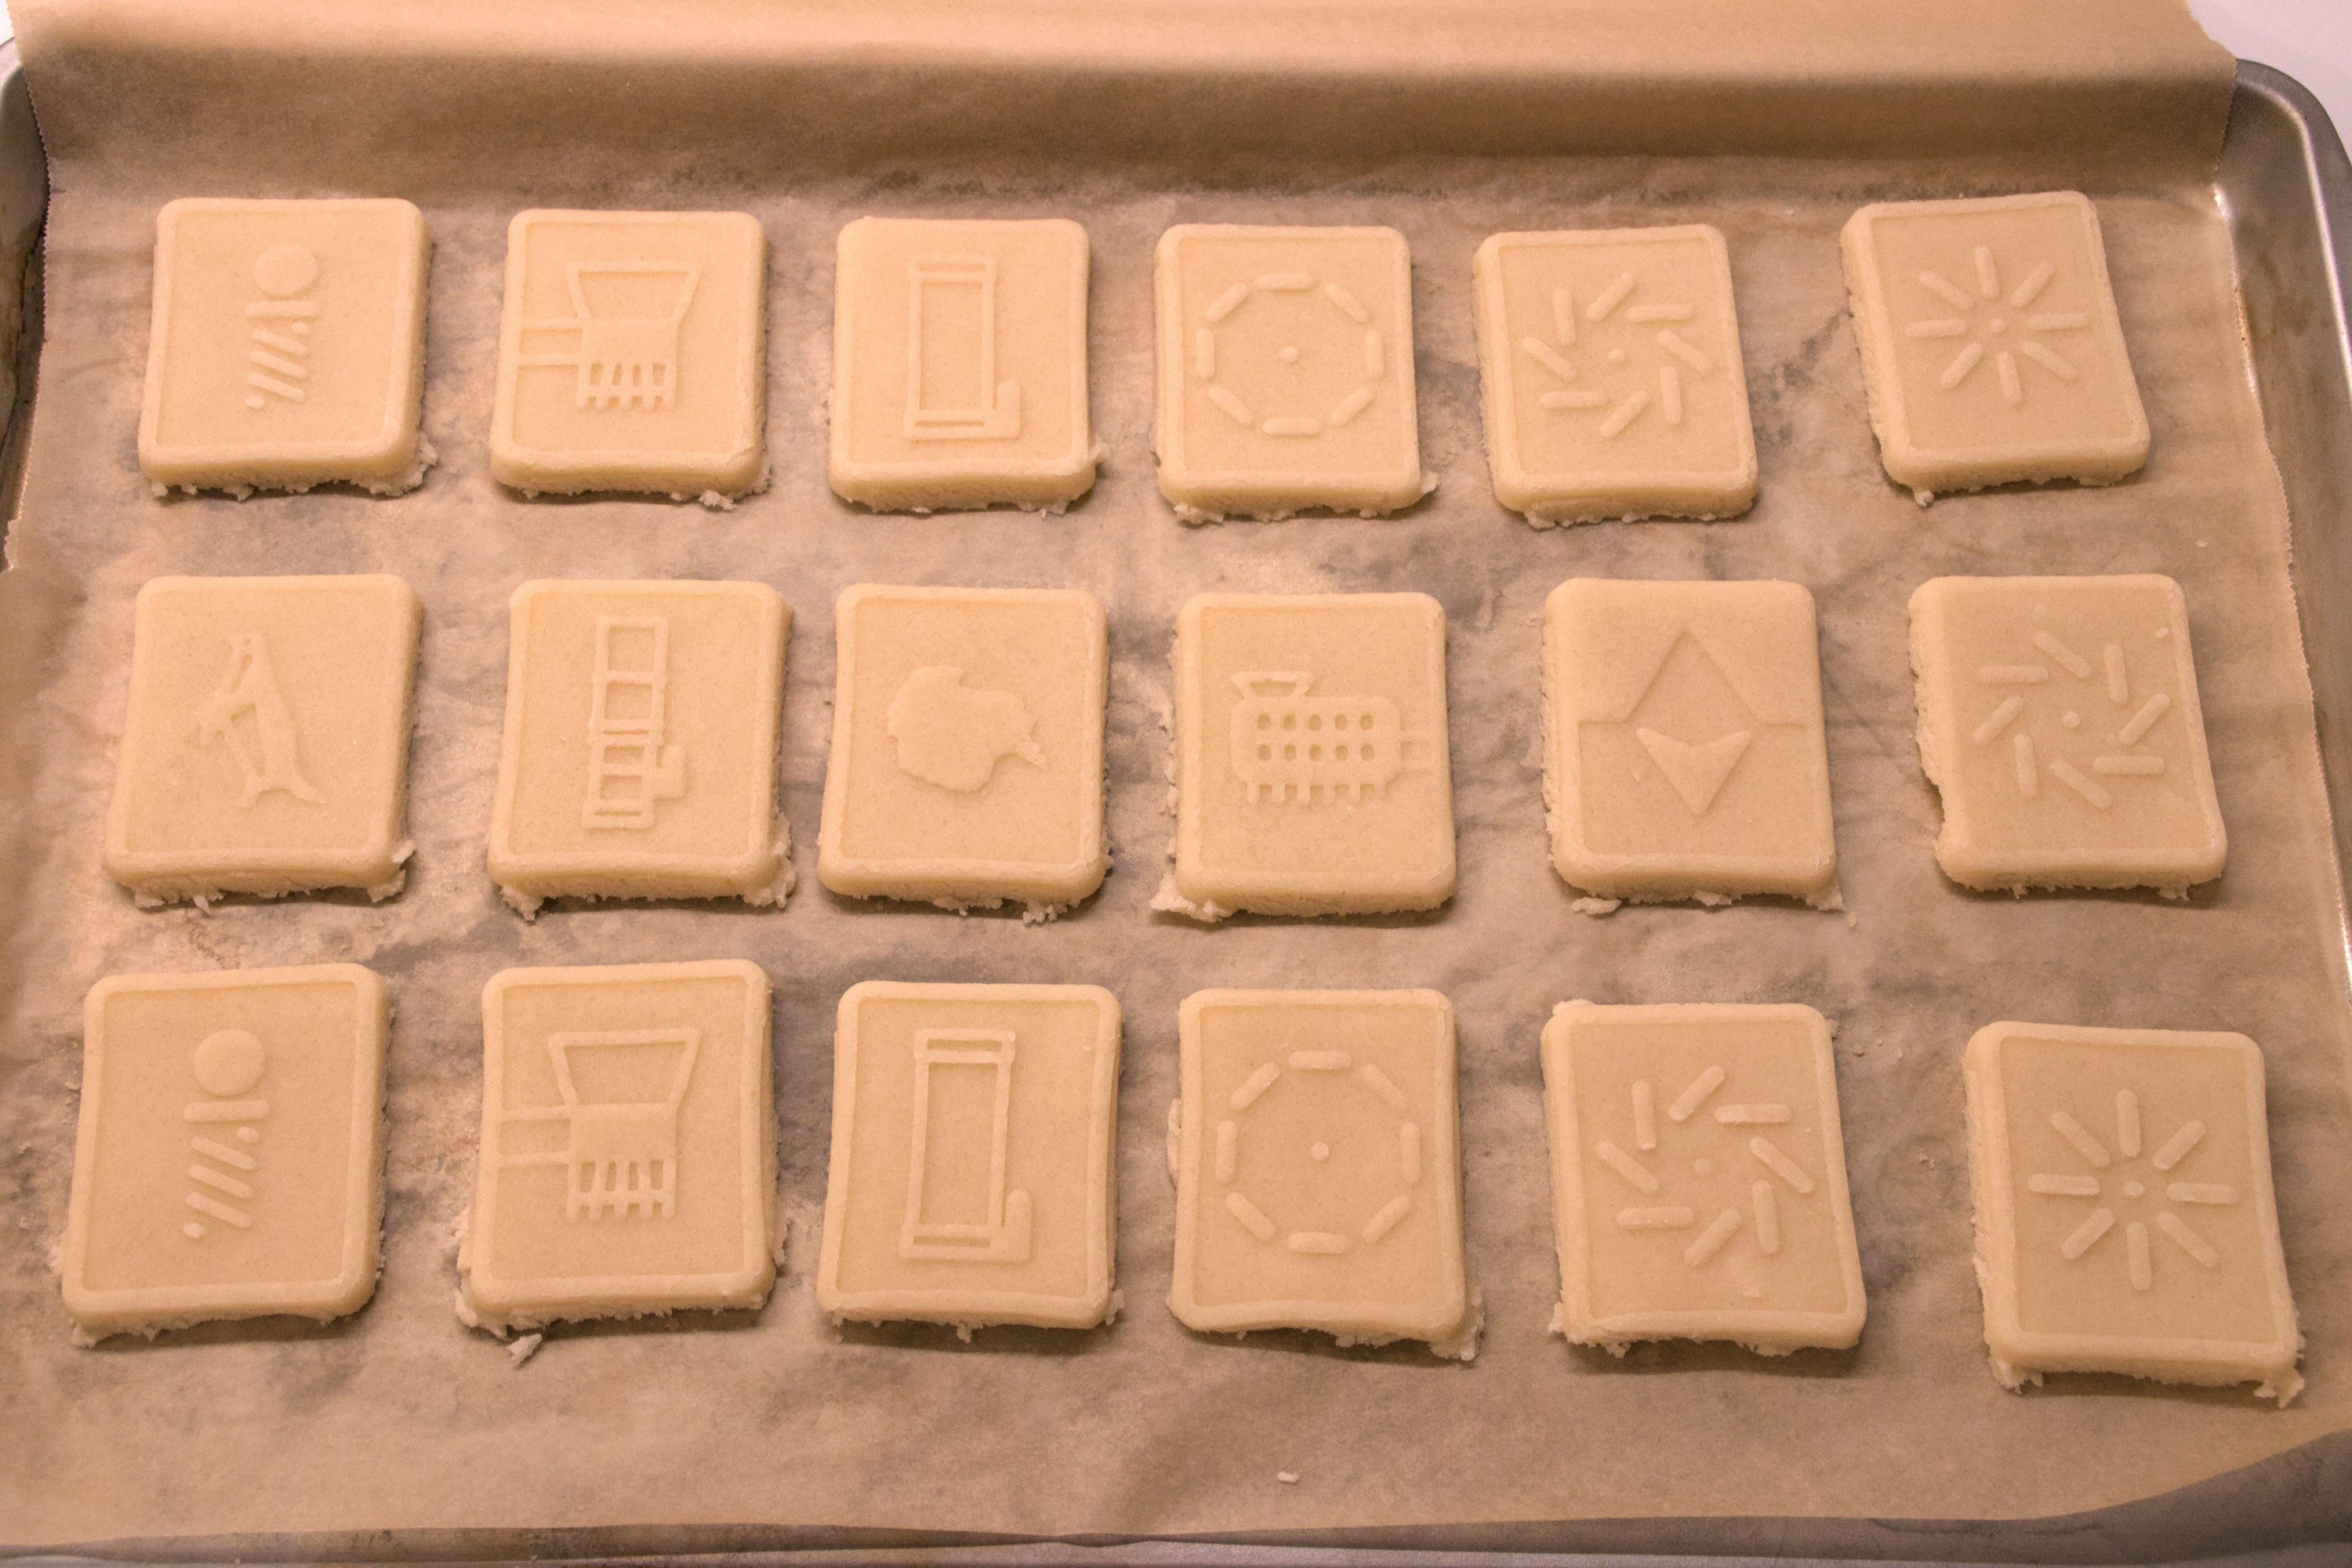
To make the dough, I partially melted the butter and mixed it with the sugar using a fork. Separately, I mixed the flour and corn starch and then mixed it into the butter–sugar mix, first mixing in half the dry mix and then the rest, until the dough was well mixed. Next, I split the dough in half, wrapped it in plastic wrap, and chilled it. If the dough is too warm, it will stick to the molds, and if it is too cool, it is difficult to roll out, so a happy medium needs to be found. I rolled out the chilled dough between two layers of plastic wrap, to prevent it from sticking, to a thickness of 6 mm, using a rolling pin with disks on the ends that allow setting the thickness. Removing the top layer of plastic wrap, I then dusted flour onto the dough to reduce the risk of it sticking to the molds and used the molds to shape the cookies, pressing down on the molds using much of my body weight.
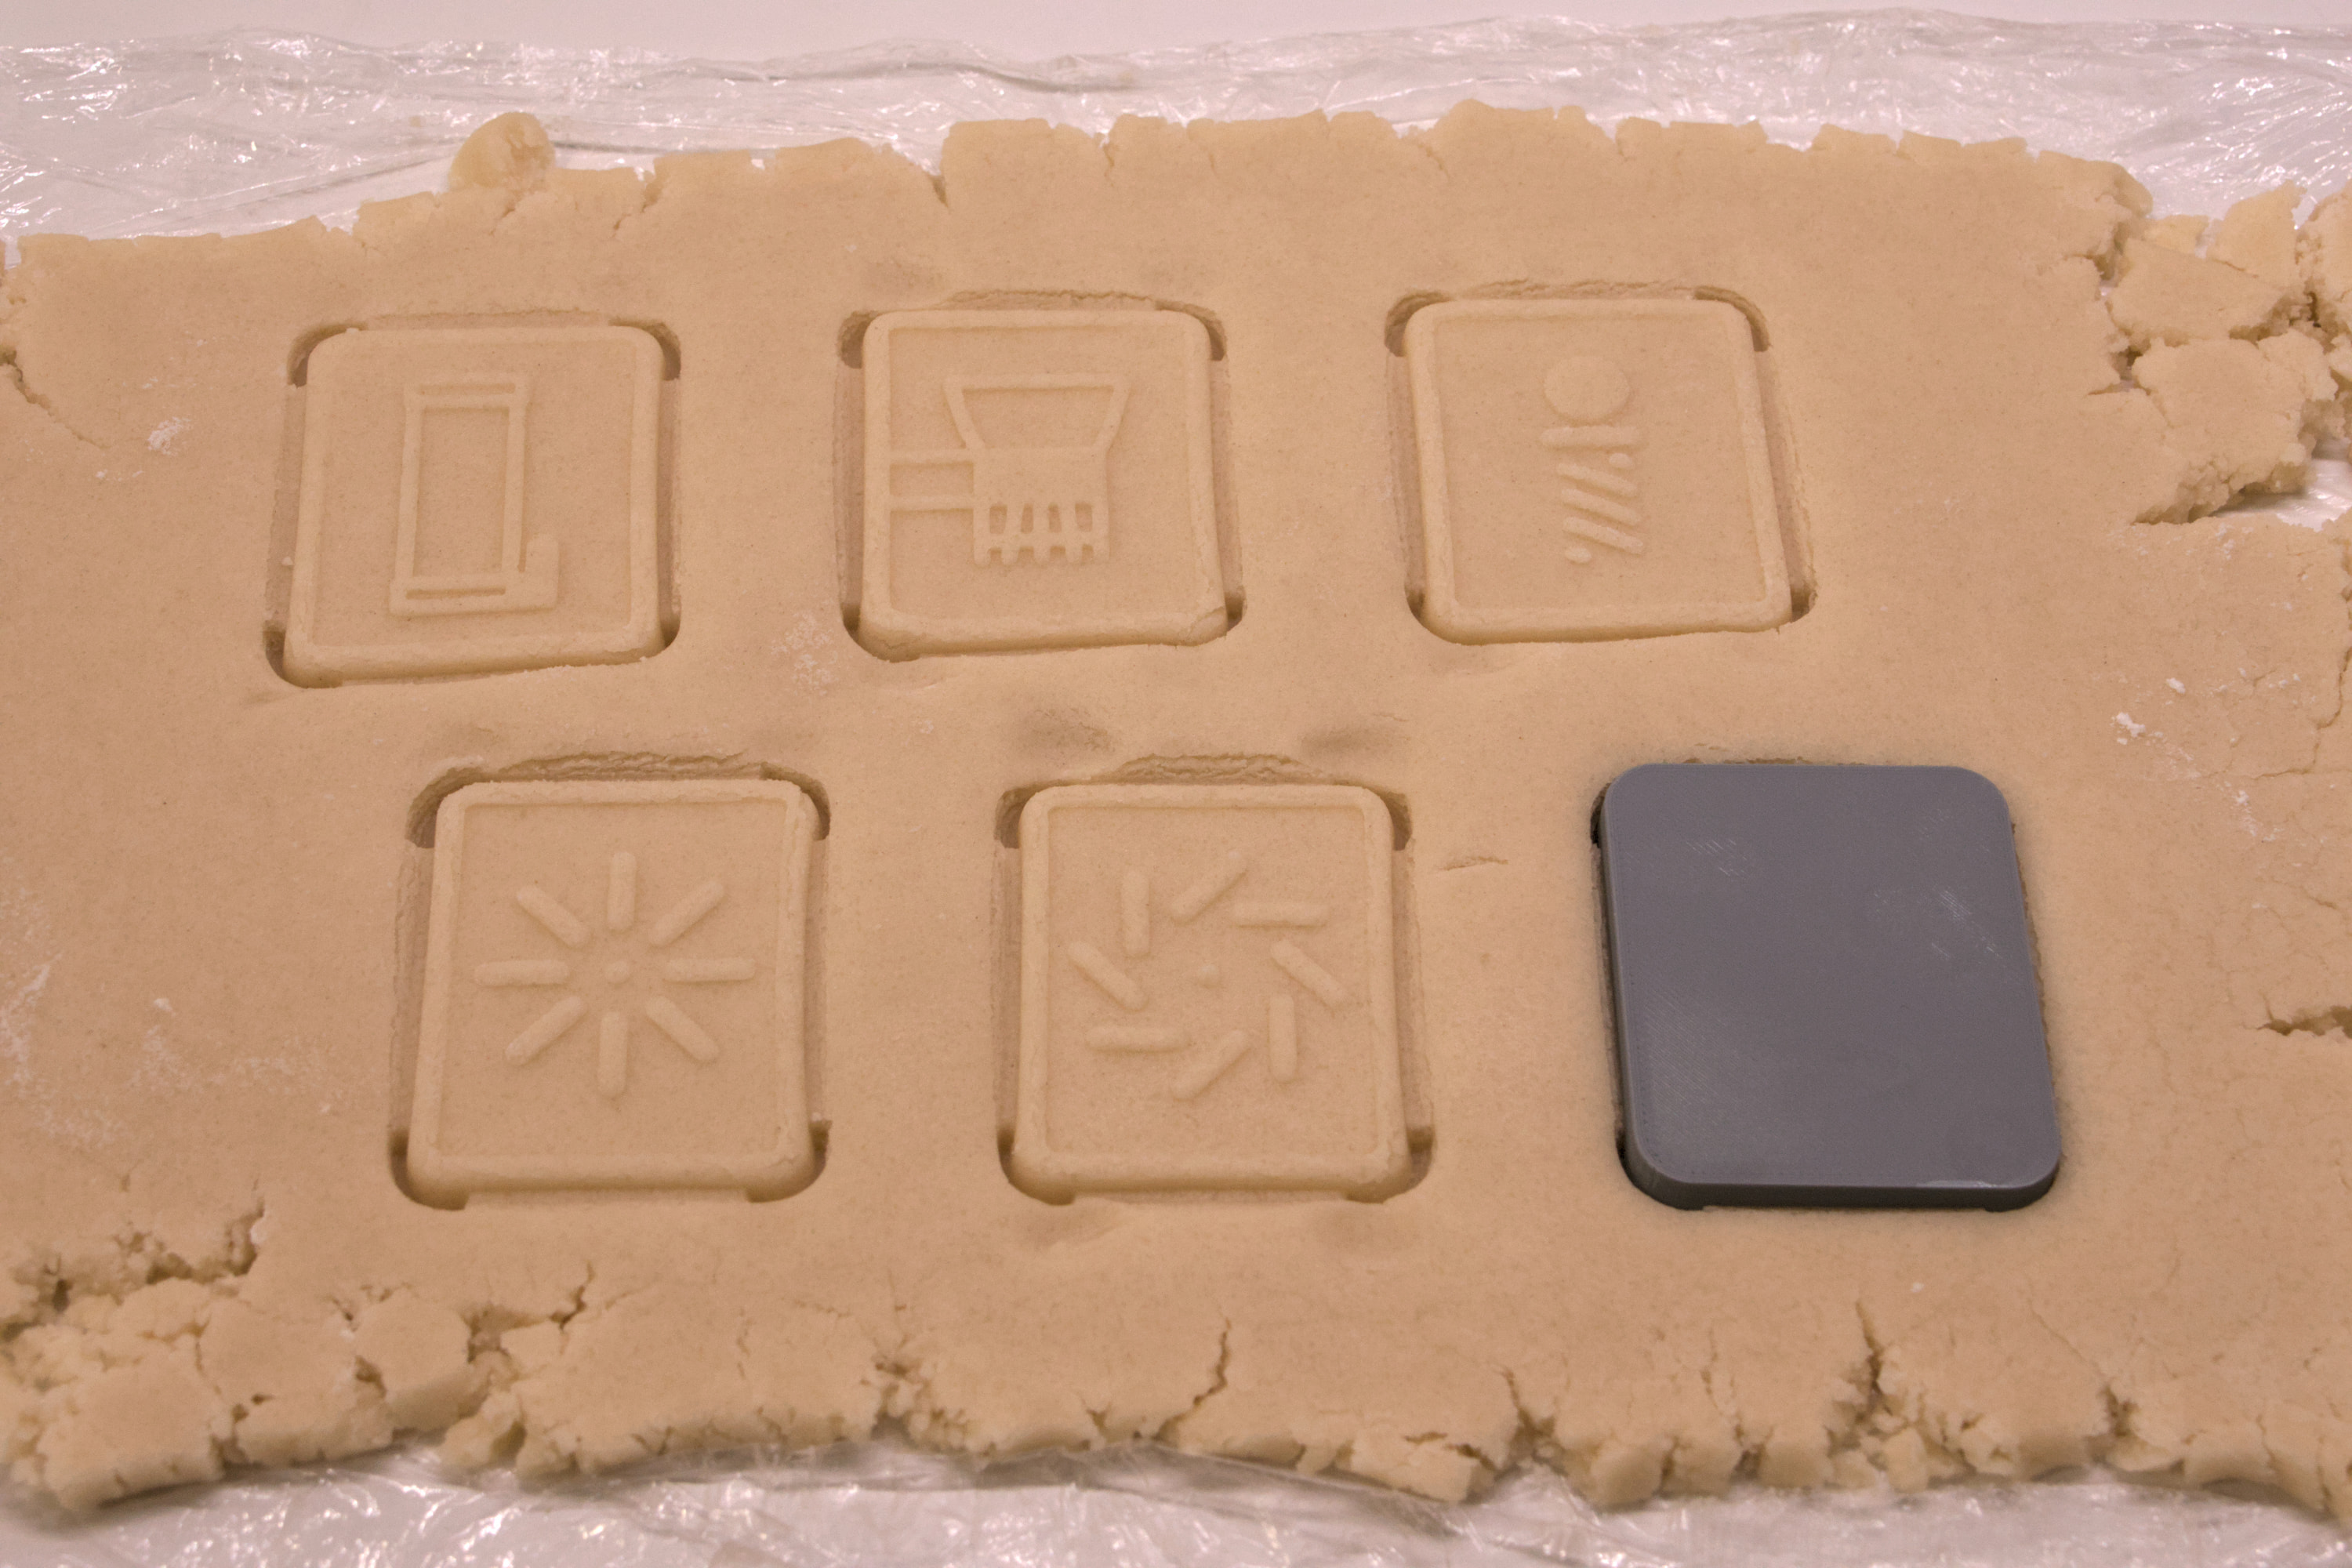
The mold is then carefully wiggled back and forth to free it from the dough without damaging the design. Originally, I had molded one cookie at a time (as is shown above), but I found that it’s better to press in all of the molds before removing any of them, since this prevents shifting of the dough from later molds from disturbing earlier cookie designs.2
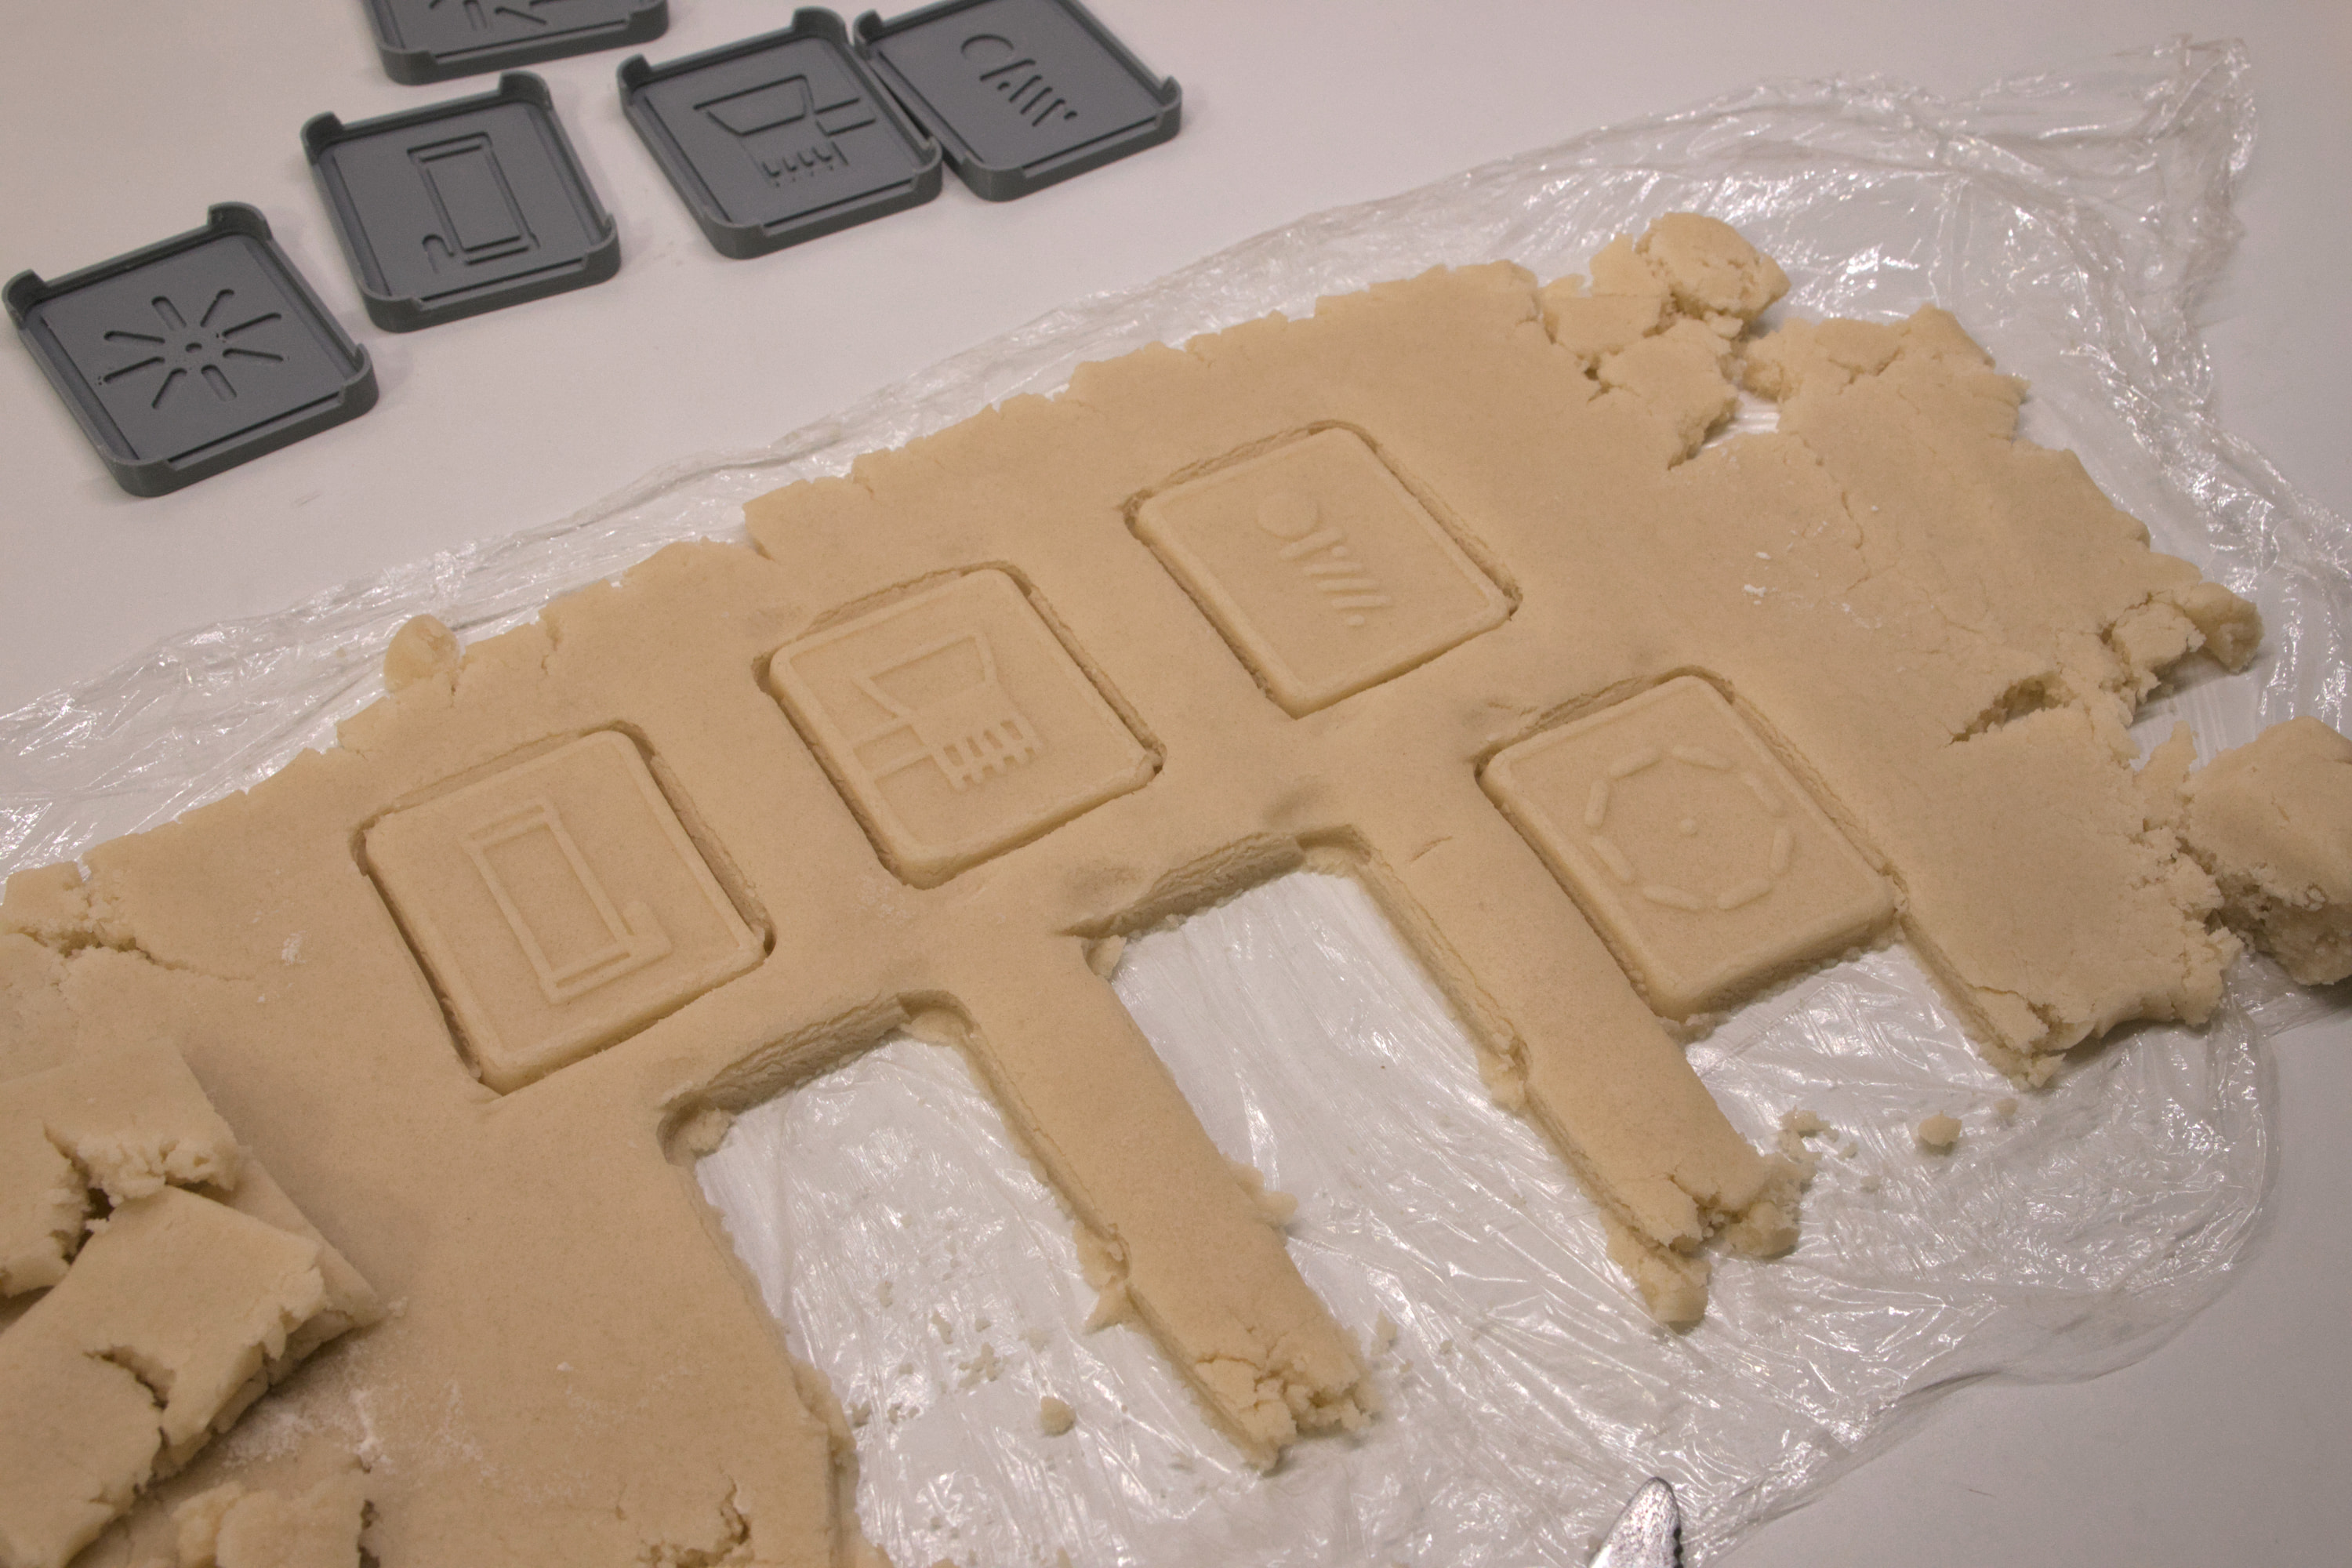
Once the molds are removed, the cookies can be freed from the dough using a knife with a rounded, non-serrated end. Using the same knife (or some sort of small spatula), the cookies are then transferred to parchment paper and placed in a freezer. The remaining dough should be balled back up and placed in a refrigerator; the other half of the dough is then removed from the refrigerator, and the process is repeated. I found that this recipe and mold combination produces around 28 cookies in total.
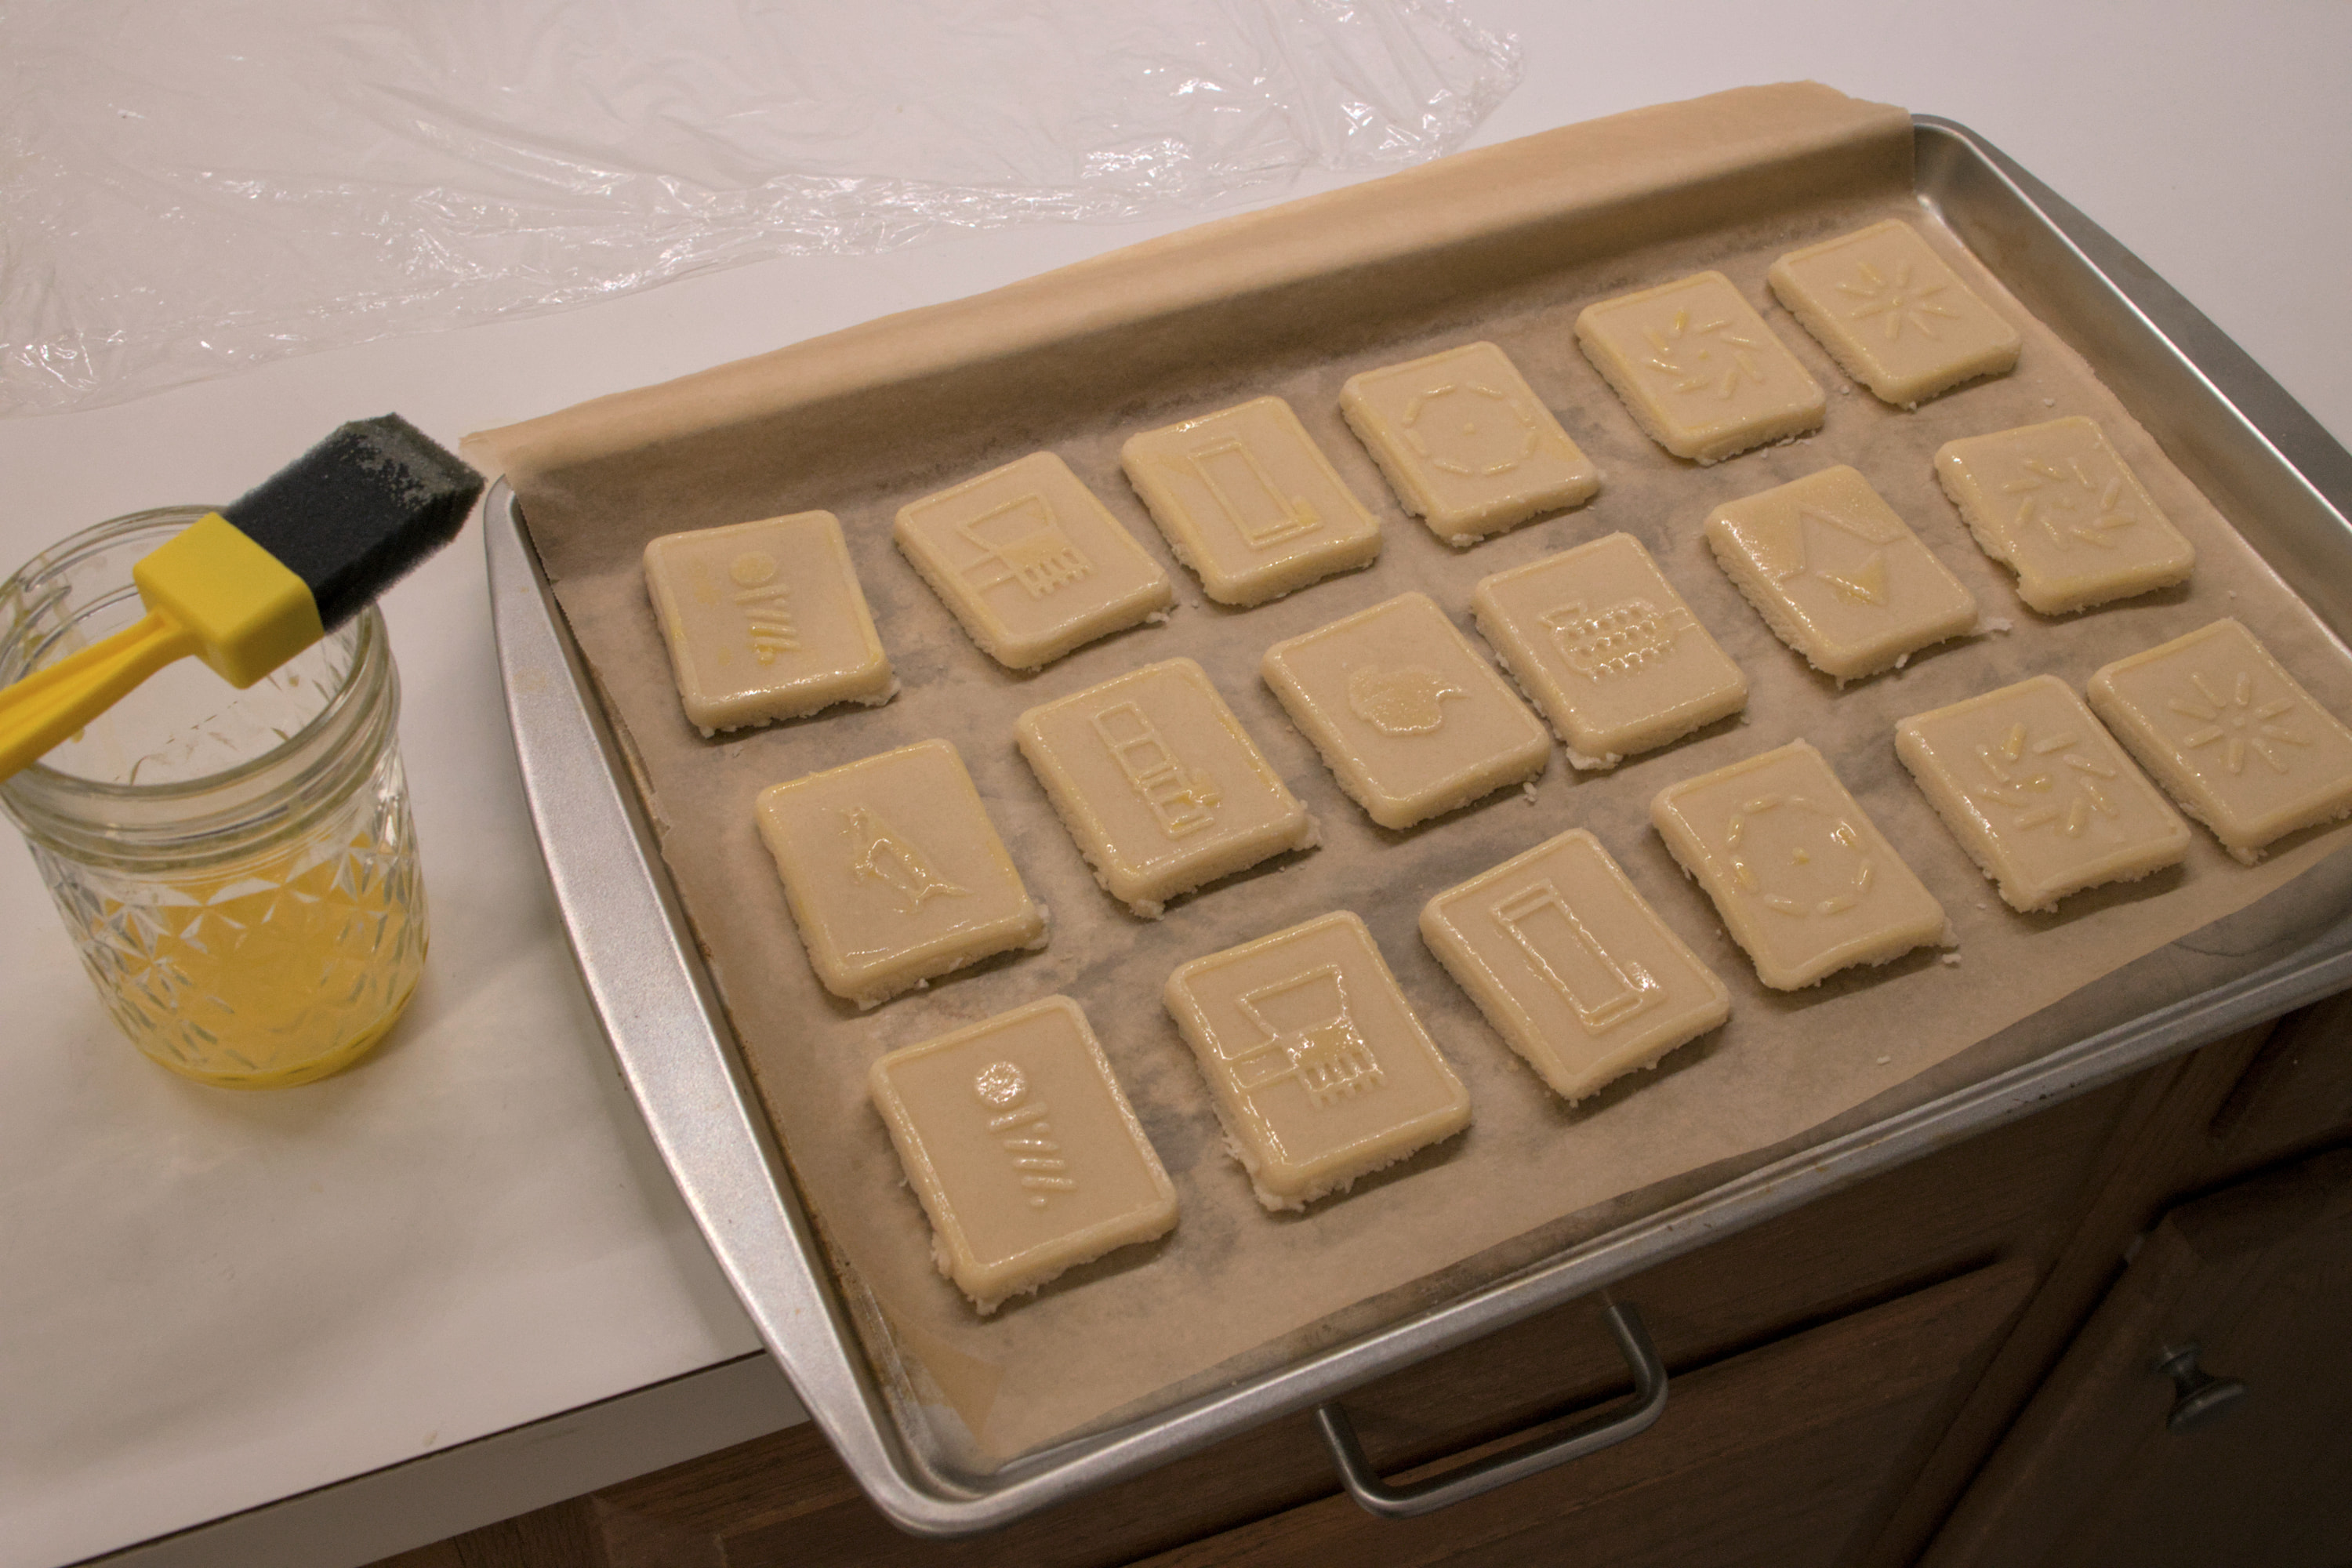
After freezing the cookies for a least an hour, an egg yolk wash should be applied.3 To do this, I whisked an egg yolk using a fork and then carefully painted it on to just the raised design on the cookies using a foam brush (a suggestion from the recipe I had consulted). The cookies should then be returned to the freezer for at least another 15 minutes, such that they’re frozen when placed in the oven.
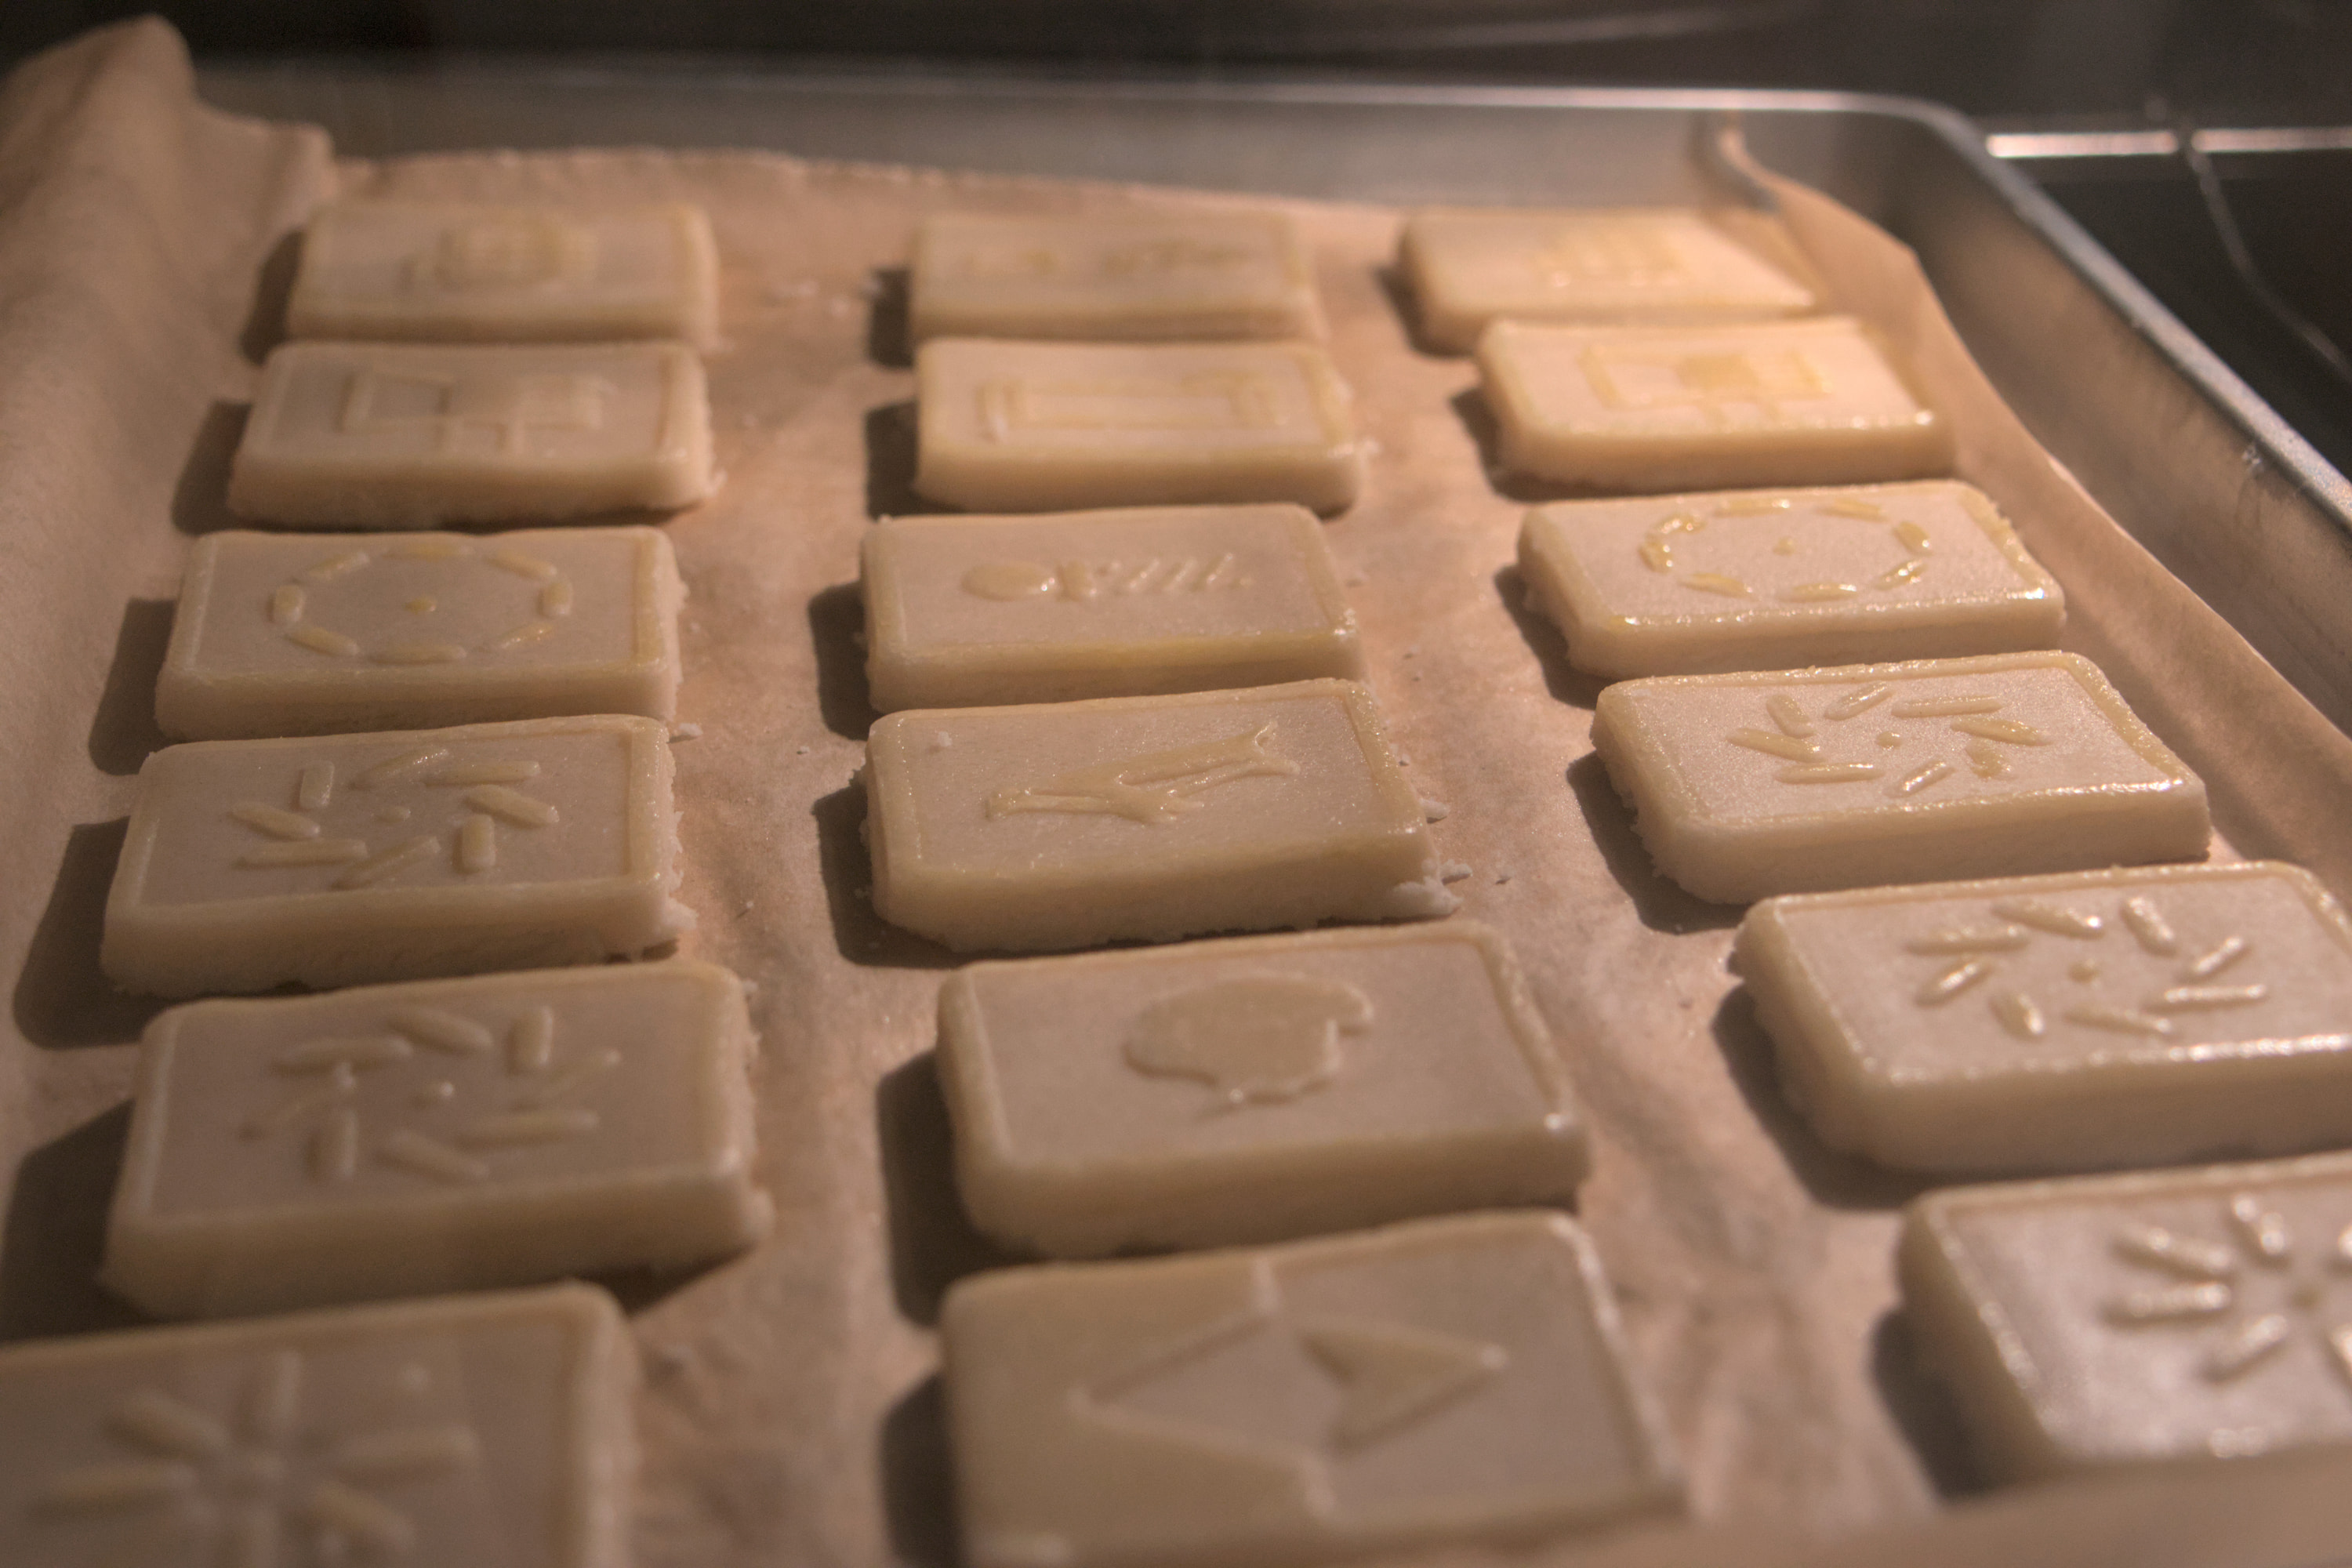
Finally, the cookies can be baked. I found this to be a finicky process, since the designs on the cookies would be damaged if the dough rose in the center of the cookies, but the bottom center of the cookies would be under-baked if the cookies were taken out of the oven too soon. In the end, I settled on a procedure using an oven preheated to 425°F, to try to quickly bake in the designs. Start by placing the frozen cookies and parchment paper on a room-temperature baking sheet and baking for 6 minutes; any more than this, and the center of the cookies would begin to rise, damaging the designs. Remove the baking sheet from the oven and allow the sheet and cookies to cool, without removing the cookies. Once the cookies have cooled to near room temperature, return them to the oven for an additional 3 minutes. Again allow them to cool on the baking sheet. Flip the cookies over, return them to the oven for a final 3 minutes, and then allow them to cool. The initial two runs in the oven bake in the designs, while the final oven run finishes baking the bottom of the cookies.
Overall, I was mostly happy with how the cookies came out. The taste and texture were nice, and the designs remained intact, although I would have preferred if the egg yolk wash on the designs made them darker. After dialing in the recipe and baking procedure with two prototype batches, I baked an additional two final batches, producing 60 “good” cookies,4 comprised of five of each of the dozen designs.5 Between molding the cookies and painting on the wash, it takes over an hour for a batch, and the entire process takes several hours once the cooling time and baking time are included.
My colleagues seem to have enjoyed the cookies.6 For anyone wanting to make similar cookies, I’ve uploaded the designs and the script used to create the molds.
It would also make it easier to make a vegan version of the recipe. I originally planned to make a vegan and gluten free version for colleagues with dietary restrictions, but I ran out of time. ↩
It also allows the designs to be placed closer together, since the risk of disturbing the adjacent designs is significantly reduced. ↩
If the dough is too warm, applying the wash can damage the designs on the cookies. ↩
I also used some leftover dough from the earlier batches. ↩
Except, I accidentally made one too few of the True South design. ↩
There were several approving comments about how I had gone through the effort of producing both directions of B-mode patterns. ↩