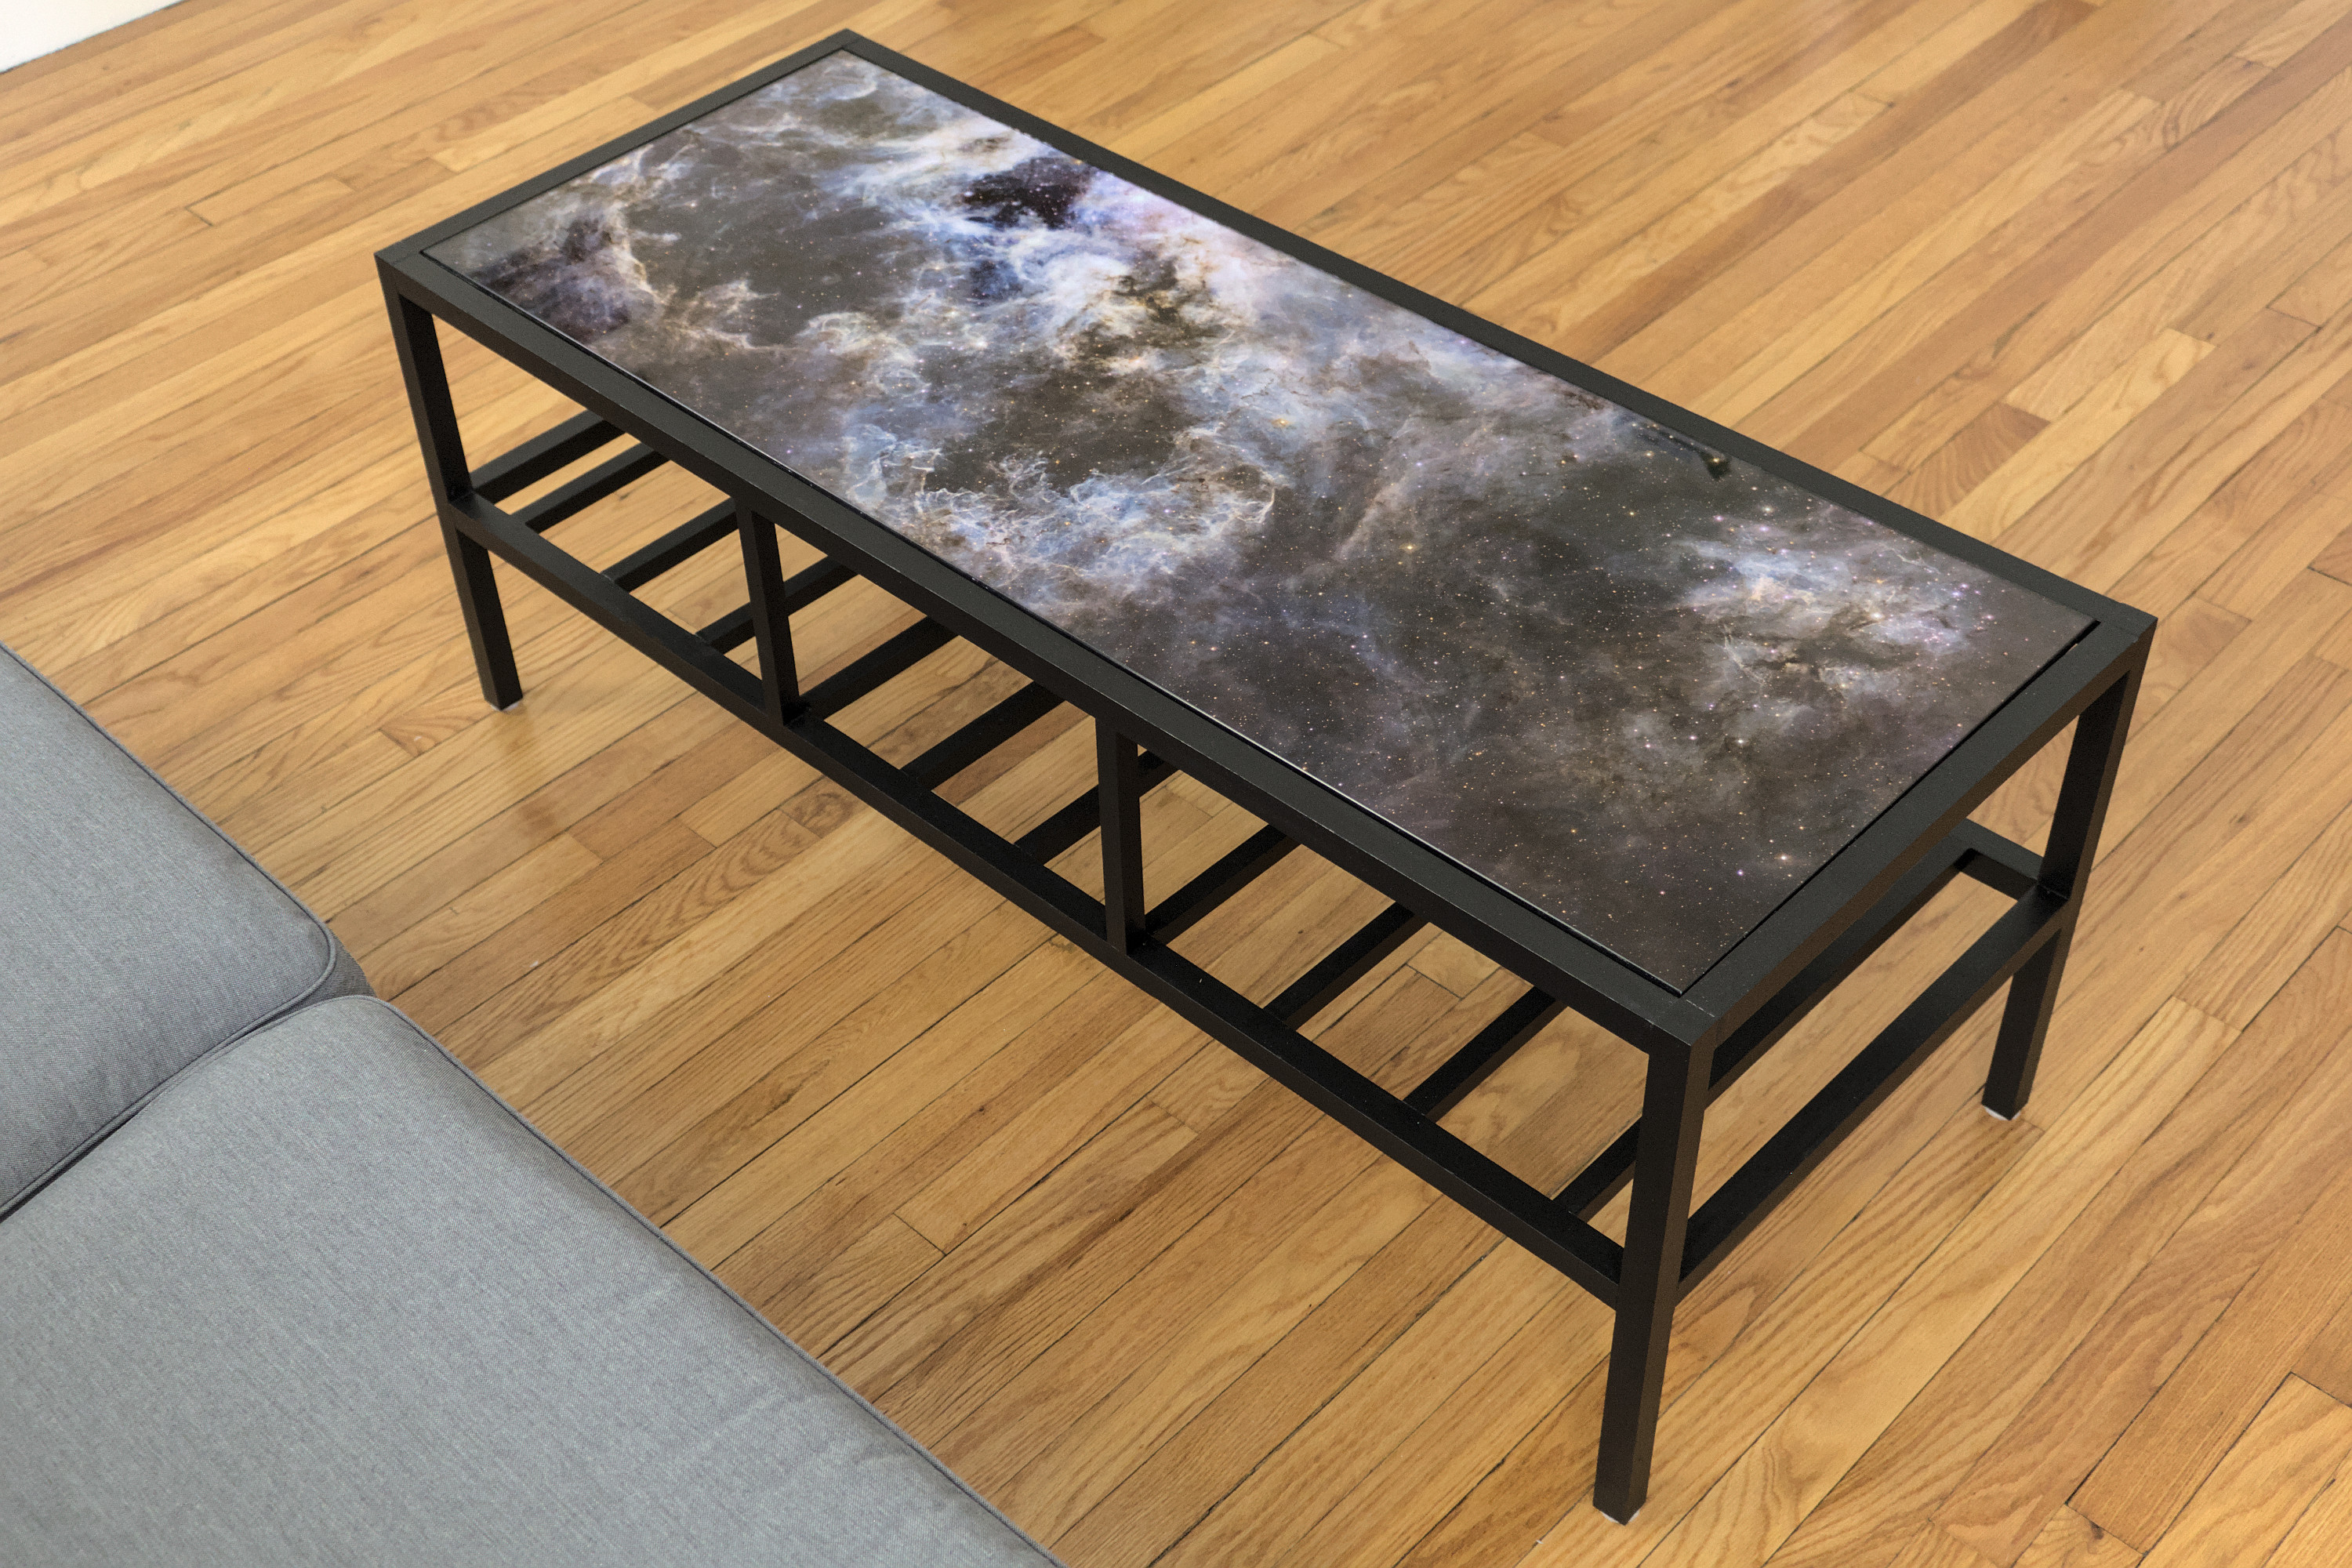
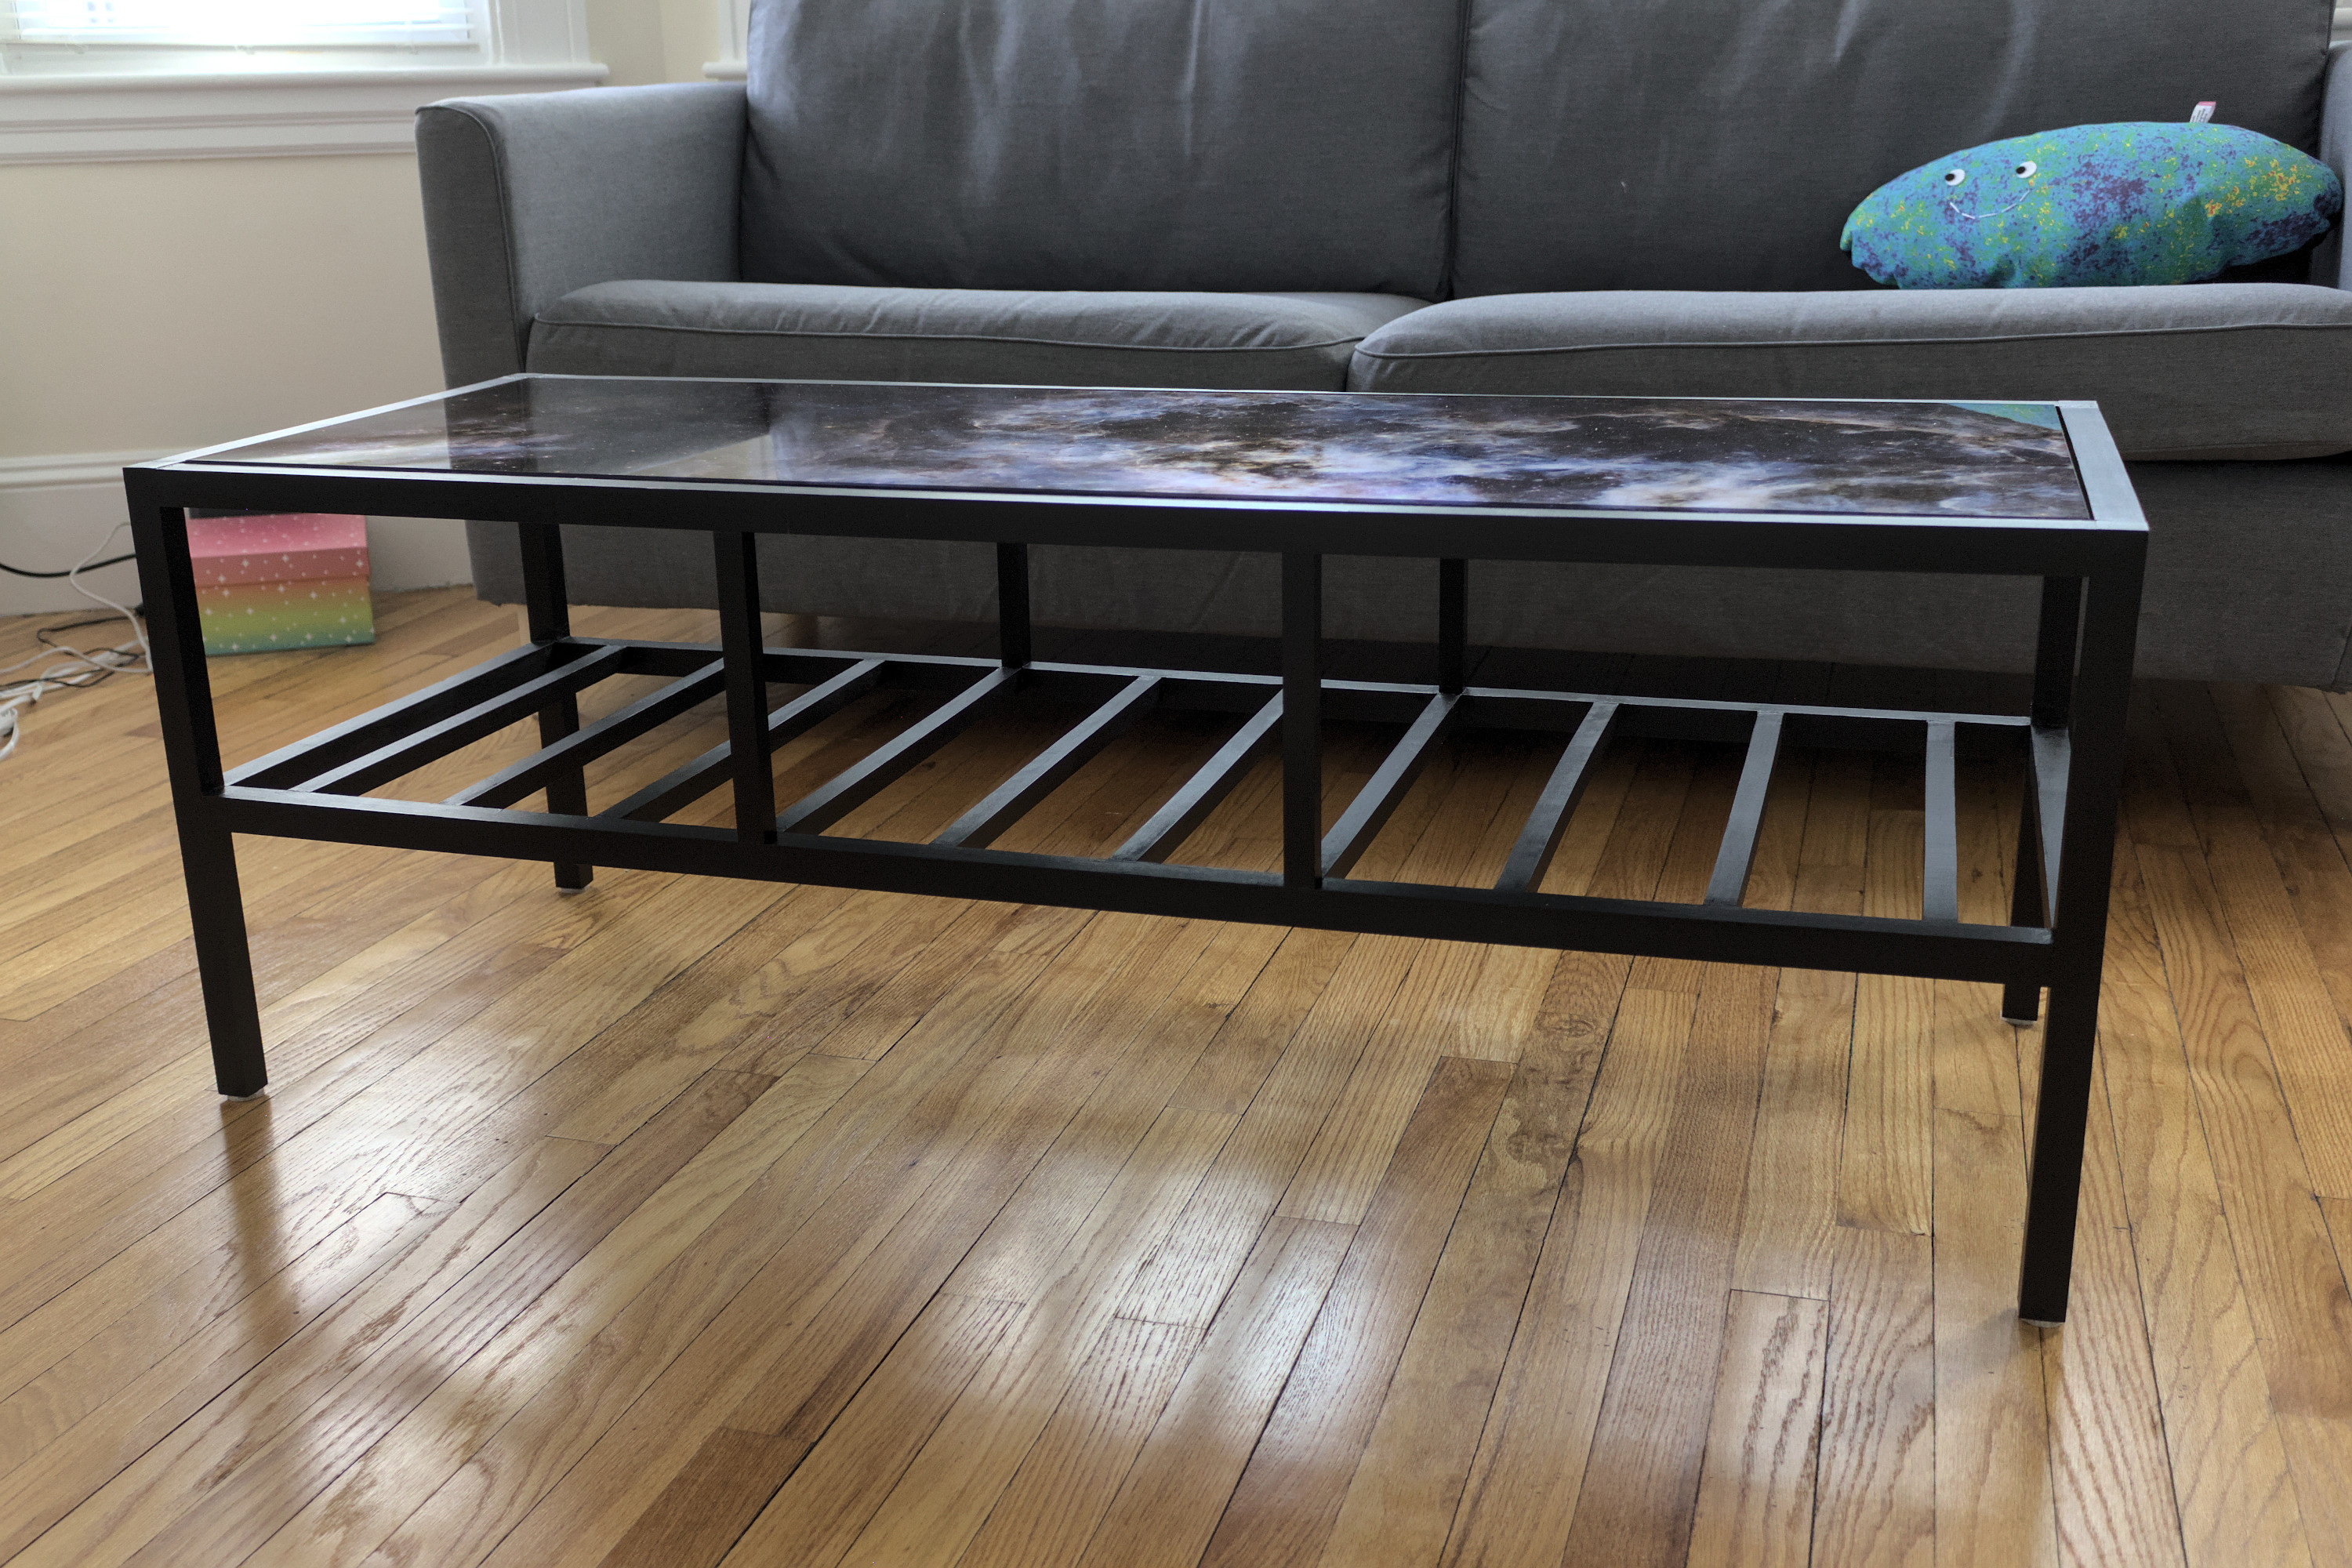
Now that I finally have a couch (and am living in an apartment big enough to comfortably fit one, unlike when I was in grad school), I decided I also needed a coffee table. Instead of just buying one, I decided to build one instead, with an astrophysics-related theme. To make construction without access to a woodworking shop easier, I sketched out a design based on square birch dowels, after which I selected a Hubble Space Telescope image of the Tarantula Nebula to use for the tabletop, and got to work building the table.
The frame is built using a combination of 1″ and 3/4″ square birch dowels, which were cut using a cheap plastic miter box and back saw.1 To assemble these dowel segments into the table, I designed and 3D-printed a set of drill guides, which hold a removable drill bushing. I then clamped the drill guides in place and drilled a series of blind holes with a cordless electric drill, into which 5 mm diameter, 25 mm long wooden dowel pins could be inserted.2 The 5 mm diameter was chosen as it was the smallest diameter available and most readily allowed for two dowel pins to be used at each joint, to prevent rotation.
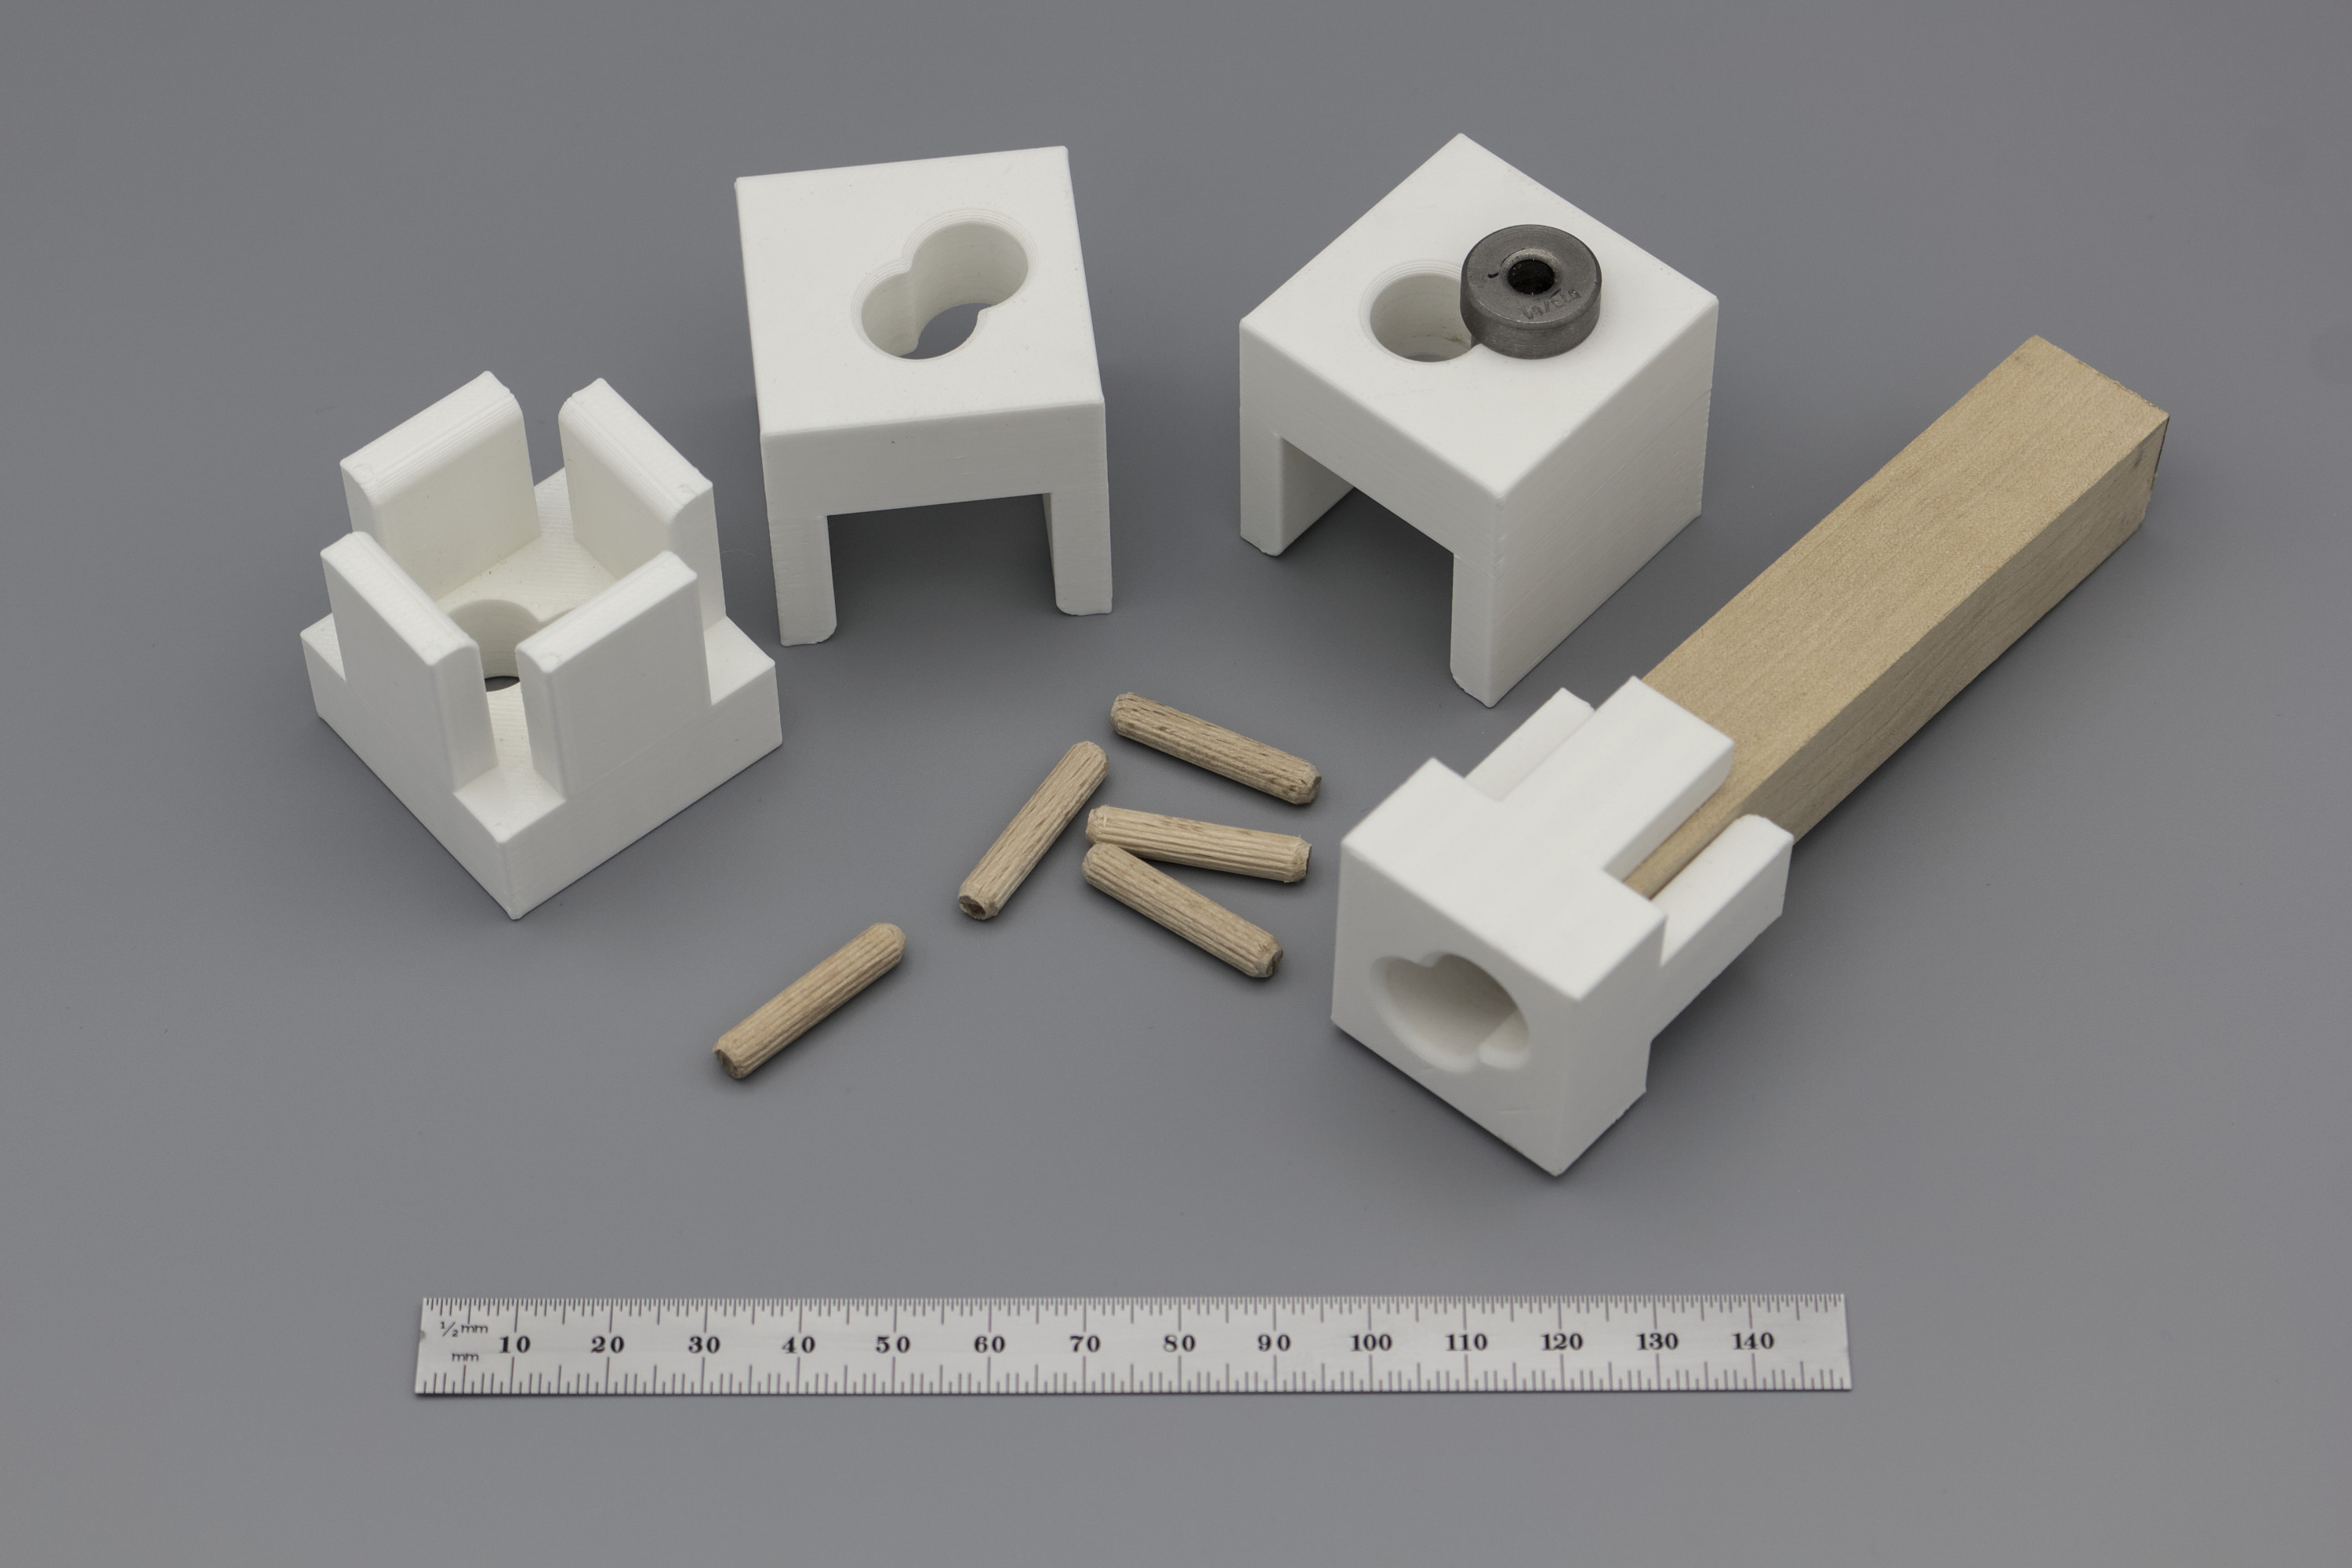
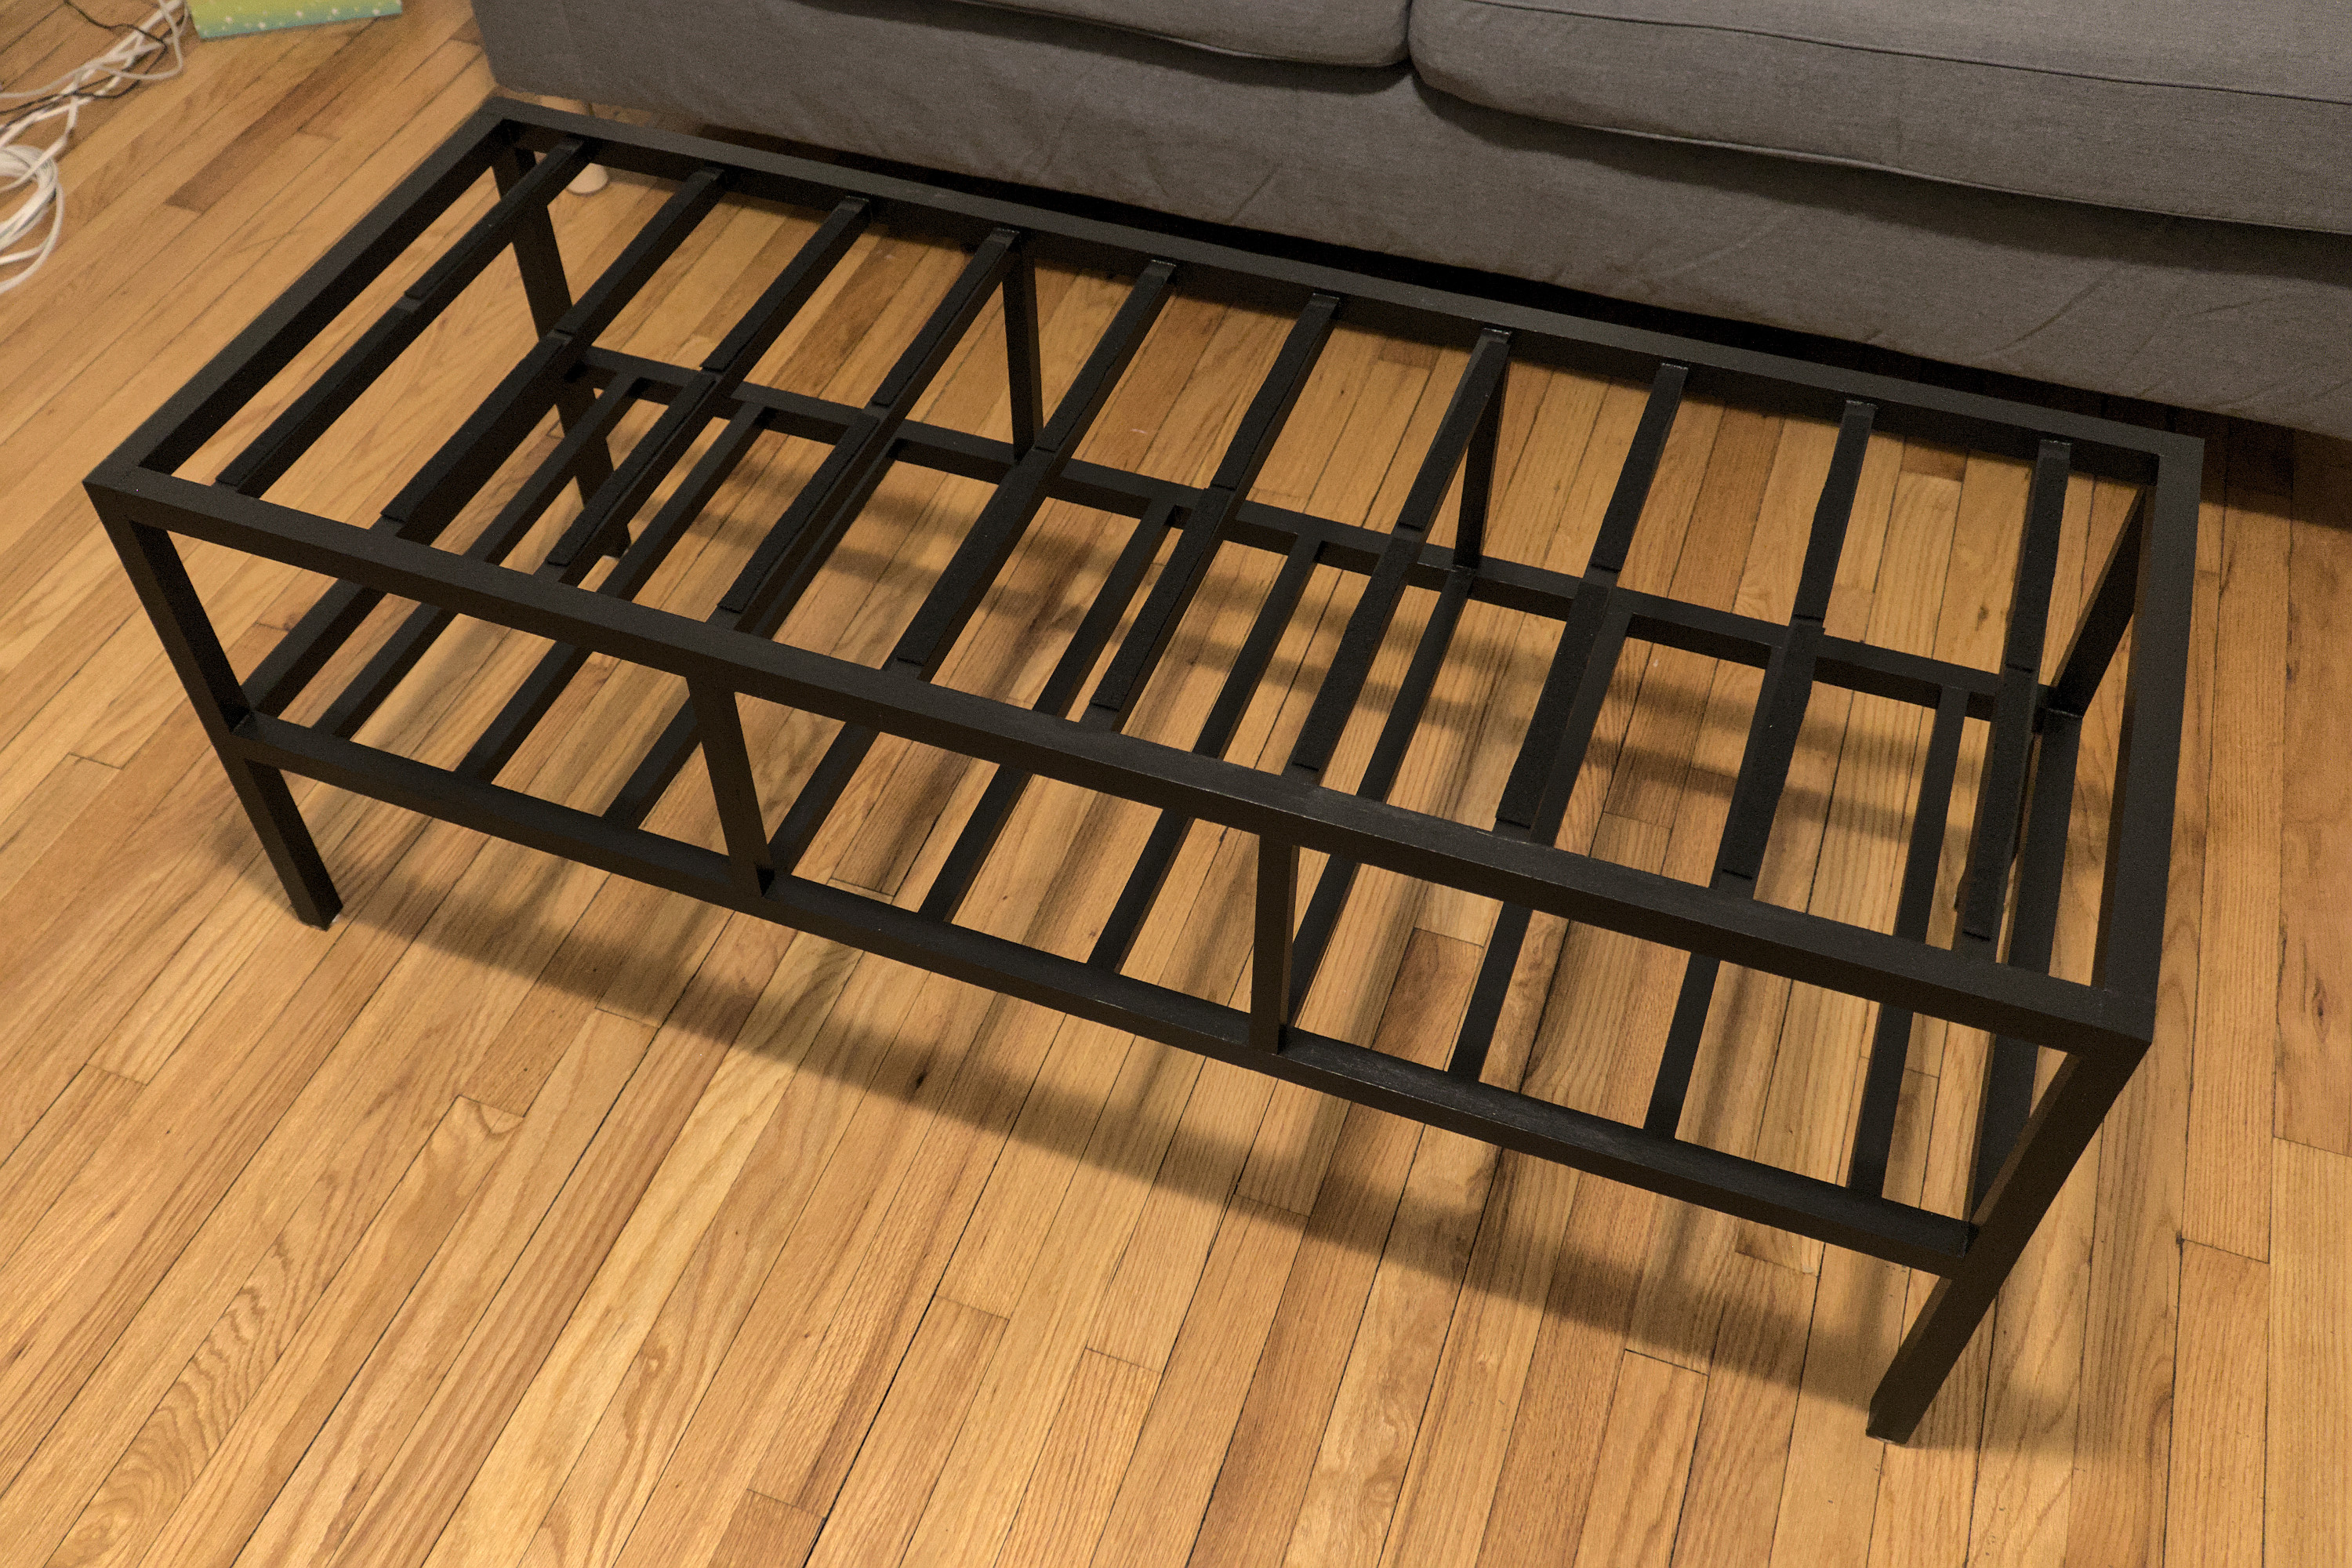
The drill guides worked flawlessly, so the parts were soon ready for assembly. Due to how the parts fit together, there’s only one allowable assembly order, so I started by assembling the sides using the dowel pins and wood glue.3 As I did not have long enough clamps, most of the parts were held together using racketing straps while the glue dried. Once the sides were done, I attached the two sides together. As this step involves installing 48 dowel pins, 24 on each side, it was a race against the clock to get everything in place before the glue started to set; in retrospect, an extended-drying-time wood glue would have been a much better option than the standard-drying-time glue I ended up using. A mixture of sawdust and wood glue was then used to fill in any gaps left from the cuts not being completely square, and the table frame was sanded and prepared for painting. Three coats of a satin black paint4 and some felt pads for the bottoms of the legs completed the frame.
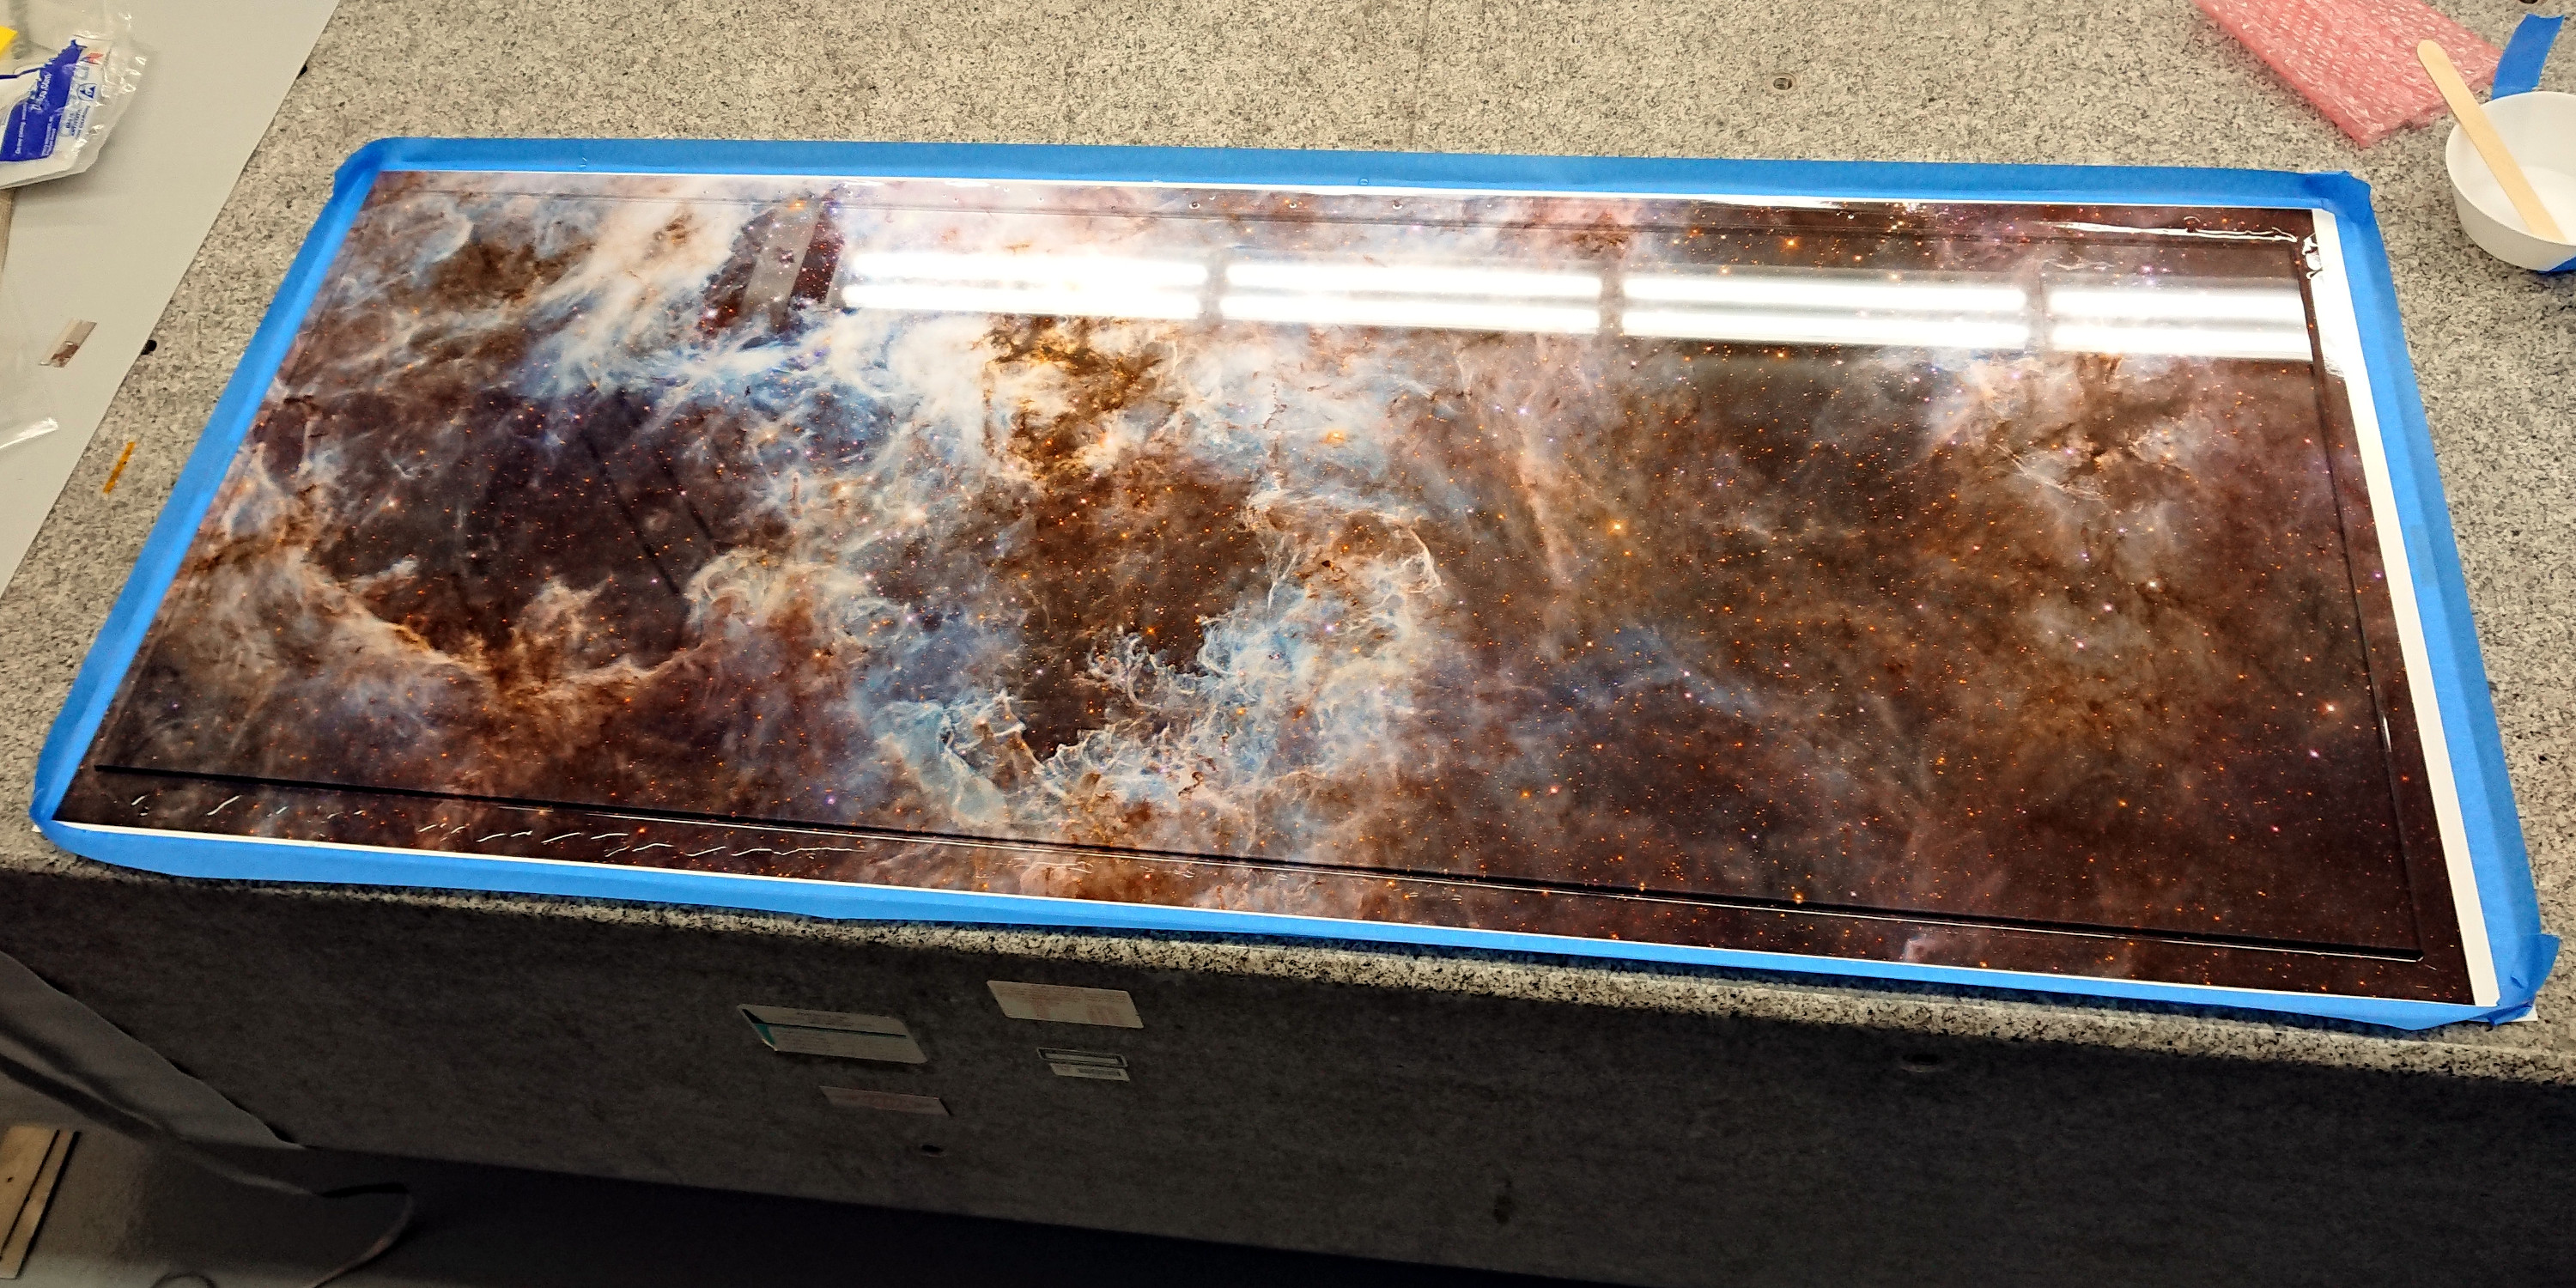
Next, the tabletop needed to be completed. For this, a 1/4″-thick sheet of tempered glass was used in combination with a somewhat-oversized print on metallic photo paper5 and an optical epoxy.6 After thoroughly cleaning the glass and print while wearing disposable gloves, I laid both out on a flat table7 and used a masking tape to make a lip around the edge of the print to avoid epoxy leakage. Then, I mixed and vacuum degassed the epoxy before pouring it down the center of the print. The epoxy used had a vegetable-oil-like viscosity, so it poured easily.
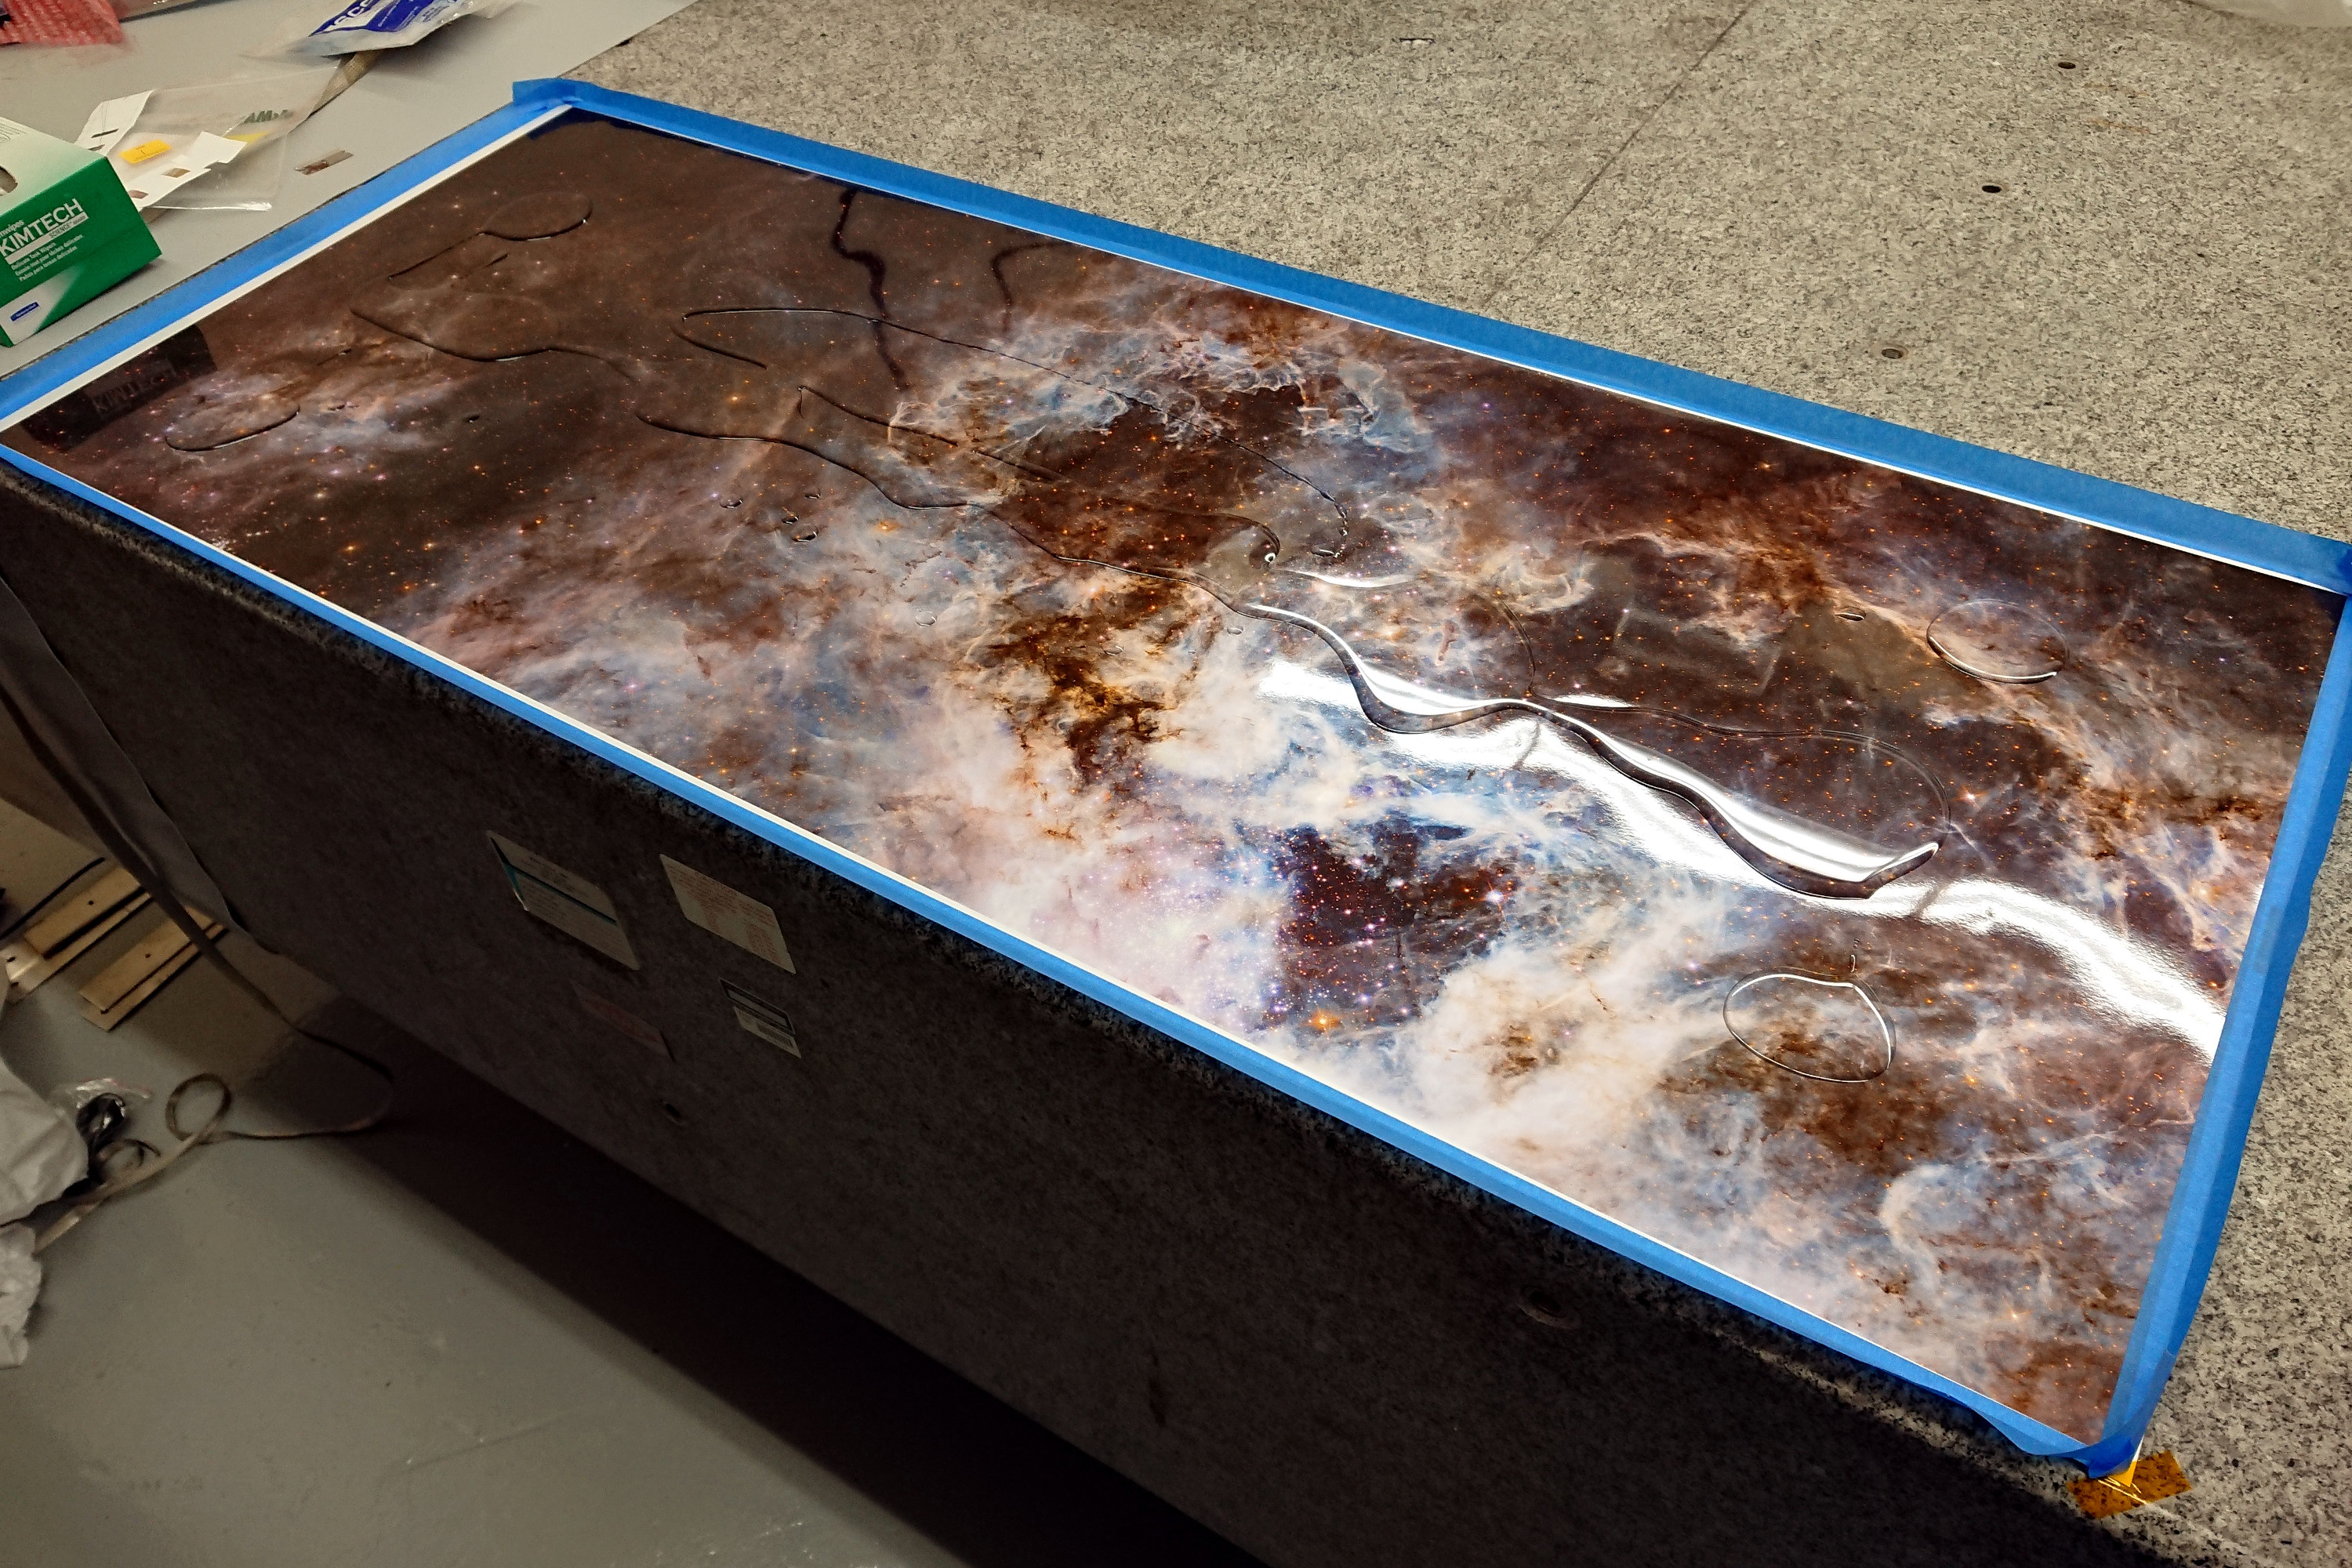
I then placed the glass on top of the print and epoxy and pressed out as many air bubbles as I could by pressing down on the top of the glass. However, air bubbles still remained. Fortunately, I soon discovered that I could squeeze out the remaining bubbles by sliding the print and glass partway off the table and running my finger along the bottom of the print to force the bubbles to the edge. I found that the optimal technique was to use the side of my index finger in a “c” shape, since this trapped the air bubble in the curve of my finger, allowing it to be easily brought to the edge of the glass.
After the epoxy dried, the excess photo paper and epoxy needed to be trimmed from the edge of the glass. At first, I tried doing this with a razor blade and then with a utility knife, but both of these methods were slow, difficult, and somewhat dangerous. Due to the thickness of the epoxy, the razor blade and knife both required significant force, even with a fresh blade, to make a cut. After making very slow progress, I decided I needed to try a different approach and switched to using a coping saw, which worked much better. Cutting only on the upstroke—from the print toward the glass—prevented damage to the print, and the blade was able to slide against the edge of the glass, giving a close, consistent cut. Most importantly, this method was much faster and safer. After finishing up with the coping saw, I used the utility knife to clean up the cuts where needed by shaving off epoxy.8 I then masked the edge of the glass with tape and painted the bottom of the print and the bottom half of the edge of the glass black to seal the edge of the paper and make it more opaque. Finally, I placed felt strips on the frame and installed the glass.
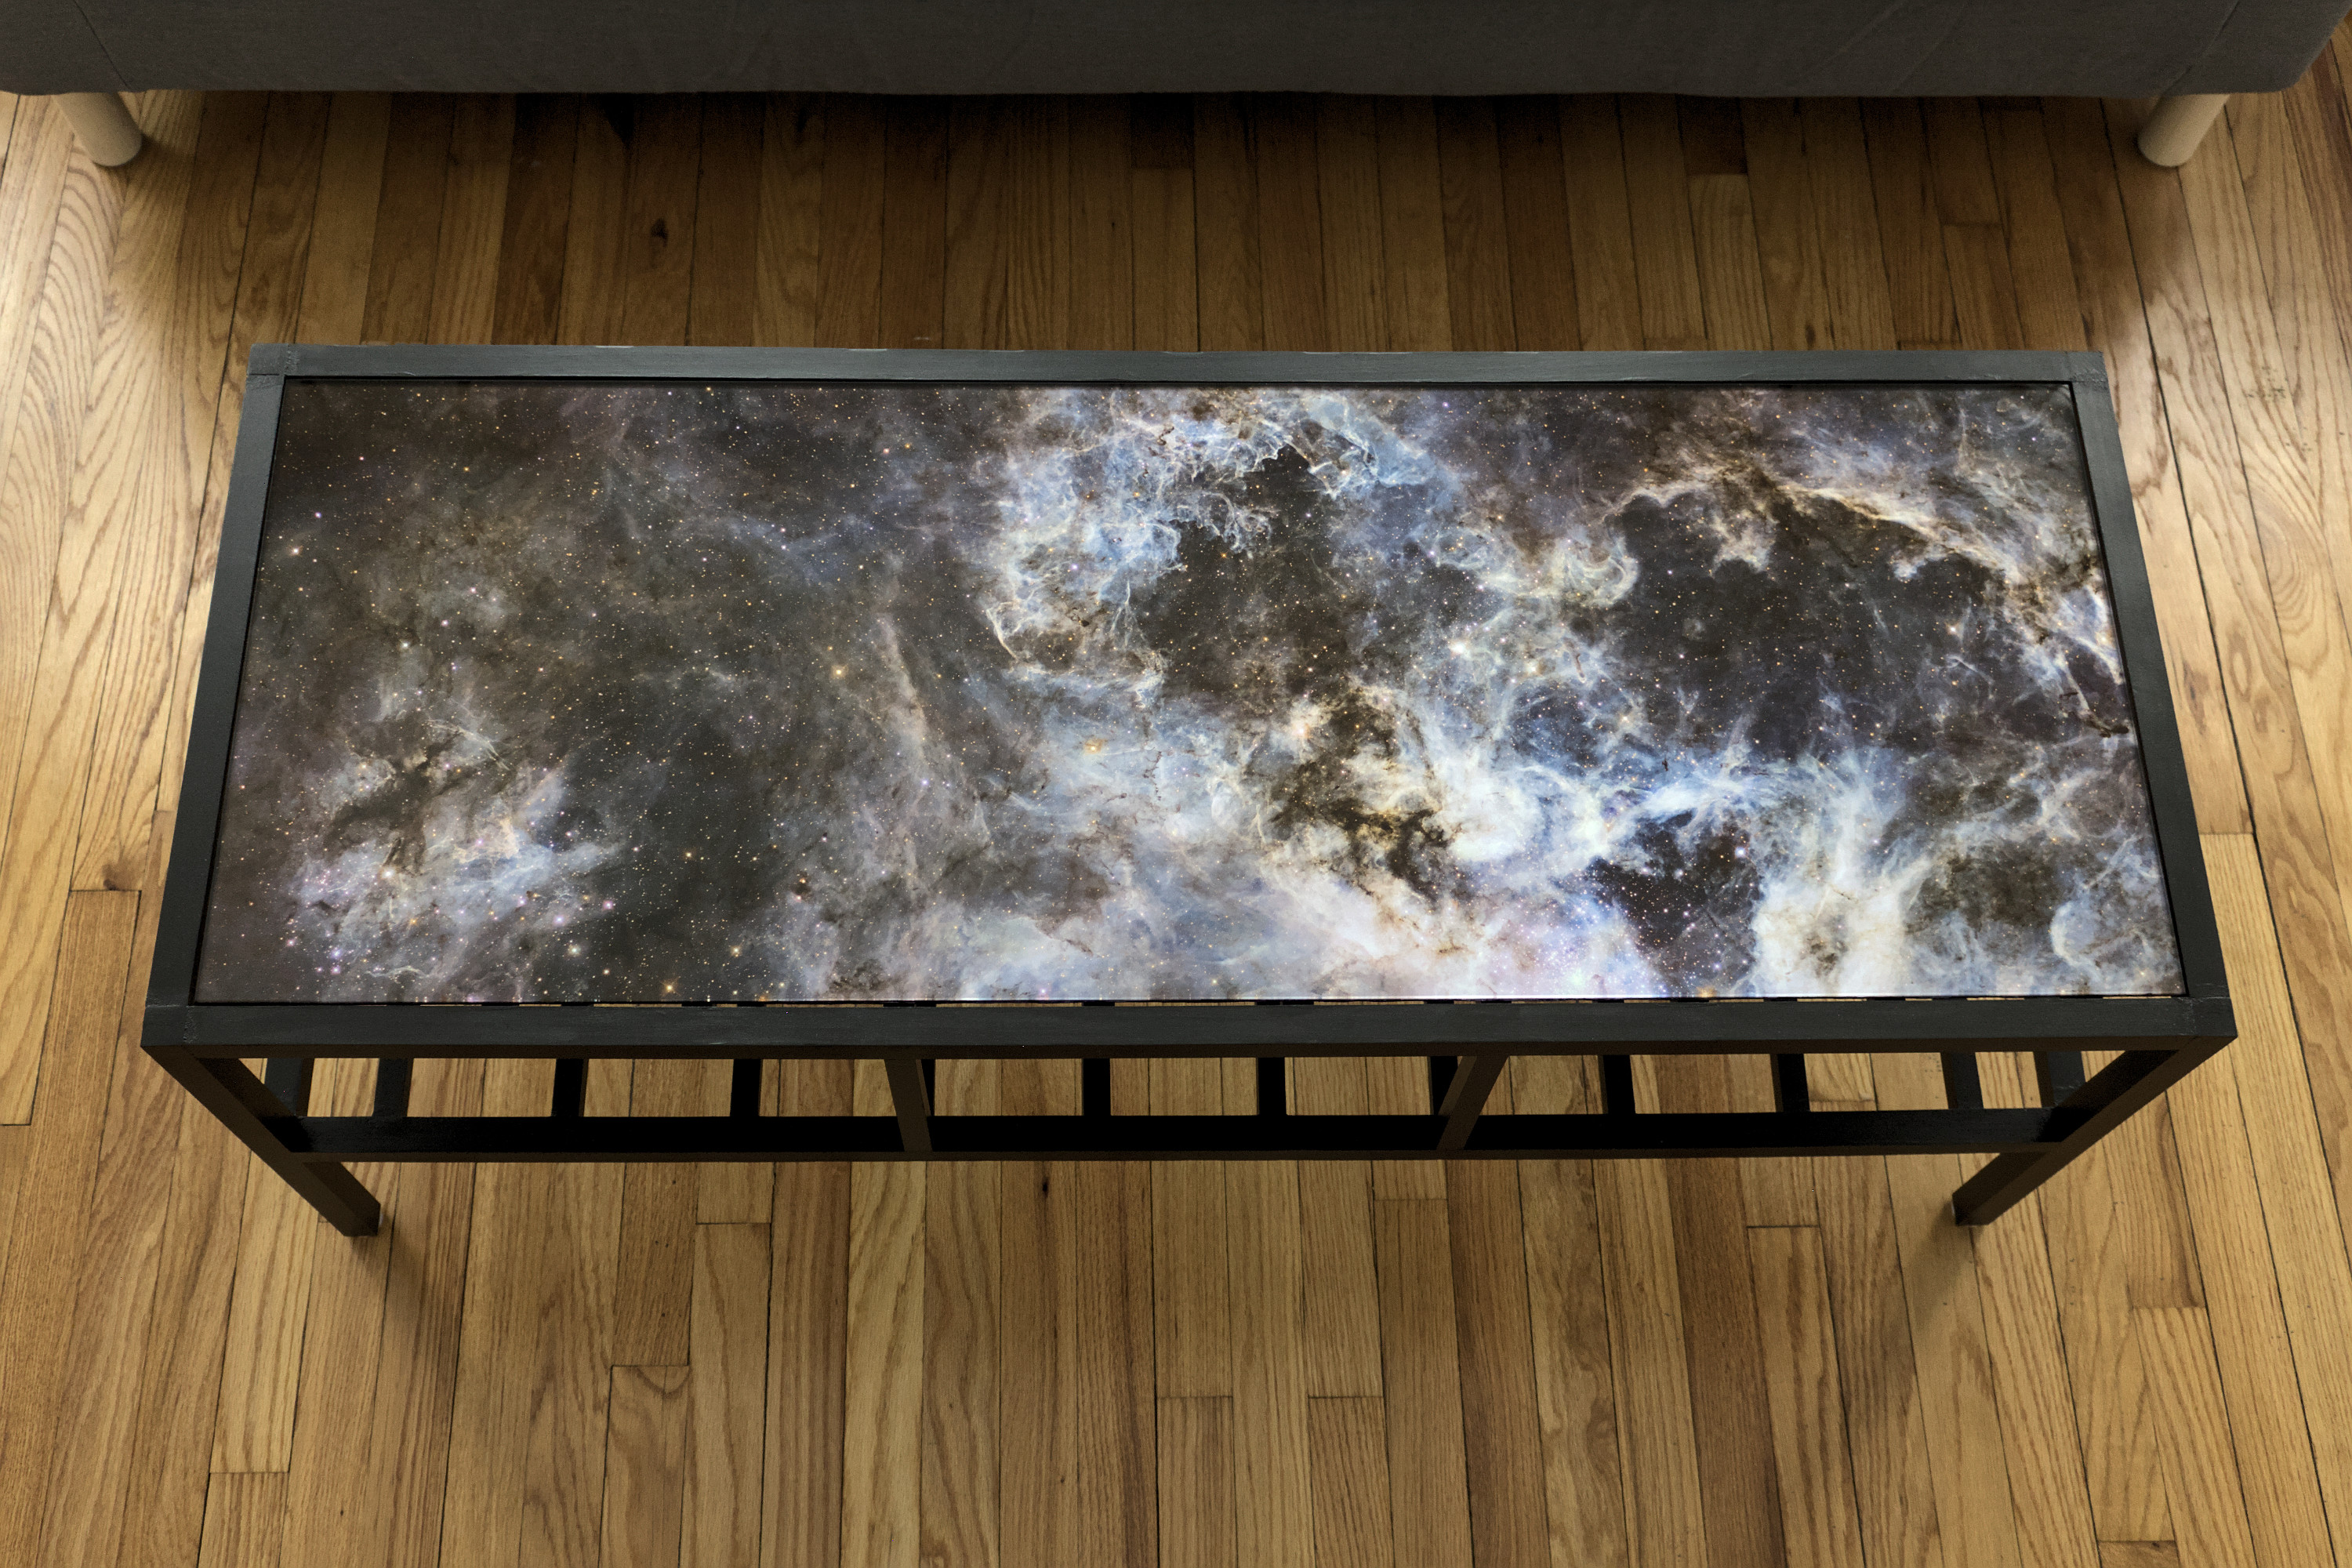
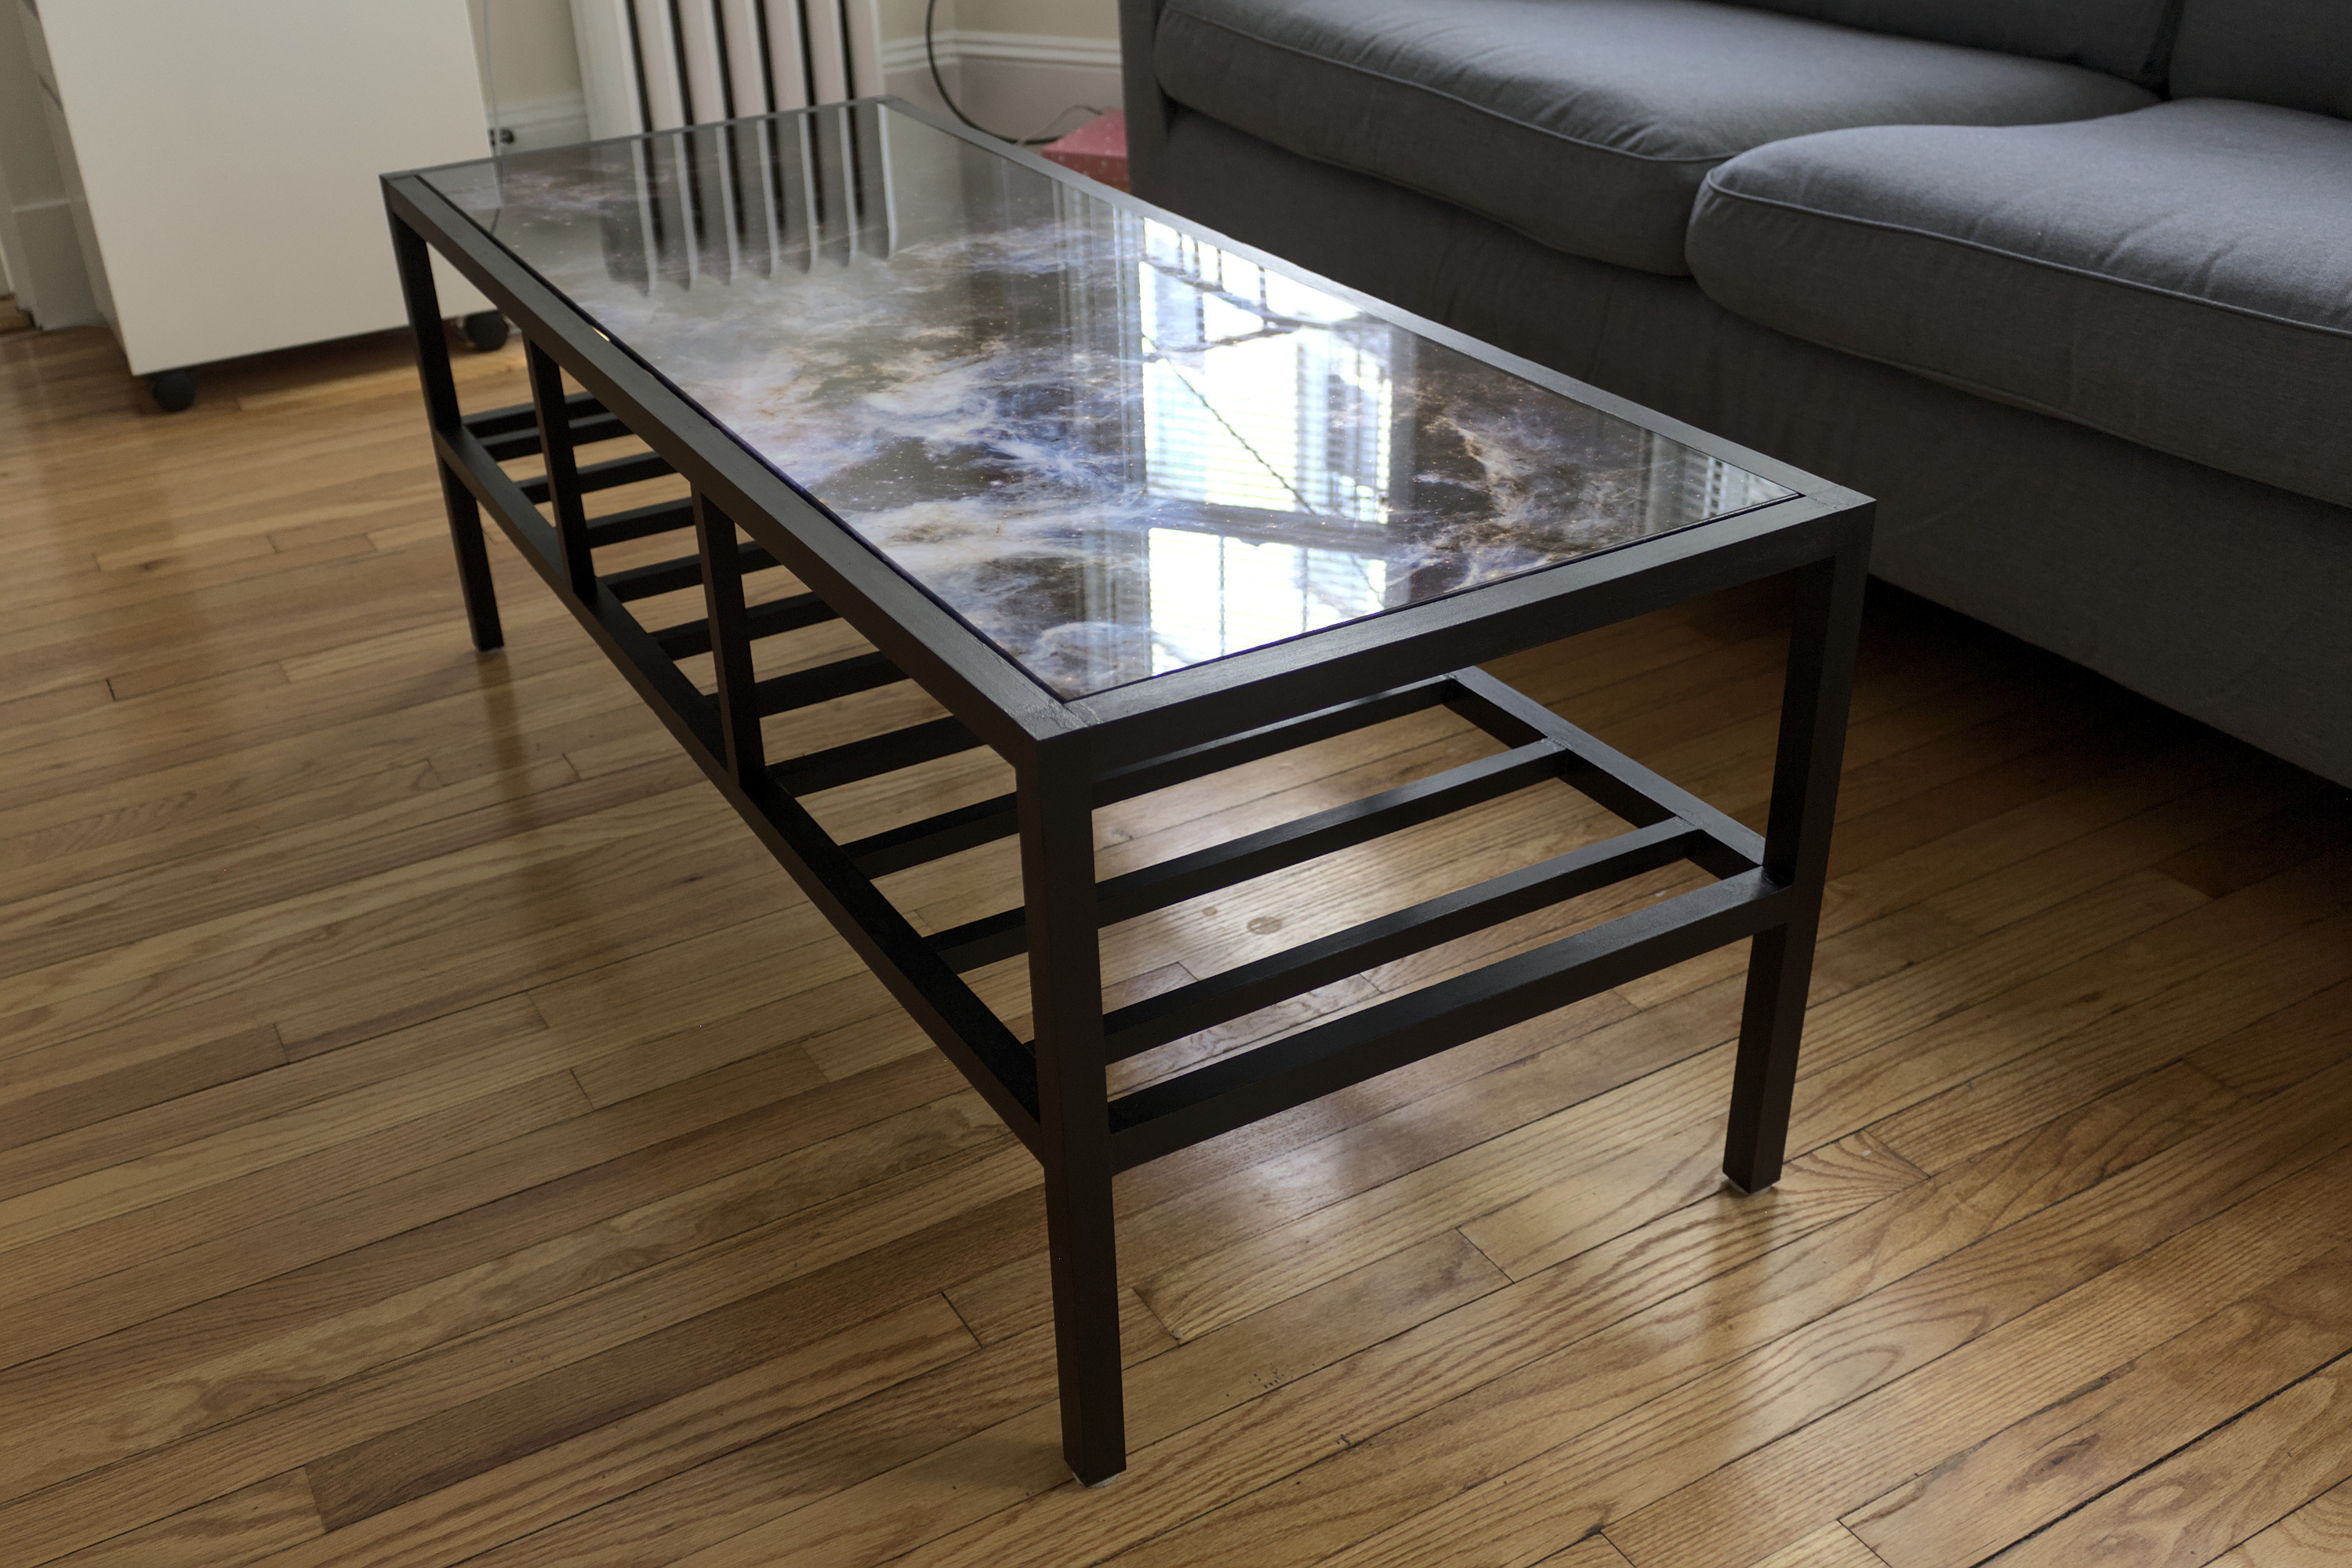
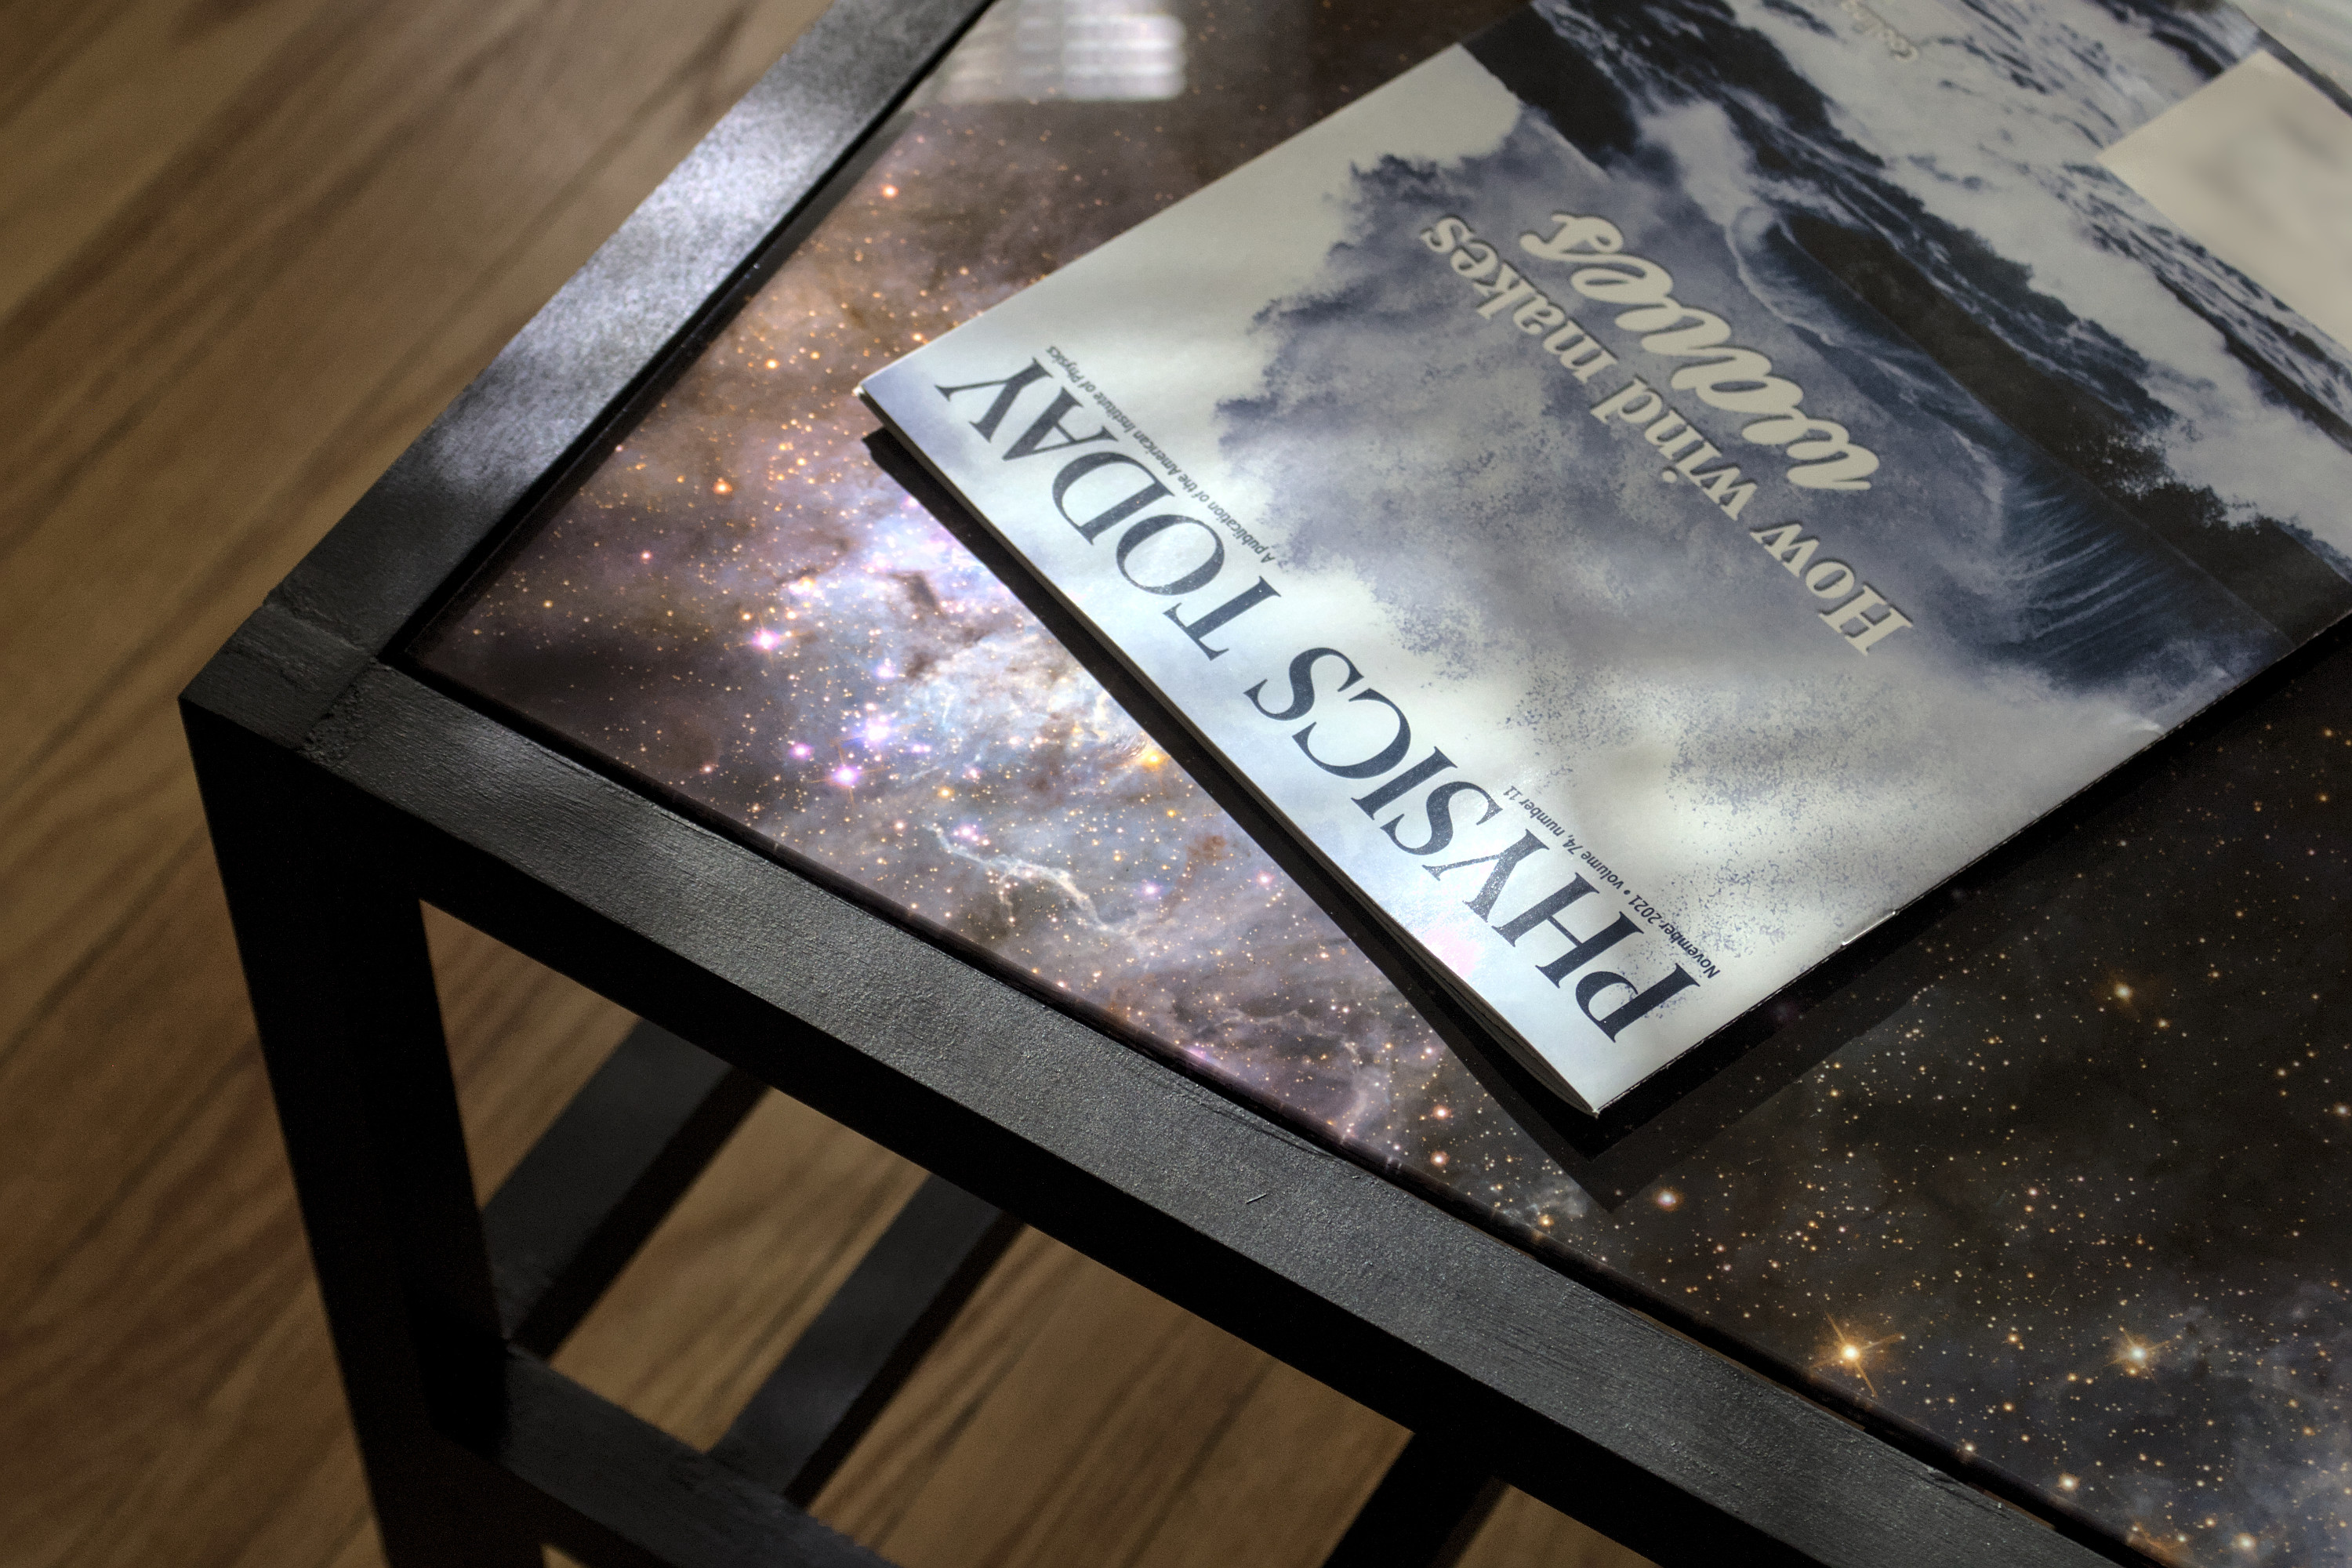
The metallic paper produces a really-nice-looking iridescent effect, which is unfortunately difficult to capture on camera. Unlike the print on its own, the float glass and epoxy also produce a smooth reflection.
I’ve uploaded the CAD files for the 3D-printed drill guides and some hand-sketched plans, in case you, the reader, want to use them to build something similar.
An electric miter saw with a rail would have produced much better cuts. ↩
I made a black mark on the drill bit to make sure I did not drill too deep, although, in retrospect, using a collar on the drill bit to get a more consistent depth would have been better, since it would have made subsequent assembly easier. ↩
Gorilla Wood Glue (PVA based) ↩
Behr Ultra interior satin enamel ↩
The granite table I used was overkill. ↩
The knife worked much better for this shaving than it did for trying to do the initial trimming. ↩